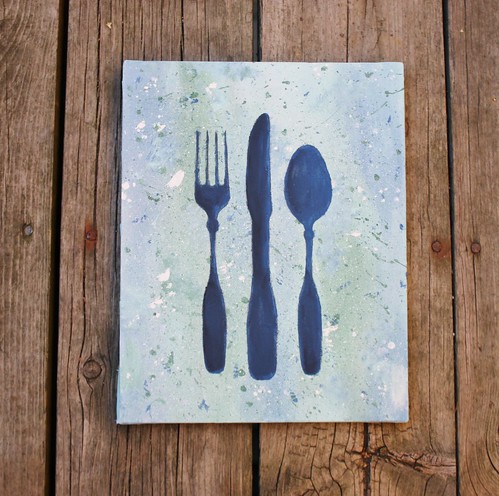
This weekend, I dug out my acrylic paints, grabbed a cheap canvas and got creative. It was fun, liberating and a much needed chance to relax. There is something about having a paint brush in my hand (or a glue gun, sander or needle and thread) that I find liberating. I think it is about letting my brain quiet down and just working on something tactile.
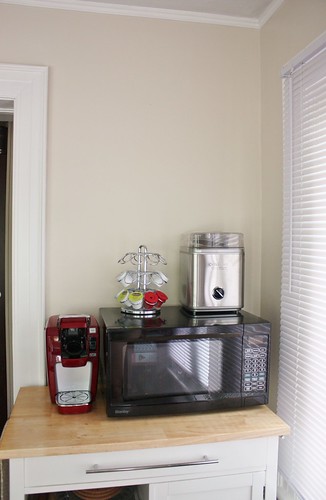
This all started with the need for some new artwork in our apartment. We’ve hung up the Botanical Prints in the bedroom, the Gallery Wall in the hallway and the DIY Vintage Wooden Sign in the bathroom, but I recently realized that we had nothing in our dining room. There was this perfect space above our pantry cart that was just begging for some artwork. I’d thought about buying a print to frame there, but I’m glad I decided to take the leap and make something myself.
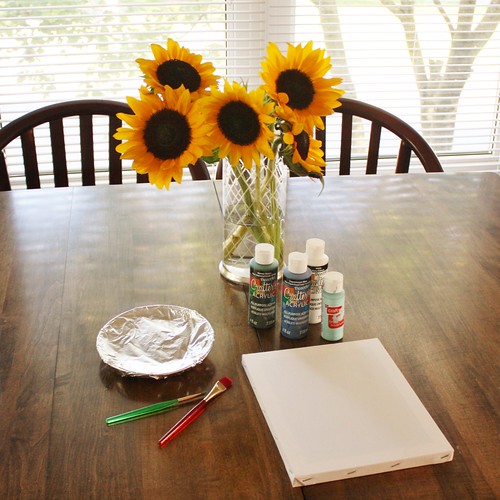
Garrett went out with friends on Saturday night and I found myself in a totally quiet apartment for the evening. The perfect chance to get creative and paint to my heart’s content! I find that when I am at my most creative, I can let my mind go and let the stress melt away. I really do need to make a point to do it more often.

I knew that I wanted to pair it with the Overlapping Circles Painting that I made at my friend’s cottage earlier this summer, so I used some of the same paint colours and tones.
I drew inspiration from this fantastic watercolour print by ElfShoppe. I loved the use of colour and spontaneity, but I wanted to do my own twist on it.
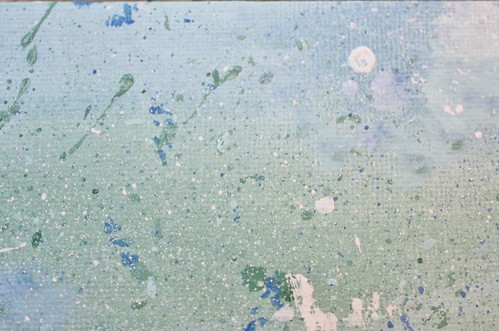
It started by diluting robin’s egg blue acrylic paint with some water and then brushing it all over the canvas, including the sides. Then I blended diluted navy paint and diluted green paint, creating a watercolour-like pattern. On top of that, I created a speckled pattern.
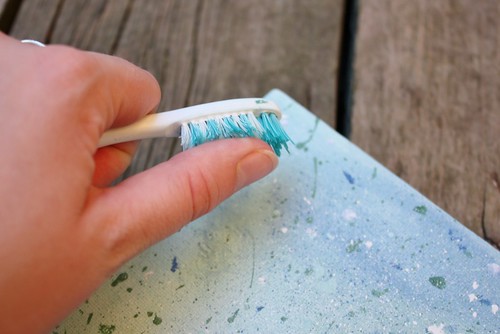
To create the speckled look, I used an old toothbrush. I dipped the toothbrush bristles in the paint and then used my finger to flick the paint off the brush and onto the canvas. I also used a fine tip paint brush to create the larger dots and swipes. Just go with whatever you like to make your pattern. Play around and get creative. There is no right or wrong way to do it.
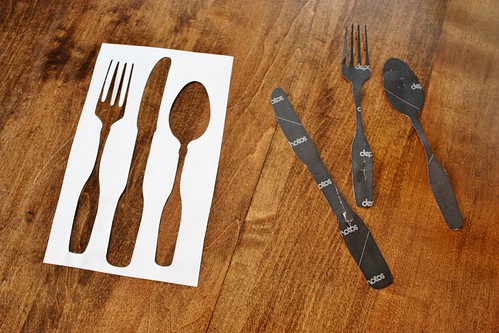
To make the silhouette, I sized a clipart image that I liked to fit the size of the canvas. I carefully cut out the black part of the image, creating a simple paper stencil.
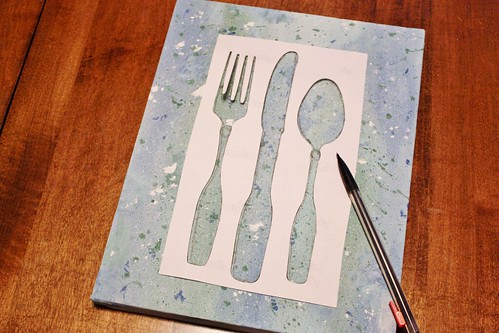
Once the paint on the canvas was dry, I placed the stencil on the canvas and traced it with a pencil.
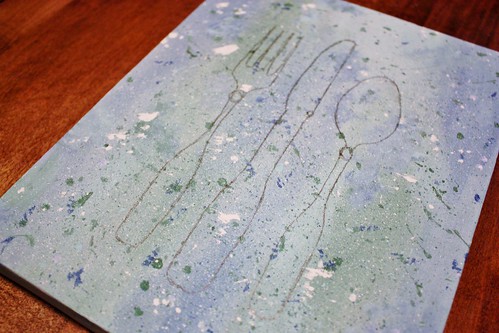
I wasn’t too concerned with seeing the lines because the navy paint I planned to fill in the silhouettes with would cover it up.
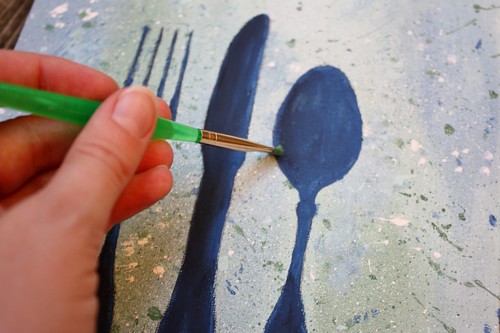
I used a fine tip paint brush to carefully fill in the silhouette, using a blend of navy and black paint.
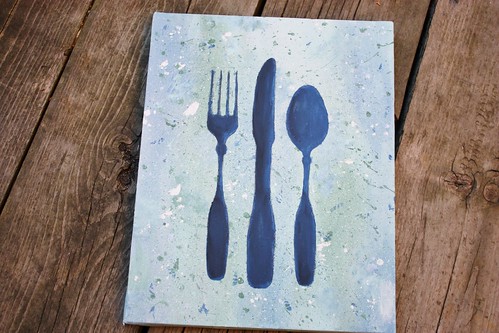
I’m really happy with the finished result. It fits perfectly within the blues and greens of the dining room decor. Plus it was lots of fun to do!

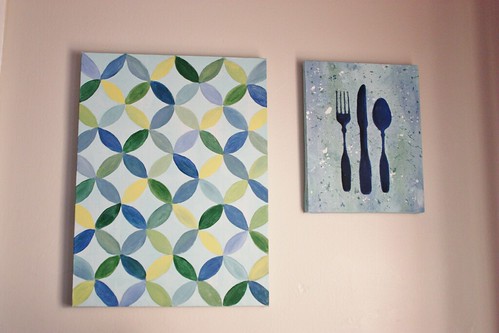
I hung it up alongside the Overlapping Circles Painting above the pantry cart in the dining room.
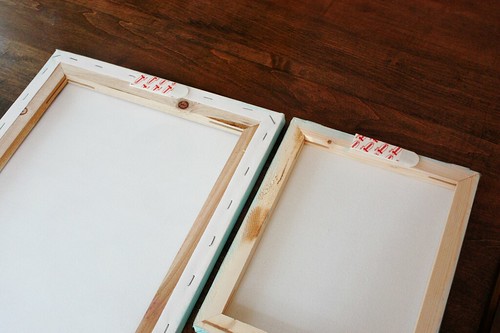
To hang up the canvases, I used these 3M velcro strips. I’ve used them on the Botanical Prints in the bedroom and the Gallery Wall in the hallway and they’ve held up really well. It also keeps the canvases flush against the wall, instead of leaning forward.
– – –
Linked Up To:

