We are finally back on track with the powder room renovation again and I’m so excited to be at the painting stage. The space is really starting to come together and adding paint makes it feel like we’re nearing the finish line. Woohoo! I’ve only done the wall colour so far, but you can get a sneak peek of our unpainted moldings below too. I’m loving how everything is turning out.
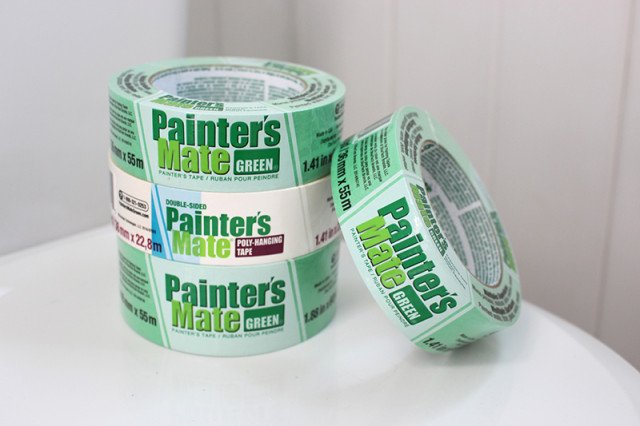 I’m a firm believer in working smarter not harder, which is why I use my trusty Painter’s Mate Green® painter’s tape painting tape to get those crisp sharp lines I love where the wall meets the molding. I don’t have to worry about having a steady hand or trying to fit my brush into a tight corner. For the best results, it’s important to take a couple extra minutes applying it correctly. I’ve put together a few of my top tips on how to get those perfect crisp lines you’re looking for.
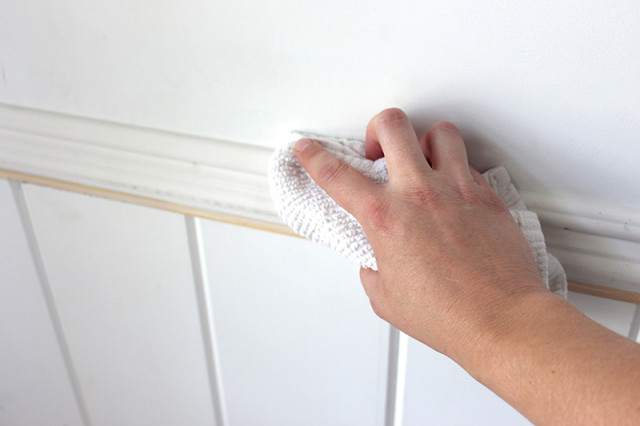 Wipe Down Trim – If your moldings have dirt or dust on them from construction, you’ll have a hard time getting the tape to adhere. Using a clean damp rag, clean all the moldings. If they have grease or grime on them, use a mild cleaning solution and wipe it all down. Allow the surface to dry completely before applying the painter’s tape.
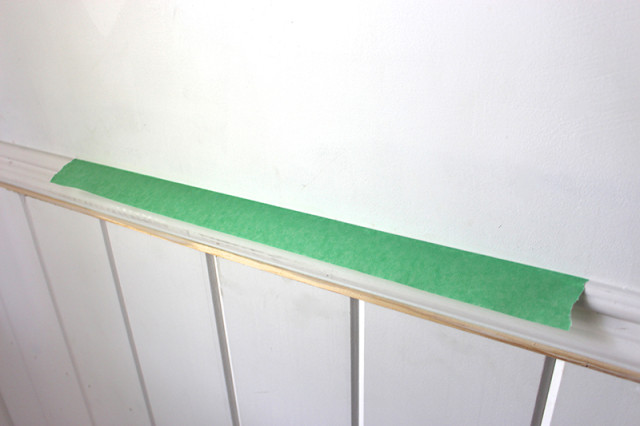 Work in smaller pieces – When you try to do an entire wall with one piece of Painter’s Mate Green® painter’s tape, you’re more likely to have a wobbly line or to stretch the tape. Working in smaller 12″ pieces gives you more control and lets you get the tape in the exact spot you need it, the whole way down.
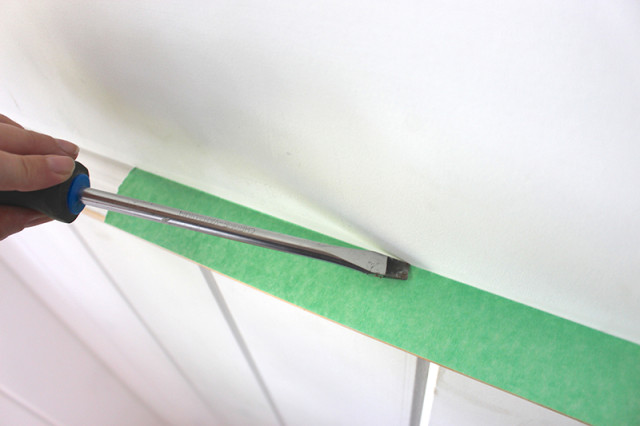 Apply Pressure to Adhere – If you just throw the tape down and use your finger, you’re risking there being bubbles in the tape edge. I like to run a putty knife, or even a large flat screwdriver, along the edge to carefully press down the tape down.
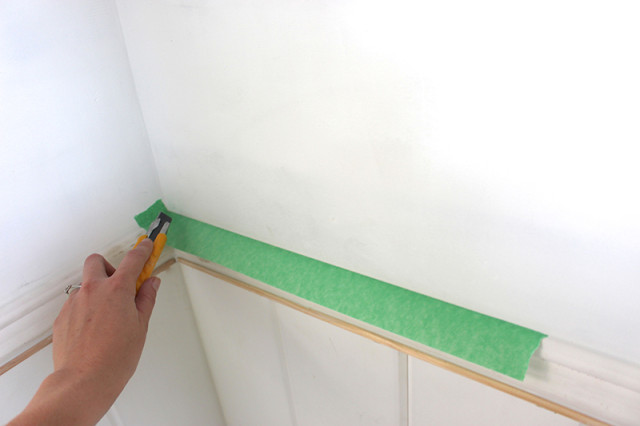 Cut Your Corners – Painting corners can be tricky, but if you apply your painter’s tape correctly, you can make it so much easier. Start with a piece of tape that is longer than you need it. Run the tape across your edge and slightly up the wall, being sure to press it all down tightly. (see above tip). Now take a sharp razor blade knife and carefully cut the edge of the tape away right at the molding. Remove the excess tape.
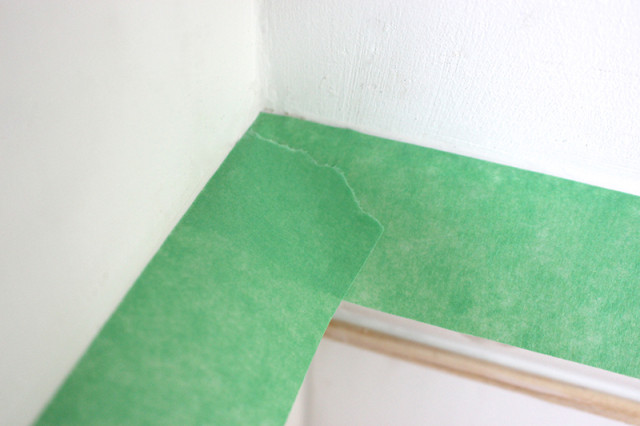 Now you can add the other piece for that corner right over top. So easy and it gives you a perfect corner.
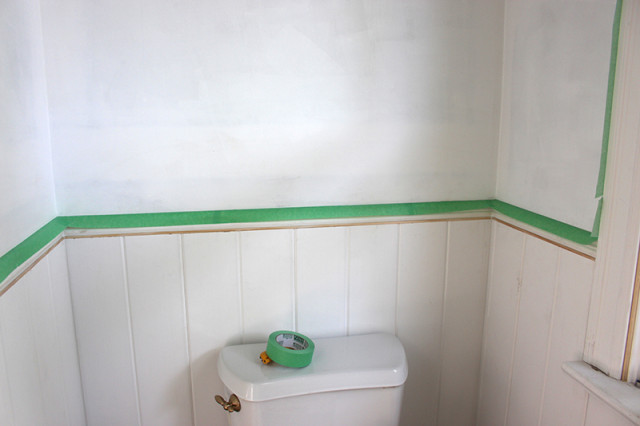 I was able to tape all the moldings in under 10 minutes and it is so worth it to have crisp lines and prevent mistakes.
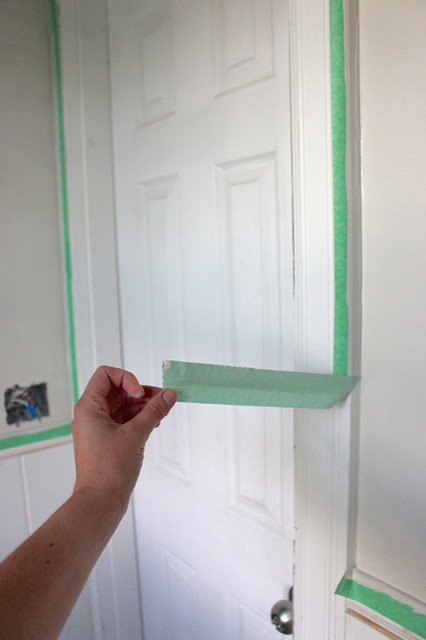 Remove wet or dry – To remove the tape while the paint is still wet, carefully lift up the edge and pull away on an angle. For us, I rarely get to complete a paint job quickly enough that the paint is still wet by the time I come back to it (hello nap time renovating!), but you can still carefully remove the tape AND keep the crisp lines. Take a sharp razor blade knife and carefully cut the seal. If you try to pull off the tape without doing that, you may have the freshly dried paint pull right off with the tape. I hope you found these tips helpful! I’m hoping to tackle painting all the moldings and the ceiling this week and keep moving on this powder room renovation. Having fresh paint in there makes it feel like a real room again!