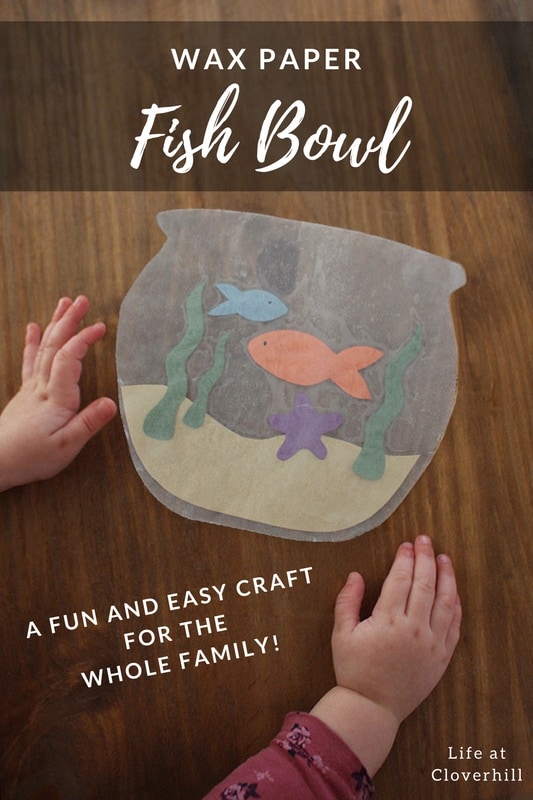
Wax Paper Fish Bowl Kids Craft is a great activity for kids of all ages and skill levels, using things you most likely already have on hand.
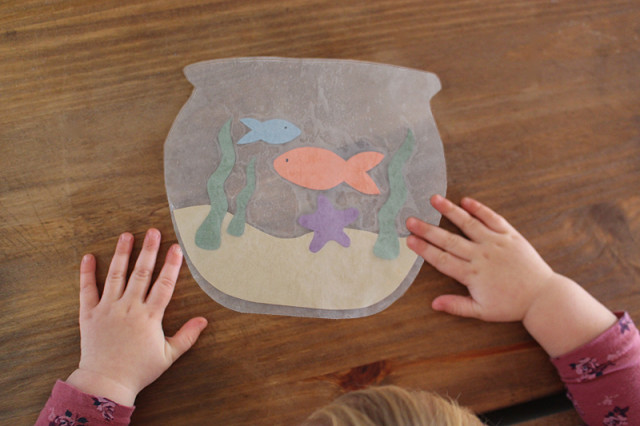
On a particularly long cold and dreary week this winter, I was trying to think of a fun craft to do with my toddler when my mom suggested making Wax Paper Fish Bowls. I can remember my mom doing this craft with me and my siblings growing up and it’s such a simple yet fun activity. I recently shared it on my appearance on the Rogers TV show Georgina Life and have a video of it at the bottom of this post.
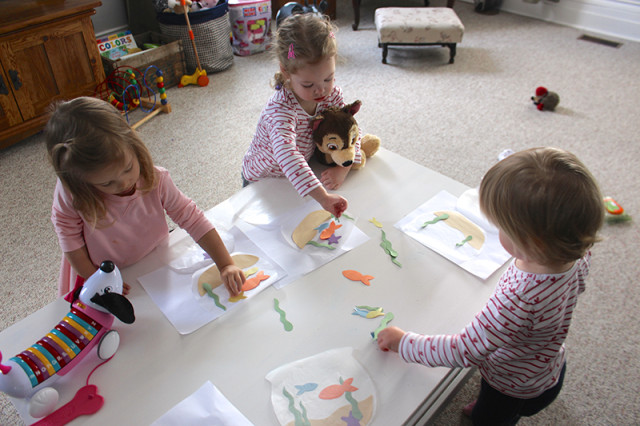
The great thing about this craft is that you can tailor it to each kid’s age. Older kids can cut out the shapes themselves, while younger kids can be given the shapes to arrange. We had some friends over last week and this craft was the great hands-on activity for the little ones. They really got into creating their own little fish bowls with the cut out shapes. I gave the fish bowls all a quick iron and they were ready for them to take home.
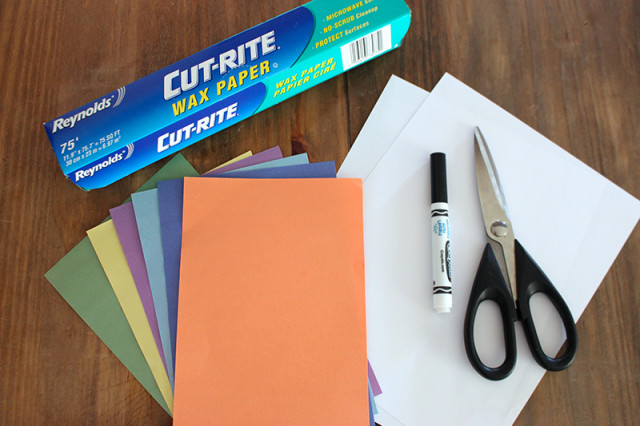
What you’ll need:
- wax paper
- construction paper
- scissors
- markers
- white paper
- tea towel
- iron (adult use only!)
- ironing board
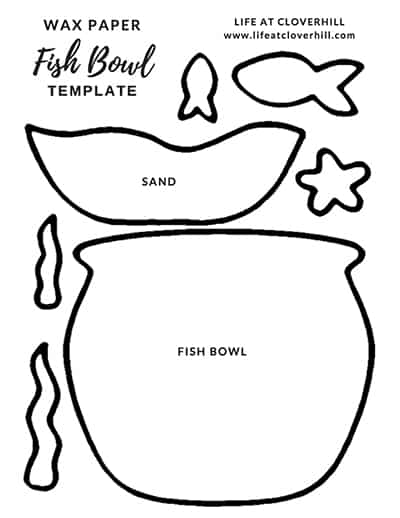
I made a printable PDF template of the fish bowl and shapes that I used to create this craft, but feel free to cut out your own designs and get creative!

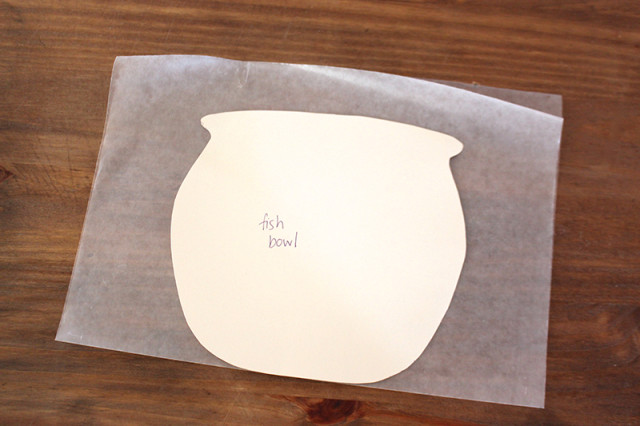
Start by taking a piece of wax paper and folding it in half. Lay the fish bowl template over top, putting the bottom edge at the folded end. Trace the template and then cut it out, making sure not to cut the bottom part.
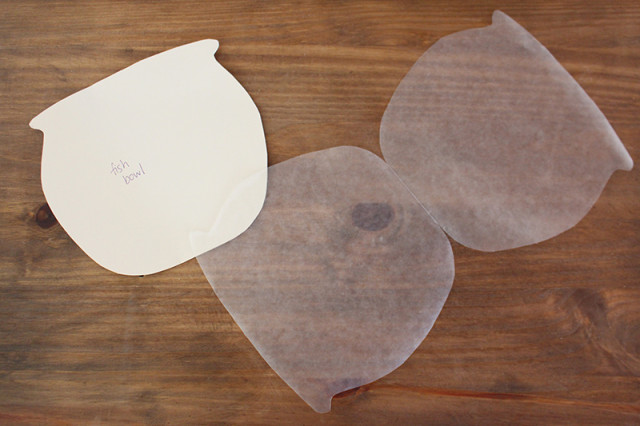
When you’re done, you’ll have a single piece of wax paper that opens up like a book.
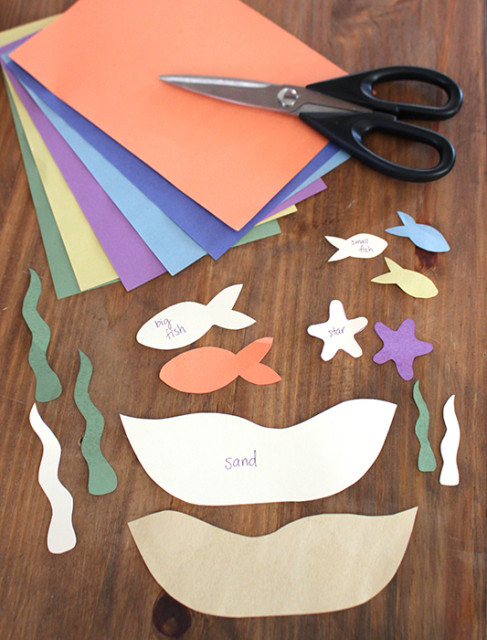
Using the rest of the templates, cut out the sand, fish, starfish, seaweed and any other shapes you’d like.
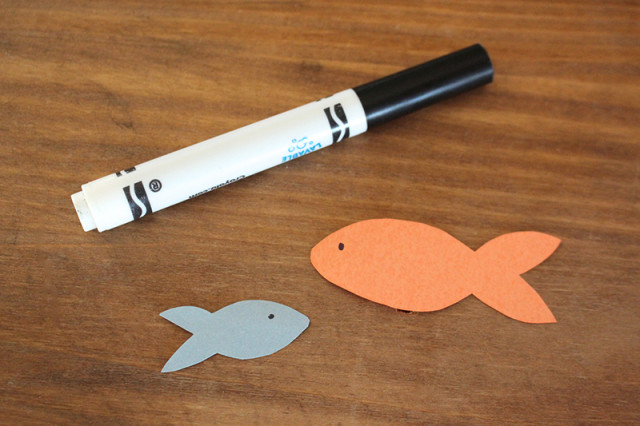
You can draw little details on the pieces if you’d like, such as eyes and scales on the fish or dots on the starfish.
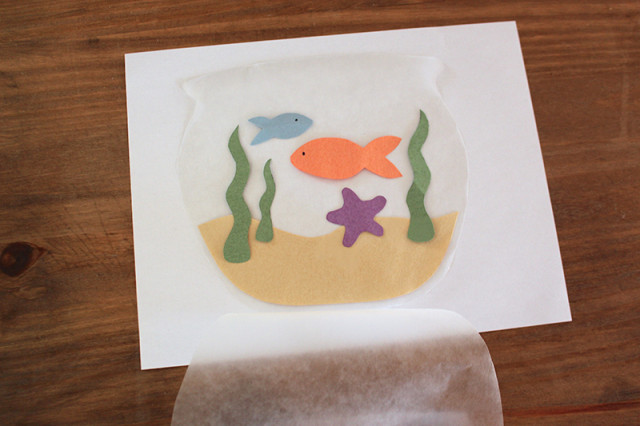
Lay the wax paper fish bowl open on a piece of white paper. This will help make it easier to transfer it to the ironing board afterward. Let the kids arrange the construction paper pieces however they’d like. Have fun with it!
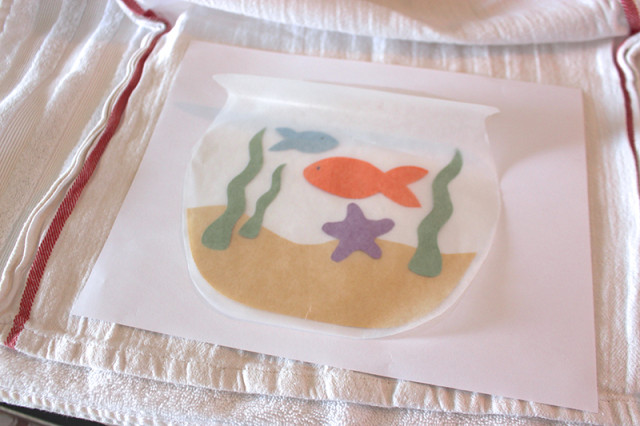
When the design is done, flip the other side of the wax paper fish bowl closed. Transfer the design on the white paper over to an ironing board with a tea towel laid out. Add another piece of white paper on top of the design and fold the tea towel over it.
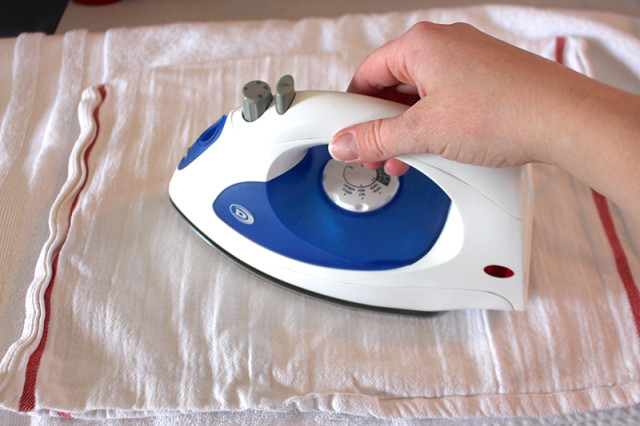
With the iron on a low setting with the steam turned off, slowly run it over the tea towel for 20-30 seconds.
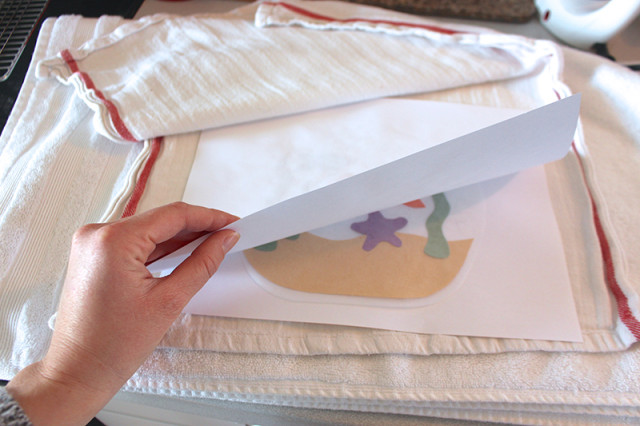
Lift up the towel and top paper to check on the design. If the wax paper has melted together, you’re done, but if there are still a few spots that haven’t adhered, repeat the ironing again.

Admire your kids’ handiwork on the fridge, or hang it in a window to see the colours through the sunlight.
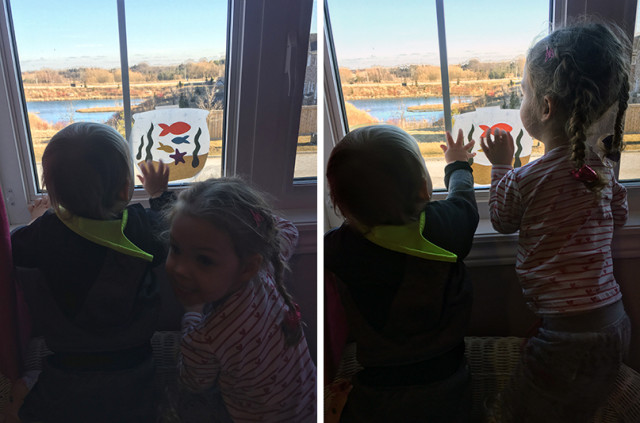
My friend did that with her kids and they loved it!
To see the process in action, check out this video I did for Rogers TV.
