Two years ago I moved to downtown Toronto into my little apartment. The guy who lived there before me was a bachelor who was rarely ever home, and never did any work on it. My landlord wouldn’t paint, so I had to find ways to transform the space without using a brush, and on a just-out-of-university budget. I really wanted a space that was cozy and inviting, without feeling too cramped in the small space.
Here is what it look like before I moved in:


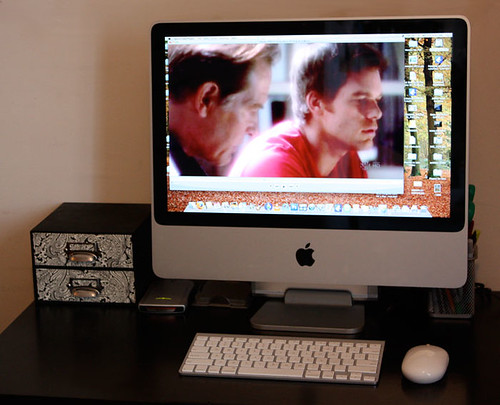
And here is what it looked like afterward:
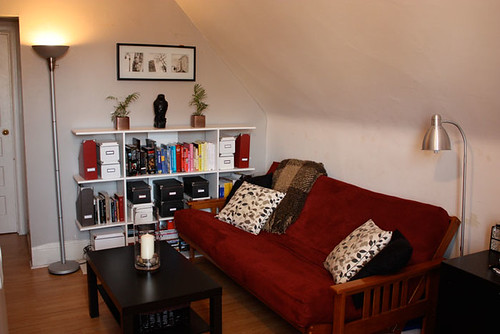
The LACK coffee table was $30 at IKEA, and I put two $8 black wicker baskets from Walmart underneath to store magazines, remotes and whatever craft projects I am working on. The brushed nickel floor lamp was $15 at Canadian Tire (I liked it so much, I bought another for the office), and the matching reading lamp by the couch was $18 at IKEA.


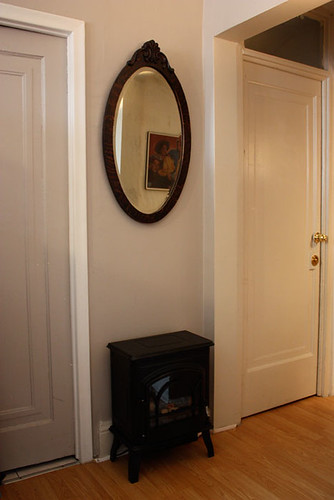
This is the wall across from the couch, and I have just started to play around with what to do in this area. The door on the right in my front door, and on the left is the bathroom. The big mirror was actually given to me by a friend moving, and the carvings on the top are broken in a few spots, so I am getting a local carver to help me mend this beautiful antique.The little electric stove below is a recent cold-weather purchase. In the evening, the apartment can get quite chilly, so its nice to be able to bring a little heat in with this tiny stove, and it was only $70 at Canadian Tire, so how was I to resist?
Here is a breakdown of what I spent to set up my little living room from scratch:
Couch – $300
Floor Lamp – $15
Reading Lamp – $15
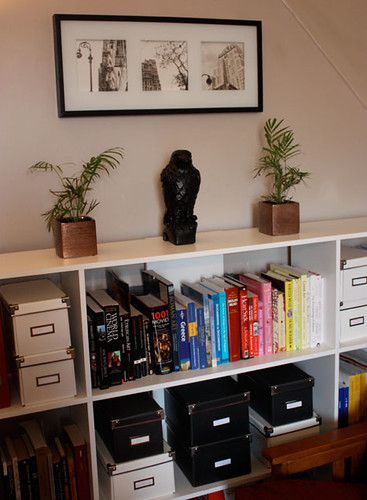
Shelf – Free
Storage Boxes – $53
Maltese Falcon – Free
Plant pots – $1 x 2
NYC art – $13
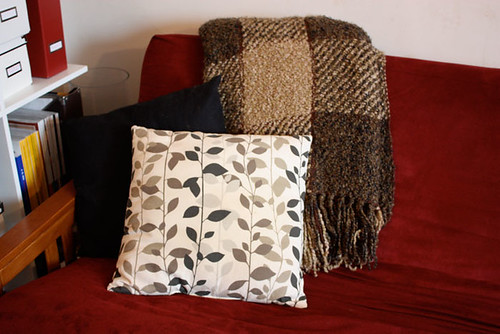
Printed Cushions – $10 x 2
Black Cushion – $6 x 2
Throw – $30
Coffee Table – $30
Wicker Baskets – $8 x 2
Desk – $40
Chair – $30
Paisley Shelves – $12
Fireplace – $70
TOTAL: $658
Not too bad for a little space like this where I can easily entertain guests, or just curl up and watch a movie. I was careful to pick pieces that can be used again in the future. The futon, shelves, coffee table and desk are simple designs that can fit easily into most decor. I have also thought about recovering the chair, and making new pillow and futon covers when I’m ready for a change.
I’ll be sure to post more pictures soon on the rest of my little home, and let me know what you think!

New to your blog and know this was posted awhile ago but what a nice job you did on a tiny space and a tiny budget. Do you know the expression cheap and cheerful? This is an excellent example. Looks great for less than $700 in total!
Thanks Sheila! My budget was definitely very tiny and it helped that the apartment was pretty small too.