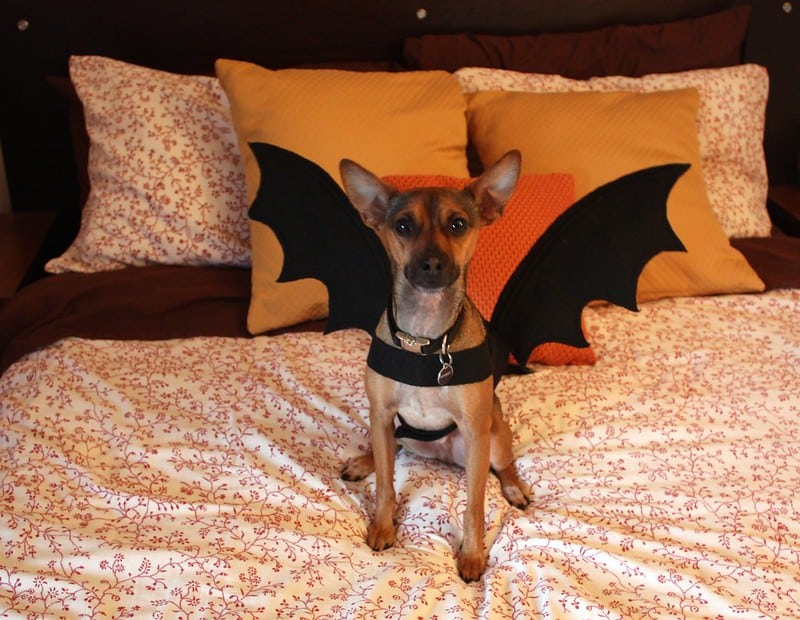
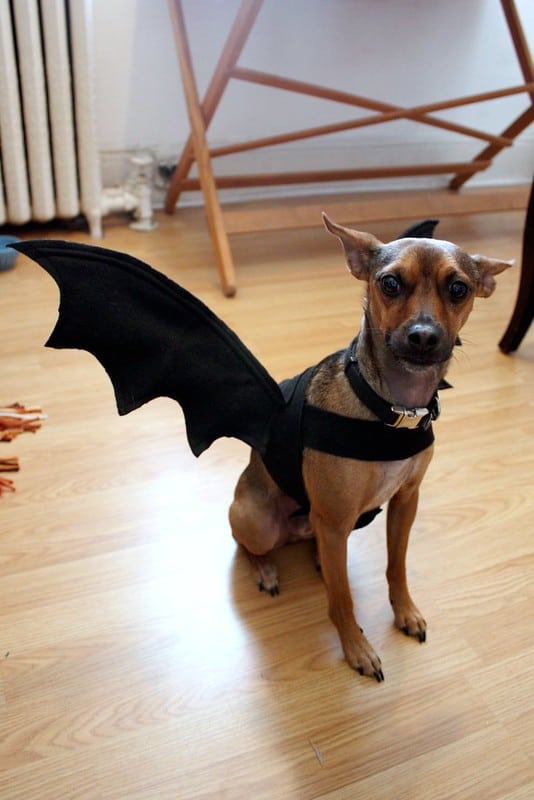
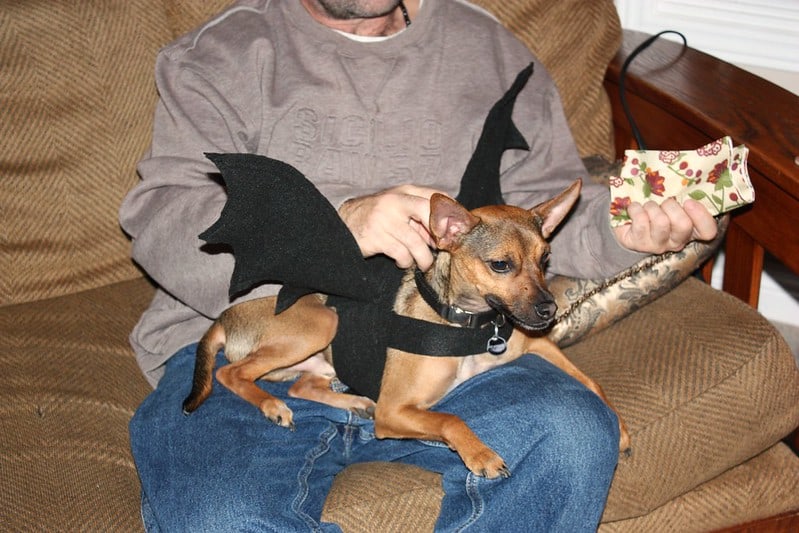
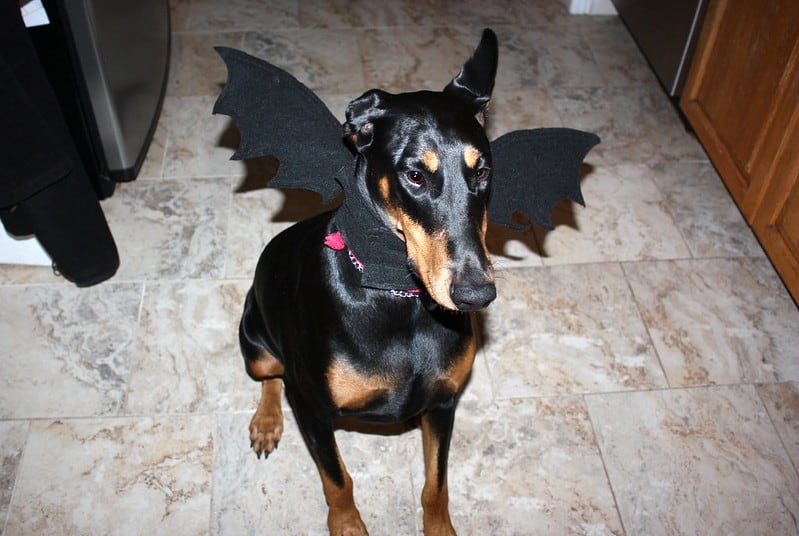
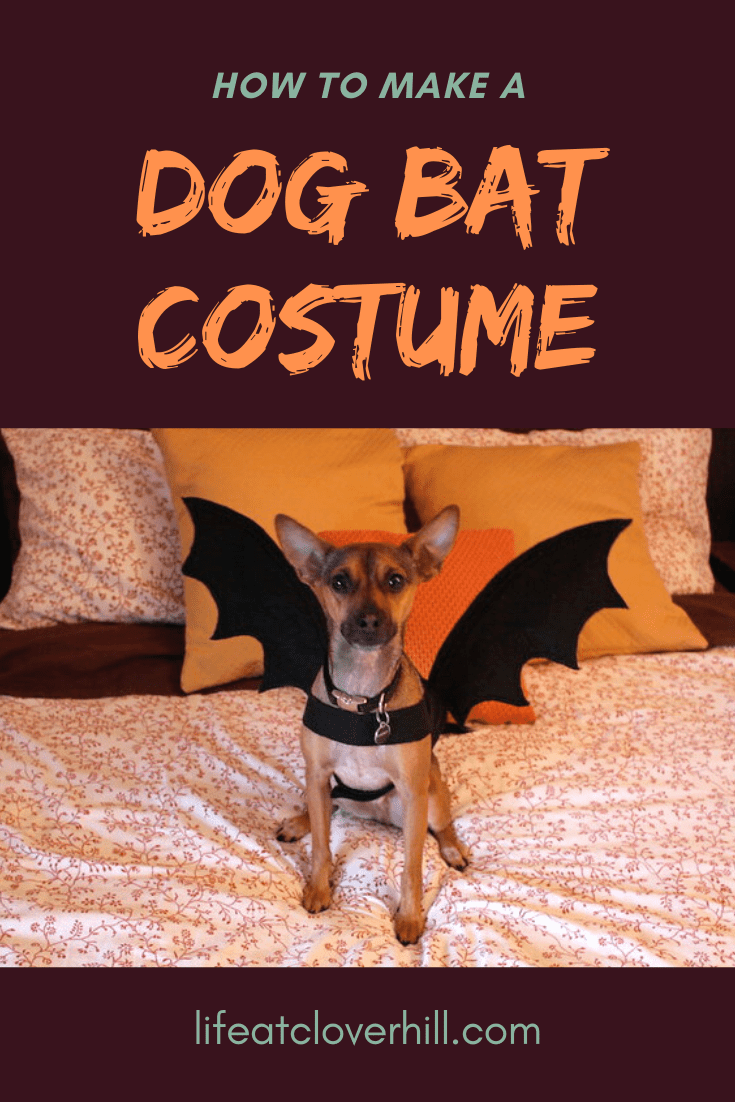
 After the success of Whiskey’s Dog Taco Costume last year, I had to think of something new for him this year that was both comfortable for him to wear and easy for me to make. It was those big cute ears of his that made me think of a bat. It was perfect! I made it while watching a movie, so it took me less than 2 hours to make it. Not too bad.
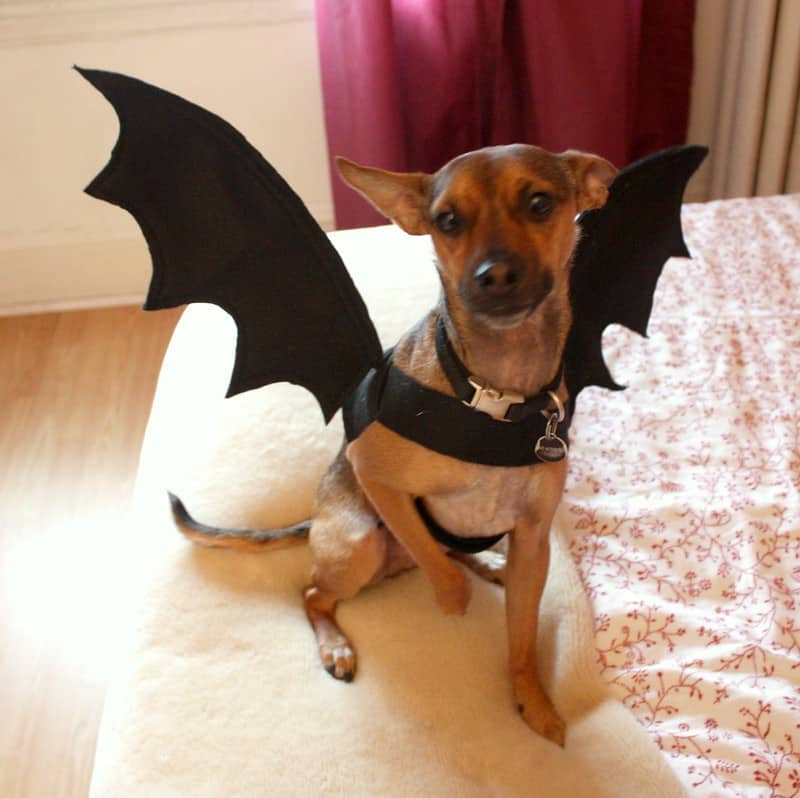 I decided to use black felt and a coat hanger as the main components to keep it soft and light. Thankfully, Whiskey loves wearing sweaters (he gets all jumpy and excited when I pull them out), so he’s pretty content to wear this costume. I just have to keep an eye out for when he goes under chairs or he gets stuck.
 Here’s a quick step-by-step tutorial on how to make this dog bat costume yourself!
What You’ll Need to Make a Dog Bat Costume
- Measuring Tape
- Scissors
- Wire Cutters
- Pliers
- Sewing Machine (or needle if you’re ambitious and want to do it by hand)
- Black Felt
- Metal Coat Hanger
- Black Thread
How to Make a Dog Bat Costume
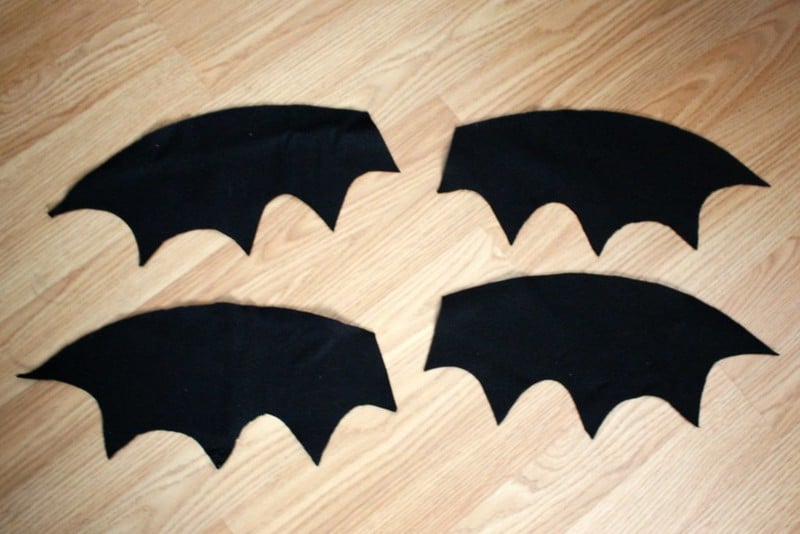 First, I made a bat wing shape out of cardboard that was proportional to Whiskey’s size. Then I cut out four of the wings in black felt, making two for each side.
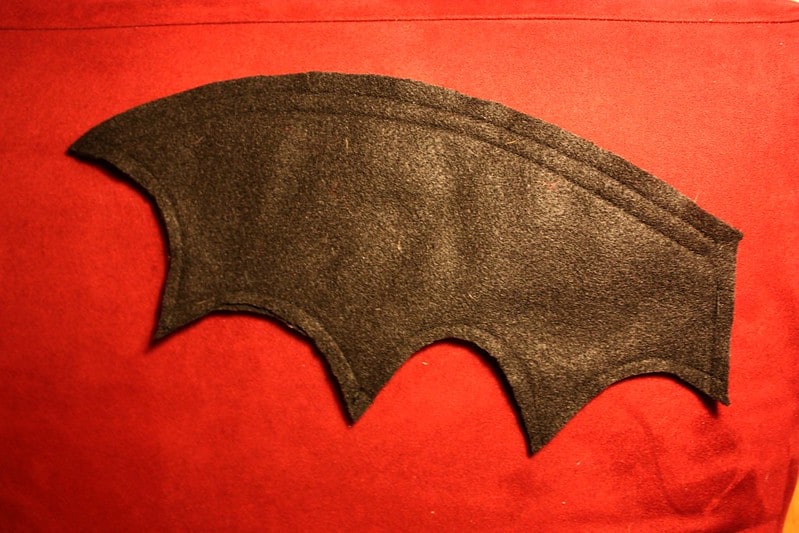 Using my sewing machine, I stitched two of the wings together all along the top about 1/4″ in from the edge, and then another stitch about 1/4″ below that curved line. Then I stitched 1/4″ in from the edge all along the edge of the rest of the wing, making sure to leave a space open where the wire will go in between the two upper stitches. Repeat with the other wing.
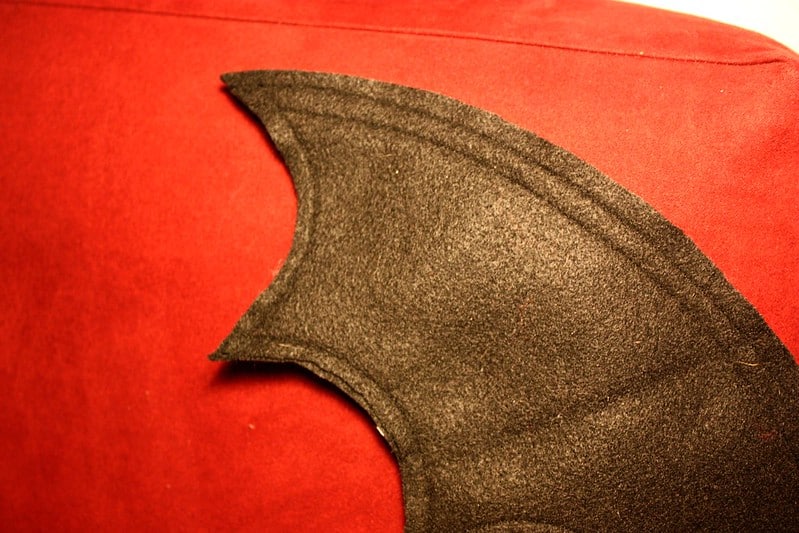 After both wings were stitched, I took scissors and cleaned up along the edges and make they all look neat and clean.
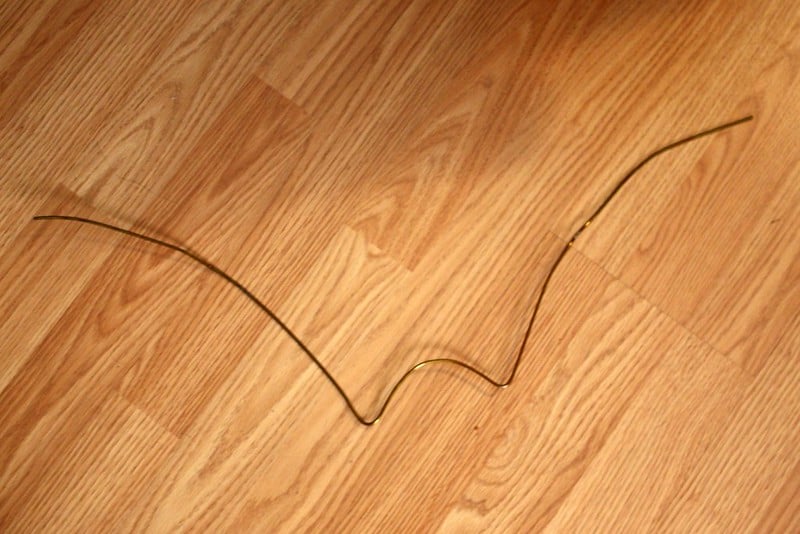 Next, I took an old coat hanger and straightened it out using pliers. I made a curve in the middle to match the curve on the width of Whiskey’s back, where the wings would go. Then I placed one of the finished felt wings down and curved one of the sides of the hanger to match the curve in the fabric. I repeated with the other side. Using wire cutters, I snipped off any excess coat hanger.
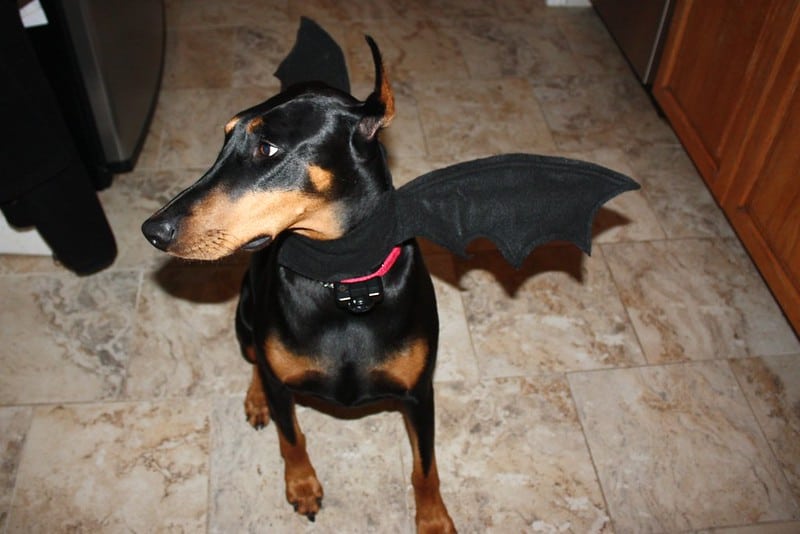
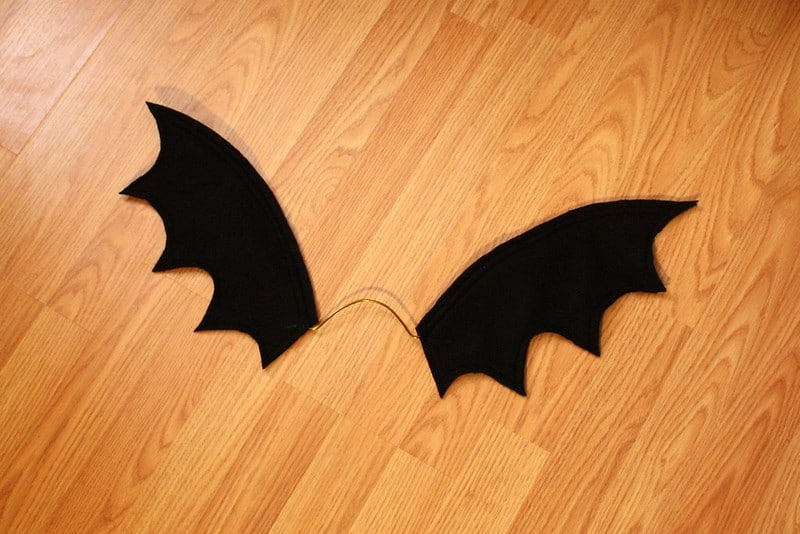 Now the wings slipped right on to the hanger, like so.
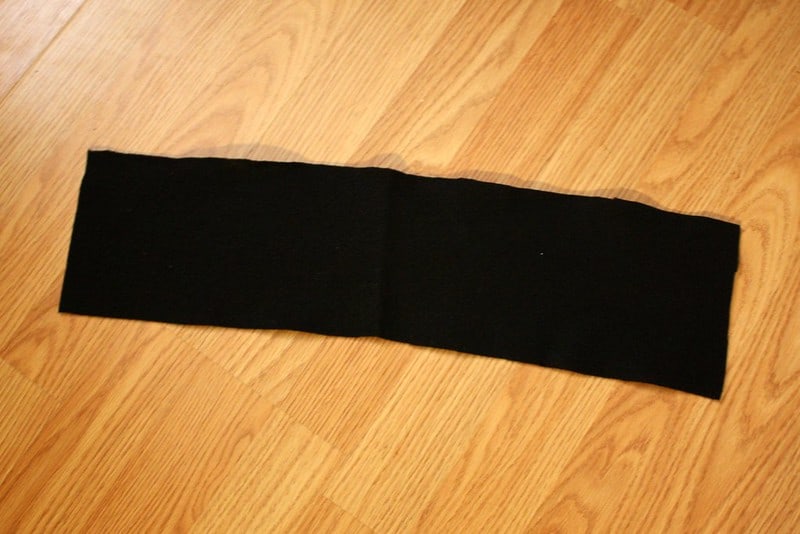 To make the belly band to go around Whiskey’s back, I measured around his chest, adding 1 inch for overlap. Then I sewed velcro tabs on to make it easy to take it on and off.
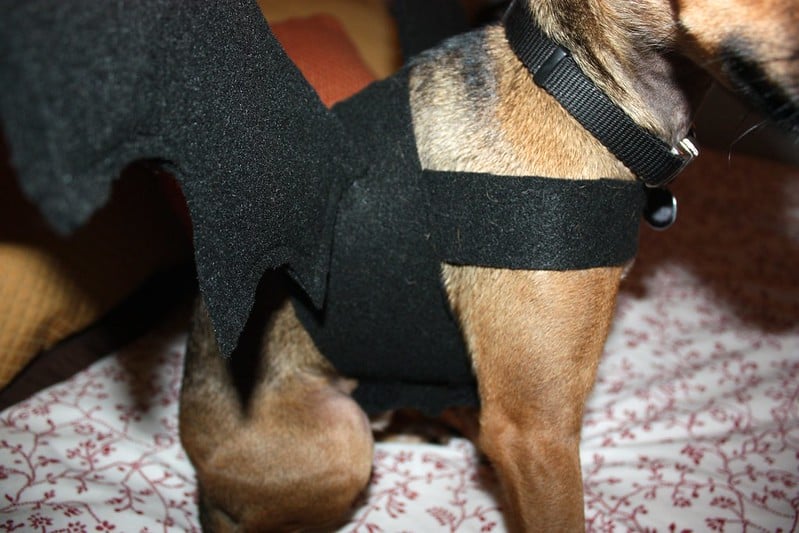 This is how the band looks on his chest when put on. Next, I measure along the front of his chest, from the edge where the band is on one side, to where is was on the other side.
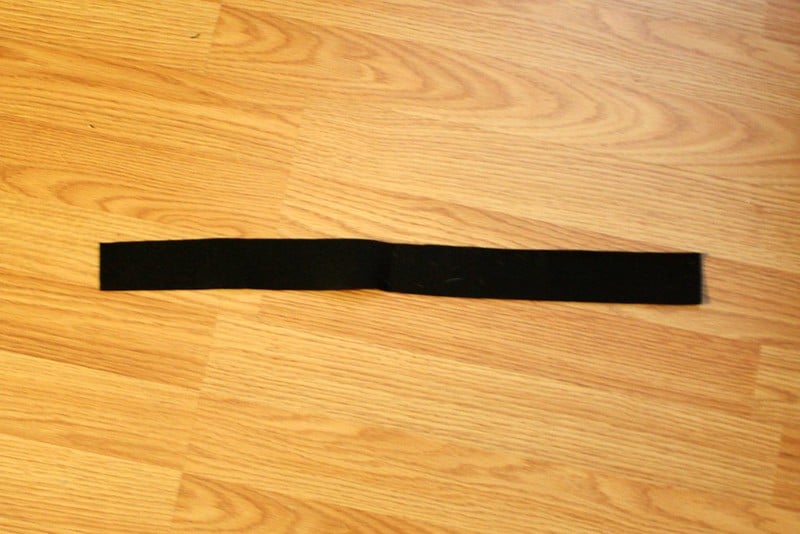 I added an inch on one side to sew it into the existing band, and then an inch on the other side for the velcro tab tucked in under the existing band. So it was the front of his chest + 2 inches.
 One end of the chest strap was stitched one inch in on one side of the belly/chest band.To hide the velcro closure on the other end of the chest strap, I sewed it on the inside of the larger band. When I put it on him, I velcro the front chest trap on first, then the belly/chest band.
 To add the wings, I put the straps on him and then doubled checked where I wanted to place the wings on the band, and marked it.
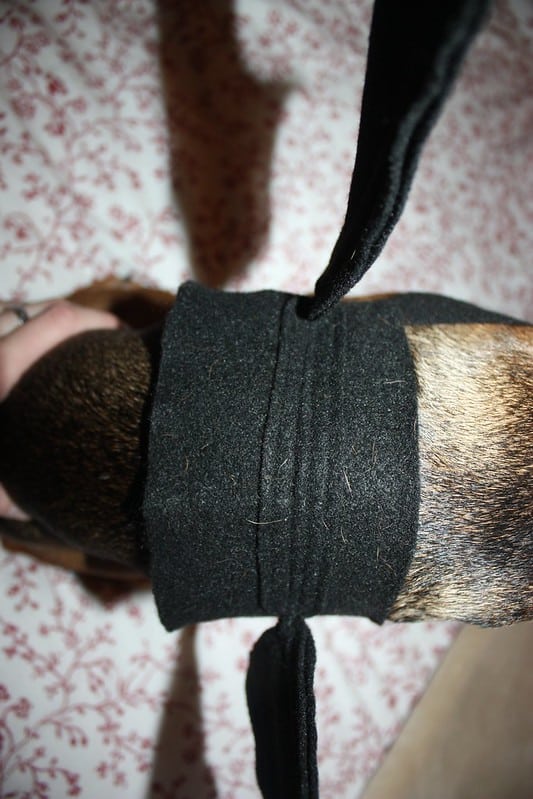 I took a small piece of felt that was the length of the middle piece of curved wire and pinned it on the back of the belly band right where I wanted the wings to go. Then it was a matter of sewing four lines 1/4″ apart from each other. The middle slot that I created was to hold the middle curve of the wings and the outer slots are just for support. I then trimmed any excess felt. Next, I removed one of the felt wings and then fed the wire through the middle slot. After it was secure, I added the wing back on. Then is was just a matter of quickly hand sewing a couple of stitches through the wings and band right where they meet, to make sure that they stayed on the wire.
Are you dressing up your pets for Halloween this year?

this costume is adorable! i’m going to try and make this for my pup too 🙂 so cute!
Oh I love this!! You’re too clever. Now if I was this handy I might try to whip up 2 sets up for my Saints!! Your dog is a perfect model for this. And Doberman? Well–a perfect look!!
Thanks for sharing.
So cute!
Oh my goodness, Whiskey is SO cute as a bat!! Very impressive and creative project. Way to go!
You are so funny, what a cute and clever costume–I had to look up the taco, too. 🙂
That is the cutest thing ever. If I had a dog….
That. Is. Awesome! Seriously! Your *bats* are So well behaved! Love it!
Thanks for linking up to Making It With Allie! I can’t wait to see what you have for next week!
AllieMakes.Blogspot.com
I LOVE your costume ideas for your doggy. I have had a hard time finding anything online that I can make for my cute little pooch. Had to purchase a costume for her last year (hot dog). She doesn’t like the dress up part but loves kids and loves the attention she gets when she’s wearing her costume. Thank you for posting this and your taco outfits. You have inspired me to try to come up with some other ideas. Thanks again!(Meant to comment before Halloween!)
Hey great post! I was thinking to buy dog coats for Joss (my dog) where i came across your article. He looks very cute with those bat wings. Appreciate your efforts. Am sure to make one for Joss too. Thanks for sharing it.
this is adorable
thanks
I made the bat costume for my black Pug…she looked awesome! She really liked it! Hope it fits next year!!!