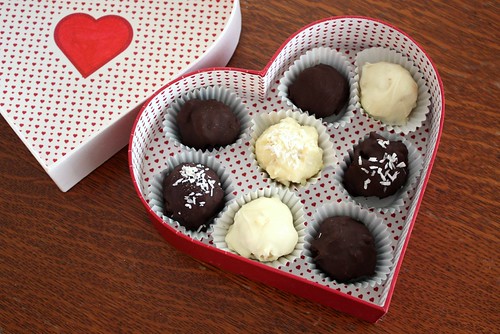
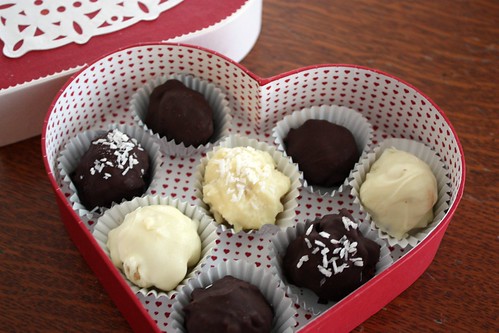
If given the choice, he loves vanilla and white chocolate, so I made some of each flavour for a little variety.

I even sprinkled some coconut on a few of them. I have to admit that I tested every one and the white chocolate coconut ones were my favourite.
To make your own chocolate covered brownie or blondie balls, all you need is:
– Favorite Brownie or Blondie recipe, prepared (I made Protein Brownie, but you can use any)
– 1 bag Chocolate Chips (White, Milk, Semi-Sweet or Dark, whichever you prefer)
– 1 tbsp Butter.

Crumble up the cooled brownies or blondes in the pan and using a melon ball, scoop the brownie and form into a ball. Place them on parchment paper and allow to chill for an hour in the fridge.
In a small bowl, melt 1 cup of chocolate chips in the microwave according to the package. Stir in a tbsp of butter. Place a frozen brownie ball in the melted chocolate, rolling to coat. Lift out with a fork and gentle tap on the side of the bowl to remove excess chocolate.

Return balls to the baking sheet and sprinkle with you favourite toppings as desired. Return to the fridge to cool until the chocolate is set.
Continue melting chocolate and covering the brownie balls. It took about 1 bag of chocolate chips to do a batch of chocolates.

Years I ago I received this as packaging on a present that I ordered and I loved the box. I’ve had it in my wrapping supplies box all these years and have finally found use for it for the boyfriend’s homemade gift this year. I didn’t have the heart to through it out all those years ago and I’m so glad that I didn’t, because it is perfect for this.
It has enough room to hold two layers of chocolates, and I have plenty more tucked away in another container incase he wants more. Knowing his late night snacking, I’m sure that these will be gone in no time.

I made a batch of brownies that came out tasting good, but very crumbly. This might be a good way to “fix” them!