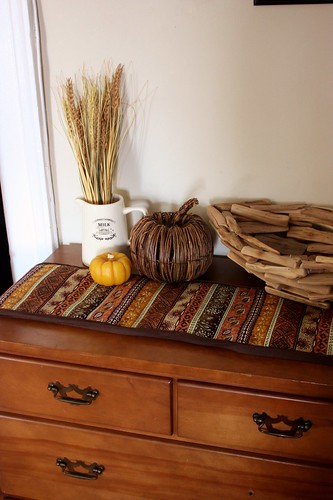
I love dressing up tables, dressers and sideboards with table runners. It’s a great way to add some more colour and pattern to a simple vignette, like the one I had on the dresser in our front hall.
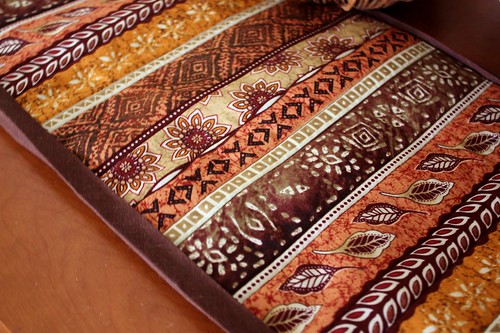
When I found this autumn inspired fabric, I knew I wanted to try and use this for a quilted table runner, using the lines in the fabric to created the quilted look.
What you’ll need:
Striped Print Fabric (for the top)
Thread (in a coordinating colour)
Fusible Fleece
Heat ‘n’ Bond
Fabric or Felt (for backing)
Cut the front fabric, the back fabric, the fusible fleece and the Heat ‘n’ Bond into the dimensions you want for your table runner. I chose 12″ wide x 40″ long for the dresser in our hallway. You generally want at least 6″ hanging off of head end.
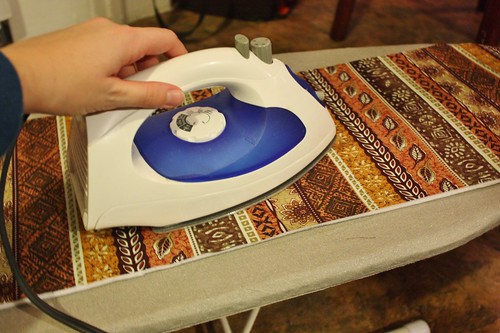
First I ironed the glue-dotted side of the fusible fleece onto the wrong side of the fabric print.
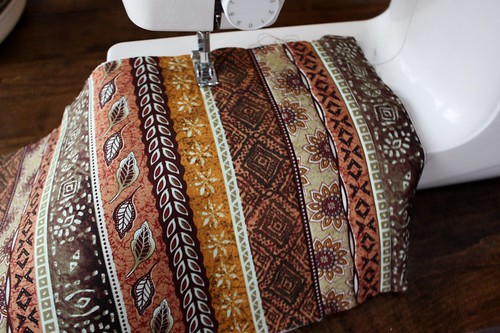
Using coordinating thread, I started stitching along the lines in the design, to create a “quilted” look.
For straight lines, it was easy to just follow them, but for the waved lines, I just went freehand with the pattern.
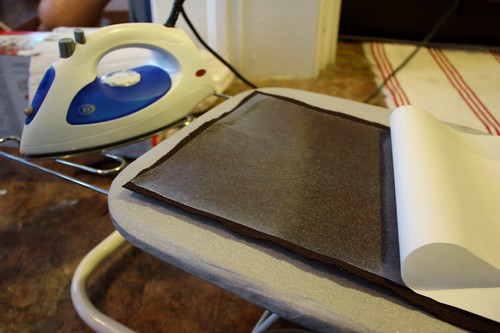
To adhere the backing onto the quilted piece, I ironed the Heat ‘n’ Bond to the back of the felt or backing fabric.
Then I laid the quilted piece with the good side faced down, and placed the Heat ‘N’ Bond side down. Iron until it adheres. This may take awhile, but just make sure you keep moving the iron around to prevent any burning.
The last thing I had to do was put brown bias tape around the entire border. I tried to use the method in this video, which didn’t work on so great for me, but in the end I was able to stitch it on with minimal twisting.
