• About
  • Contact
  • Advertise
  • Privacy Policy
  • Copyright & Disclosure
  • Subscribe
    • Bloglovin
    • Facebook
    • Instagram
    • Pinterest
    • YouTube

Life at Cloverhill

  • Main
  • Home & Garden
    • Cloverhill Farmhouse
    • January Declutter Detox
    • Cleaning & Organizing
    • Gardening
    • Our Backyard Chickens
    • Previous Apartments
  • Holidays
    • FREE Online Christmas Planner
    • Holiday Decor
    • Holiday Recipes
    • Holiday Projects
    • Holiday Gift Ideas
    • Holiday Organizing
    • Holiday Activities
  • Recipes
  • Create
    • Printables Vault
    • Everyday Projects
    • Seasonal Projects
  • Family
    • Baby
    • I Do
    • Travel

Apartment Craft Tutorial Decor DIY

How to Paint a Horseshoe

 
how-to-paint-a-horseshoe
Last week, I shared how I cleaned up an old horseshoe given to us by my Nana, and I’m happy to say that it is now hanging up in our front hall.
 
how-to-paint-a-horseshoe
This is what it looked like when we first got it from my Nana…


how-to-paint-a-horseshoe

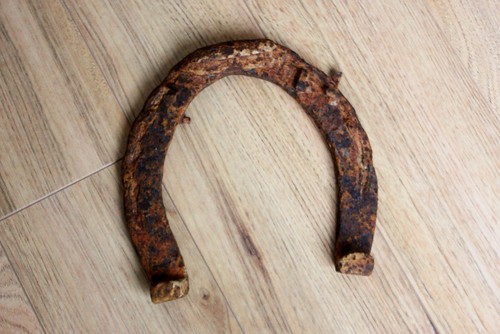
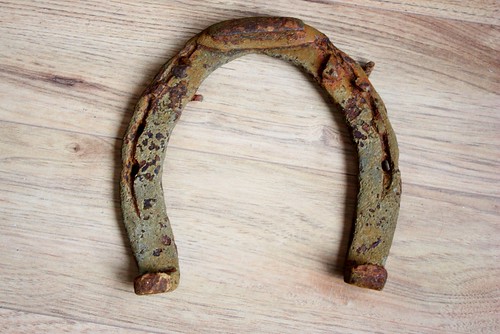
…and here is what it looked like after cleaning it up. It was already looking better, but we knew that we wanted to add come kind of a finish to not only clean it up, but to also protect it against more rust.

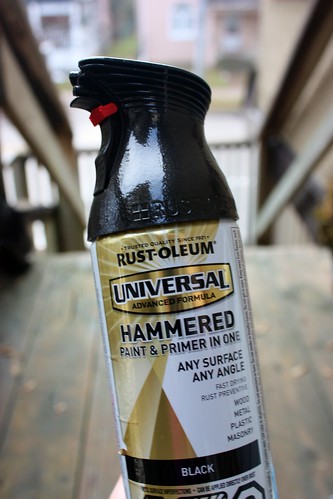
After much debate about what type of finish it should be, we finally agreed on Rustoleum’s Hammered Black Spray Paint. I liked that it is paint and primer all in one and we thought that the finish would help highlight some of the main details on the horseshoe.

how-to-paint-a-horseshoe
I ended up painting three thin coats on both sides, about an hour apart, and then let it dry completely overnight.


how-to-paint-a-horseshoe
The next day it looked like this – black undertone, but with silver blue highlights.


how-to-paint-a-horseshoe

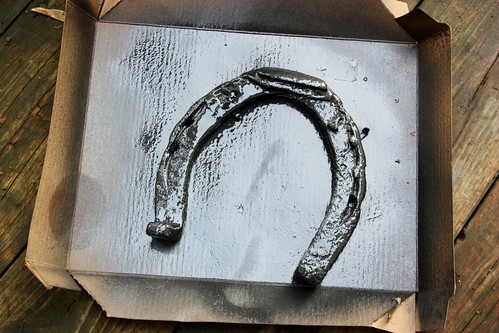
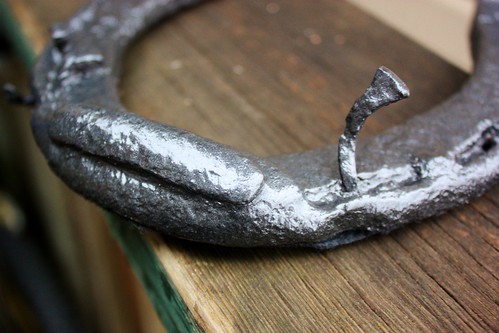
I’m so happy with how the finish turned out. Such an improvement from the original rusty version, but with all the character. The nails turned out great and I’m glad that we didn’t cut them off in the end.

how-to-paint-a-horseshoe

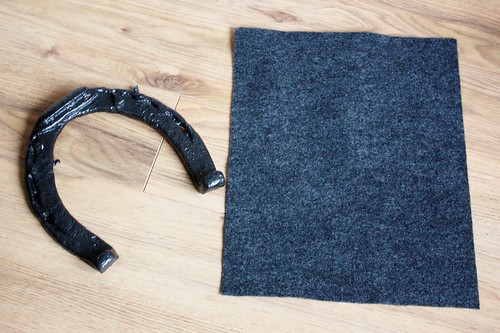
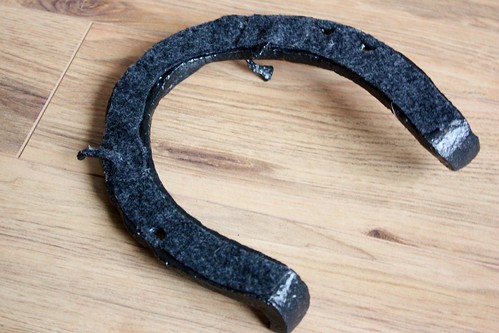
To prevent any scratches on the wall when it is hung up, I decided to put matching felt on the back to protect it.

how-to-paint-a-horseshoe

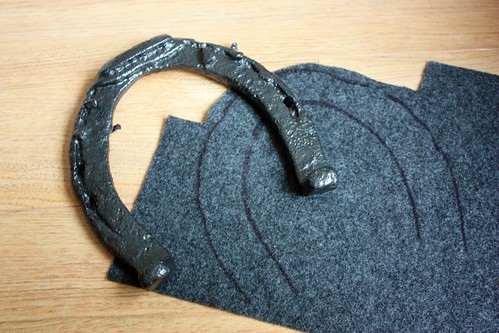
Traced the horseshoe shape, cutting about 1/4″ in from the sides so that the felt isn’t visible when it is glued on.

how-to-paint-a-horseshoe

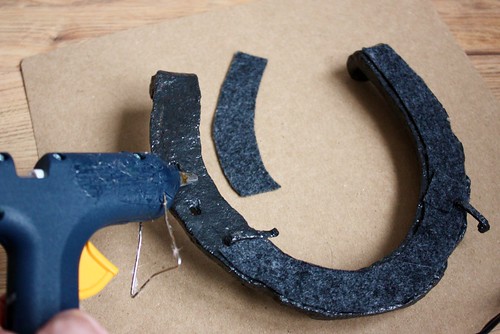
I cut the felt horseshoe shape into sections that fit in between the bent nails on the back. A little hot glue kept them in place.

how-to-paint-a-horseshoe

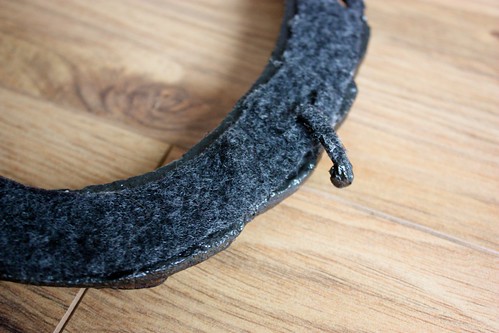
I made sure to poke the holes through the felt as well, and to add some extra felt batting on any of the bent nails.

how-to-paint-a-horseshoe
You can see a tiny strip of felt that I put on the back of this nail to protect the wall.


how-to-paint-a-horseshoe
Then it was just a matter of hanging it up in our front hall for some good luck!

how-to-paint-a-horseshoe

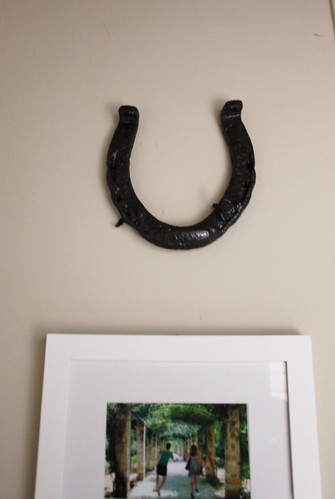
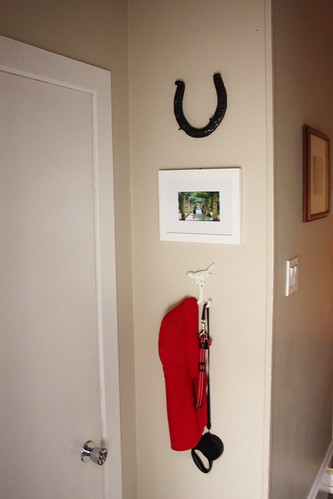
To put it up, I held it up to the wall and poked a pencil through the holes that I wanted to hang it from. I hammered in two similar coloured nails into the marked holes on the wall and then hung it up.

 
how-to-paint-a-horseshoe
I found the perfect spot for it above some little touches I made last spring to our tiny front hall area – a photo from my trip to Greece in 2009 and a cute little bird hook that we use to hang Whiskey’s leashes and sweaters.


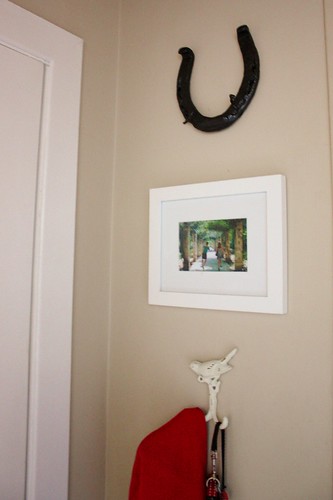
Just because you don’t have much of a front hall, doesn’t mean you can add some little touches to make it look nice and welcoming!


– – –
Linked Up To:
Alderberry Hill
Homestories A to Z
Not Just a Housewife
Sugar and Dots
Southern Lovely
Milk and Cuddles
Crafty Scrappy Happy
Serenity Now
Liz Marie Blog
Chic on a Shoestring Decorating

Share this:

  • Click to share on Pinterest (Opens in new window) Pinterest
  • Click to share on X (Opens in new window) X
  • Click to share on Facebook (Opens in new window) Facebook
  • Click to email a link to a friend (Opens in new window) Email

Related


« Historic River District of Fort Myers
Enchilada Biscuit Bake »

Comments

  1. Anonymous says

    January 15, 2013 at 4:23 pm

    May your life be full of luck!

  2. Reduce, Reuse, Renewed says

    January 16, 2013 at 3:05 am

    What a fun and personal home decoration! Turned out great.

  3. Anonymous says

    July 14, 2013 at 12:43 pm

    Looks really cute I have 2 old horseshoes that were my grandfathers I think ill copy what u did and get them hung up so I can enjoy them thanks for a great idea!

Hi, I'm Amanda! Join me as I make my family's 1903 farmhouse into a home. I share renovations, DIY projects, recipes, our flower farm and the joy of living in the Canadian countryside
More About Me

Archives

Categories

Copyright © 2025 · Divine theme by Restored 316

Copyright © 2025 · Divine Theme on Genesis Framework · WordPress · Log in