I don’t particularly like ironing, but the reality is that some of our clothes have to be ironed. There is no getting around it. The only thing that makes ironing worse, is having to wrestle with the cords that inevitably becomes tangled when I pull it out of the cupboard.
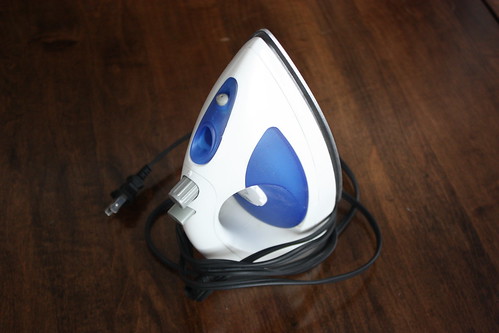
Usually, I have the cord just carelessly wrapped around the iron. I use velcro wrap cords for most of the cords for electronic devices and hair tools, but for larger pieces like an iron, they just don’t seem to be long enough or wide enough.

You can see the iron here in this post on how I organized our bathroom,with the cord all haphazardly wrapped around it. It looks fine, but if you try to lift it out, it all becomes tangled. I finally decided enough is enough and looked for a solution.
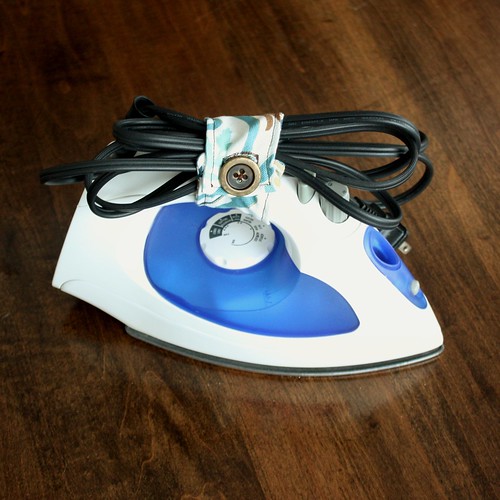
an easy to sew cord cuff! No more tangled cords!
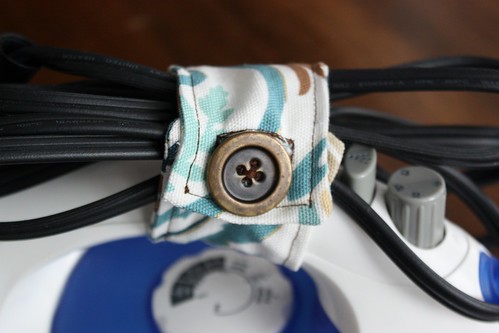
Now the iron cord is all neatly wrapped in a cute little cuff. I’m even hoping to do this for other larger appliances for awkward cords, like our juicer.
What you’ll need for this project:
- Scrap Fabric
- Button
- Thread
- Sewing Machine
- Needle
- Iron
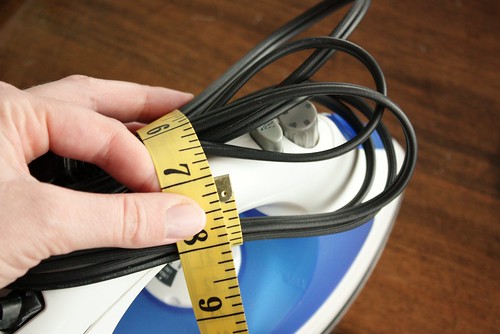
To figure out how big I would need to make the cuff, I wound the cord how I would like it to sit on the handle, and then used a tape measure to see how long the cuff would need to be to hold everything in. 7″ was enough to keep the cords in place, with a 2″ width to prevent everything from sliding out.
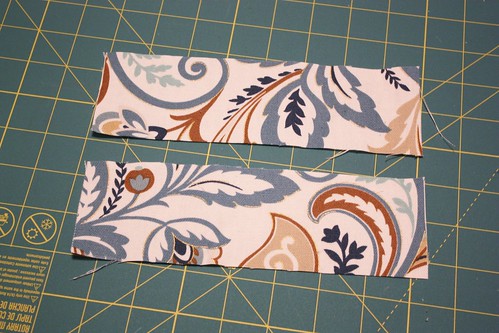
Cut out two 2.5″ x 8″ rectangles of scrap fabric. This will give you another for a 1/4″ seam allowance on all four sides, as well as extra room for the button hole.
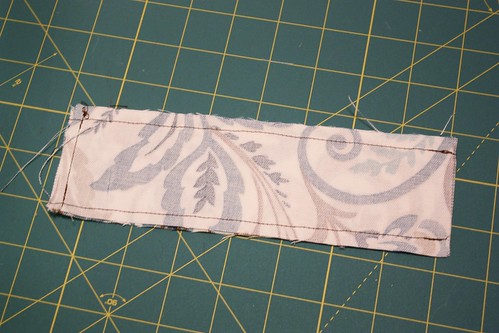
Pin the good sides of the fabric facing each other, and stitch a 1/4″ seam allowance on the two long sides and one short side, using a sewing machine.
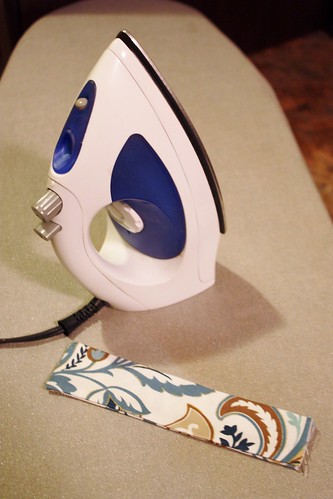
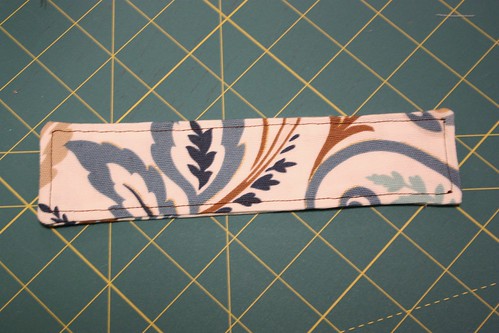
Turn the piece inside out, using a pencil to poke the corners out. Using the iron on an ironing board, press the rectangle flat.

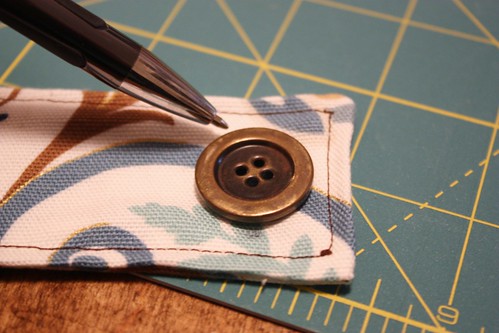
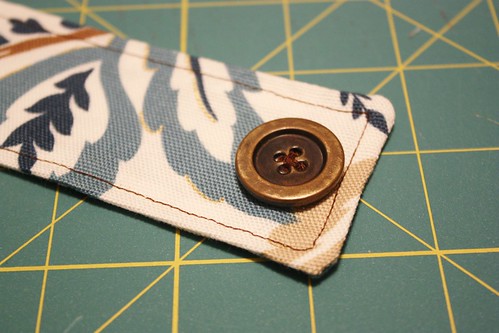
Using a pen, mark where the button hole will be. You want to make sure it is just wide enough for the button to fit in, but not much more.

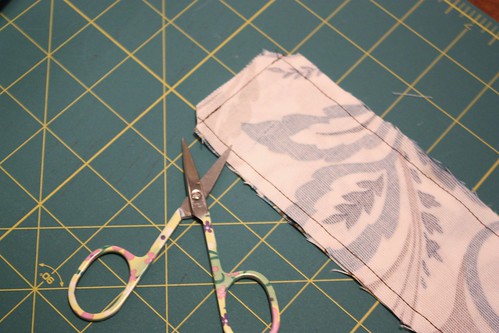
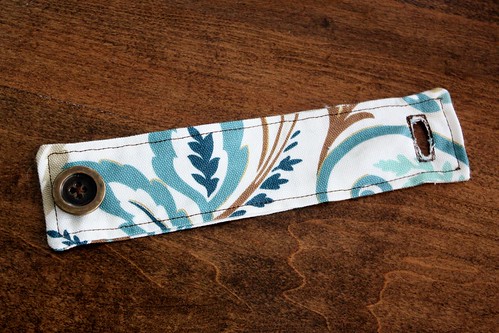
Use can use a button foot, but I don’t have one. Instead, I stitched a small rectangle button hole 4-5 times, until it was secure. Use sharp scissors to cut out the inside of the rectangle.


Very smart!
I agree! This is SO smart!
Fantastic! Of couse we all have the same issue with our irons!
What a great idea!
And a perfect little project for scrap fabrics. I think I need to do this for everything… blowdryers, straighteners.. my list goes on…
🙂
OMG! That is brilliant! If I had a sewing machine, I’d be making a bunch of these for all my appliances that I store away. I’m going to have to figure out how to do it without one.
Clever idea! Thanks so much. I just made one, but used velcro instead of a button. Cords drive me crazy, but no more.
Awesome blog! Do you have any recommendations for aspiring writers?
I’m hoping to start my own site soon but I’m a little
lost on everything. Would you propose starting with a free platform like WordPress or go for
a paid option? There are so many choices out there that I’m completely overwhelmed ..
Any recommendations? Thank you!