Last Easter, I had so much fun making the Painted Robins Eggs, but this year I wanted to make something a little more vibrant.
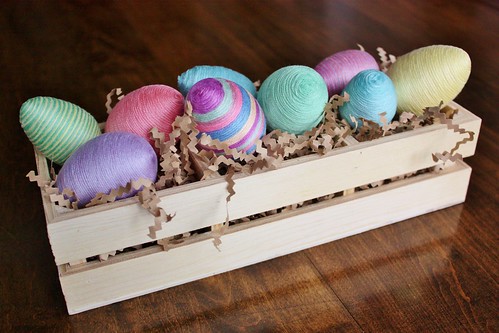
Using embroidery floss and some styrofoam eggs, you can make these fun and colourful Twine Wrapped Easter Eggs. They take a little time to wrap, but I found it was a fun project to do while I caught up on Downton Abbey (just started Season 3!) and I was able to make 9 eggs for only $4. I’ve seen similar eggs in stores for as much as $12 for a dozen.
I found this bare crate at the dollar store for $3, including three small votive holders that were nestled inside. For now it is the perfect home for some festive eggs on the dining room table.
What you’ll need:
- Styrofoam Eggs (or you could even use plastic)
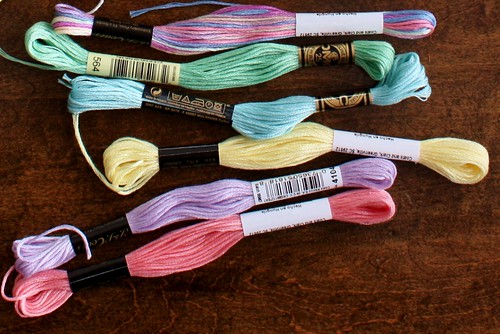
- Embroidery Floss
- Mod Podge – Matte Finish (or a clear drying glue)

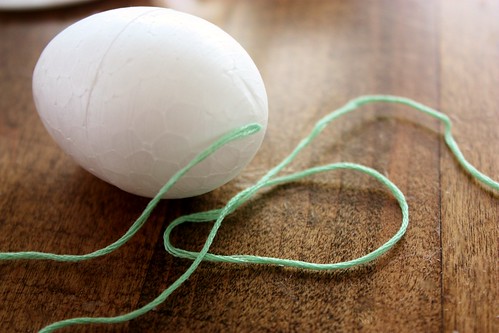
Put a small dot of mod podge on the centre of the bottom of the egg. Stick the end of the floss to it and let it dry. This will make it easier to wrap the floss as you go.
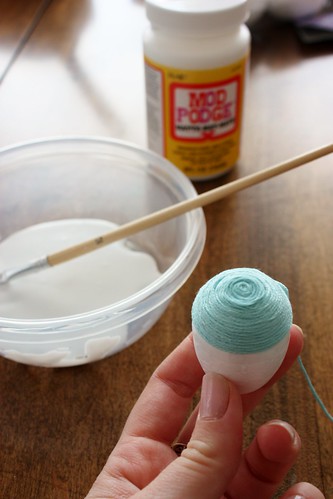
Begin wrapping the thread around the egg. I found that applying a light coat of mod podge to the each area before you wrap it helps the floss stay put.
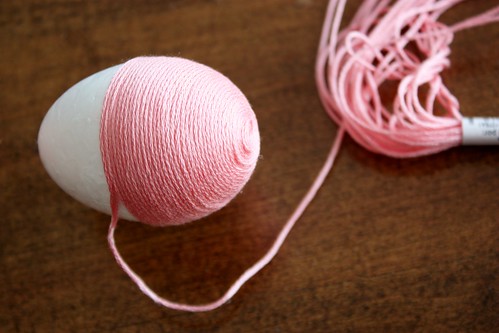
Continue wrapping around the egg until you get to the end. Trim the floss so that there is only a little piece on the end. Place another dab of glue on the top and press the end down.
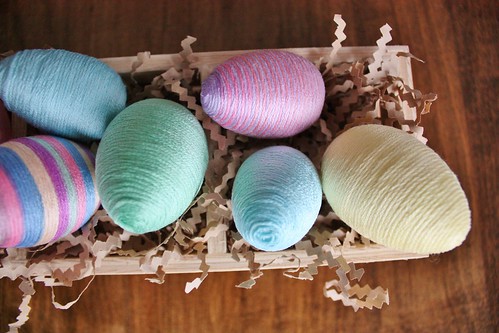
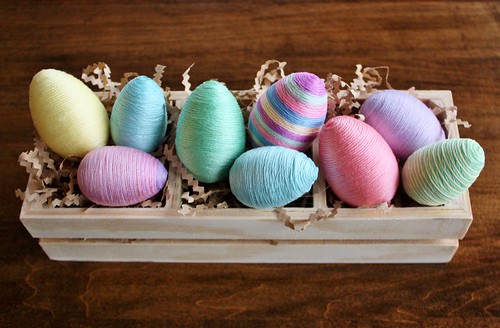
The ombre floss created the large striped egg in the left corner. I started to run out of floss, so I made one with alternating colours. Those ones turned out to be my favourite!
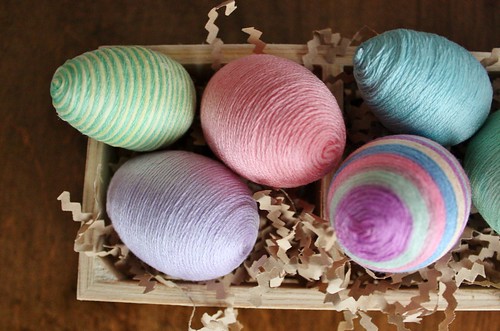
To make a striped egg with two colours, stick the ends of both colours into the dab of glue at the bottom. When it is dry, hold the two strands together and begin to wrap, applying a thin layer of mod podge as you go around.
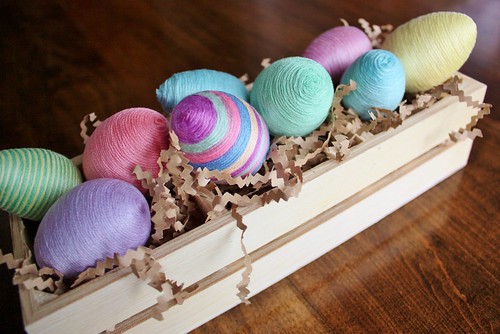
In the end, you’ll have a fun little crate full of bright and festive Easter Eggs! They would also be adorable hung up on strings on a tree, or use the smaller ones as a vase filler.
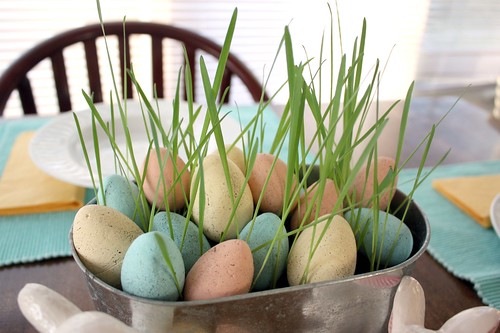
You could also add them to a Cat Grass Centerpiece like the one I made last year, using the Robin’s Eggs.
I have one more egg project to show this week, and then I’ll be finishing up my Easter decor to show you. I can’t believe that it is already Easter season. It feels so early this year!

Hey there! I nominated you for a Liebster Award! Check out my blog for more information!
http://sunnysideshlee.com/2013/03/12/liebster-award-nomination/
BTW: Your crafty tutorial is adorbs!
I love the spring shades and textures!
I found you on Southern Lovely…the eggs are adorable! I think I’m going to have to make some now!
These are SUPER cute!! 🙂
I would love for you to join my Blog Hop!
http://www.pluckys-secondthought.com/pluckys-blog-hop-2/
Don’t forget to join the Giveaway! 🙂
My Grandma still decorates with these that she made with yarn back in the 60’s! Yours are much cuter though, and the colors are MUCH prettier! ;D
Wow! You are a patient woman! These are stunningly pretty but I don’t know if I could be that patient. Maybe I will try. They look fabulous!!
Krista
Beautiful!! These are so pretty and quite a gorgeous display to have for spring! Thanks so much for sharing them at Project Inspired!
Thanks so much for sharing these at Project Inspired- I featured your gorgeous eggs today!http://www.settingforfour.com/2013/03/project-inspired-week-4-linky-party_19.html