I had so much fun making the DIY Vintage Wood Sign this past week, that I just had to play around with it again this weekend.

This time, I got to work aging and distressing simple craft store wooden crates. I even hand painted vintage postage stamps onto some of them.


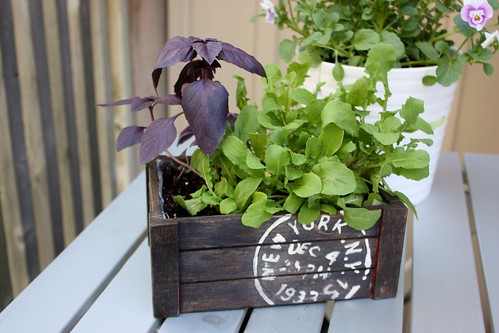
Hydrangeas are one of my favourites this time of year, and they looked great in the neat rows of the crate.

The other two crates, I painted and beat up a bit more for another project I’ll share later this week.
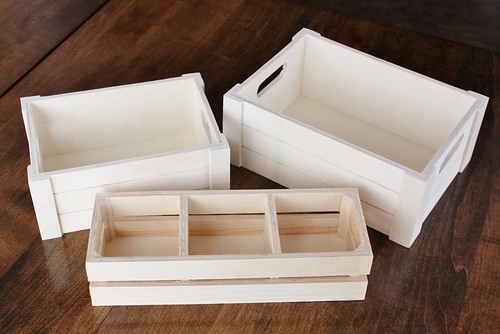
They started out as simple bare wooden crates. I found mine at the dollar store (Dollarama for all my fellow Canadians out there), but I’ve also seen them at craft stores like Michael’s.
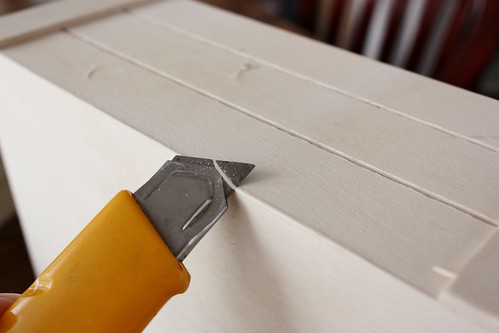
I roughed up the edges a bit, using an exacto knife to take out larger chunks and then cleaning it up with rougher sandpaper to give it an aged look.

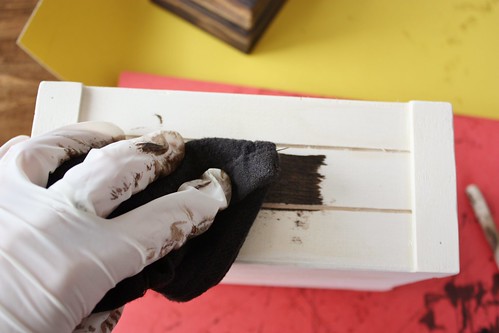
For a stain, I went with MinWax Wood Finish in Jacobean (my favourite!) but I found that it was absorbed by the wood super quick. It came out much darker than I had anticipated. I would suggest doing a test on the bottom first to see how the colour comes out. Rubbing the stain off quickly also helped to remove some of the colour.
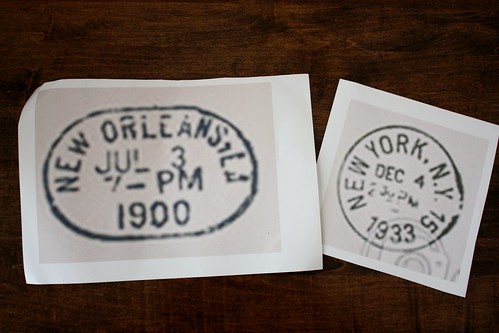
To create the “stamps” on the larger crates, I found pictures of vintage mailing stamps online and blew them up to the size of each crate.
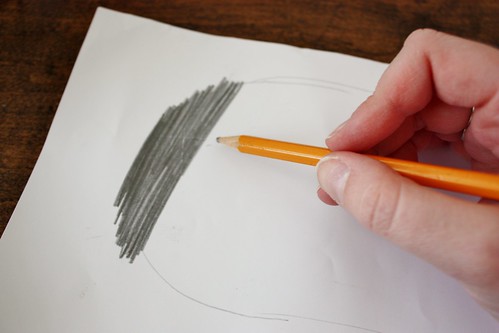
I cut the stamp out, flipped over the paper and began to shade the entire back with a pencil. Do you remember doing leaf rubbings as a kid? I use that same method to transfer the text to the wood.

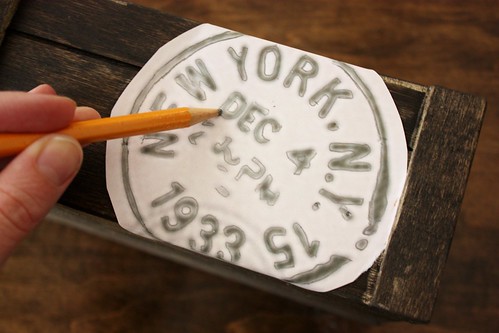
Place the paper right side up and position it where you’d like the text to go. Tape it down with some painters tape to keep it in place and start to trace the edges of the image.
The stamps were a little blurry once they were blown up, but it still gave me a rough idea of the design.

Once you remove the traced paper, there should be faint pencil lines on the crate. I used a fine brush to paint on the design and allowed it to dry completely. It didn’t come out perfect but I wasn’t too concerned about it. After it was distressed some more, the imperfections weren’t so noticeable.

Using fine sandpaper, I lightly sanded the entire painted area to create a worn look. The paint left a chalky residue, but it was easy to wipe off with a damp cloth.

Once it was completely dry, I sprayed on a couple of thin coats of this Krylon Satin Finish clear acrylic spray.

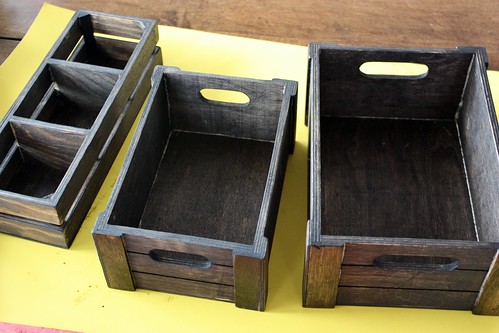
I think they turned out great! They really look like something that came through a train station depot decades ago. I can’t wait to show you what I ended up doing with these crates, but there are so many ways that you can incorporate these into your decor.
– – –
Linked Up To:
DIY Showoff
Alderberry Hill
Home Stories A to Z
Setting for Four
Young House Love
Bower Power
RedBirdBlue
Sparkle Meets Pop
Dixie Delights

They are absolutely stunning Amanda… I can’t tell you how much I love them!! Wow! I picked up the last little crate at our local Dollarama and they haven’t gotten any more in… boo!! I hope they do because now I have a new plan for them. Great job,
Krista @thehappyhousie
PS I shared this on my google+ because I really love the idea so much!
Krista
Thanks Krista!
These are awesome!!
Mandy @ The Hankful House
These look fabulous! I love the stamp image… great job! Thanks for sharing this week on Project Inspire{d}!
I love these crates, especially the postage stamp you painted on them! I’m going to include it in my Friday Favorites round-up today 🙂
Thanks for sharing your gorgeous diy crates at Project Inspire{d} linky party last week!! Hope to see you at this week’s party up now : http://www.settingforfour.com/2013/05/project-inspired-linky-party-no.html Pinned your post to our group linky party board! Heather
I love this!! I followed your tutorial and made my own for my new college apartment! Thanks, they came out sooo cute! http://imgur.com/a/jPkEI
Yours looks awesome! Thanks for sharing the picture with me – I always love to see the final results!
I do believe all thee concepts you have presented on your post.
They aare rally convincing andd will defiinitely work.
Still, thhe posts are very quick forr beginners. May you please lengthen them a bit
from next time? Thank you for the post.
Aw, this was an extremely nice post. Finding the time and actual effort to produce a superb article…
but what can I say… I procrastinate a whole lot and never manage to
get anything done.