On a recent shopping trip with my mom, she mentioned that she was on the look out for new coasters. She hadn’t been able to find any that she liked, so I continued the hunt to try and find some to add to her birthday present. I checked in every store I went to for two weeks, and I couldn’t even find coasters, let alone find ones that fit in with her decor. Where did all the coasters go?
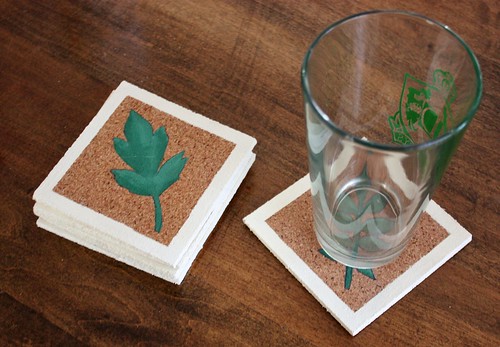
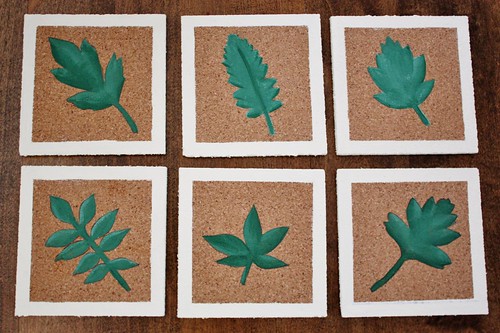
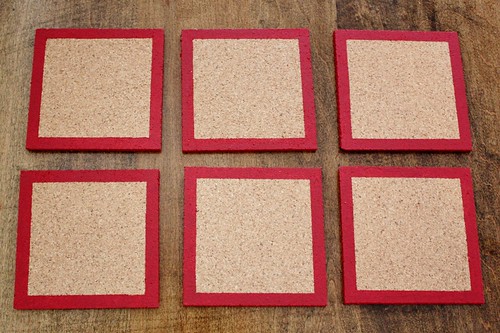
The only solution was to get creative and make her some hand painted coasters that I knew would fit in with her decor. I ended up making her this leaf set for her back deck and a plain rusty red border version for the family room. Now when she uses one, she’ll know that they were made for her with lots of love.
What you’ll need;
- Cork Floor Tiles
- Painters Tape
- Acrylic Paint
- Clear Acrylic Spray
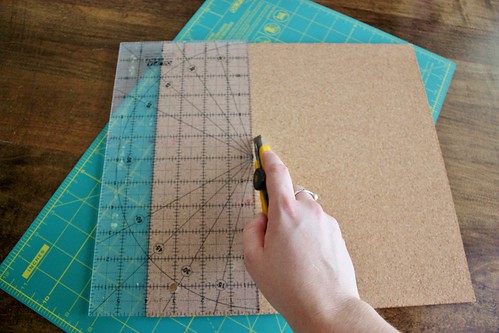
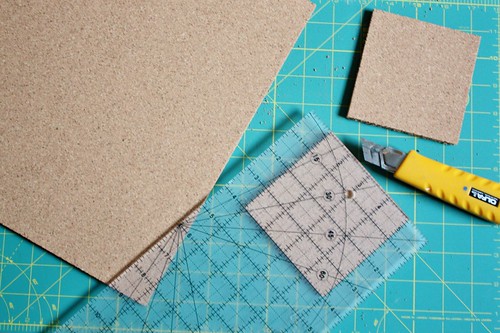
The cork tiles will most likely come in a 12″ x 12″ square. I used a sewing ruler and utility knife to cut them down to size, on my self-healing mat to protect my work surface.
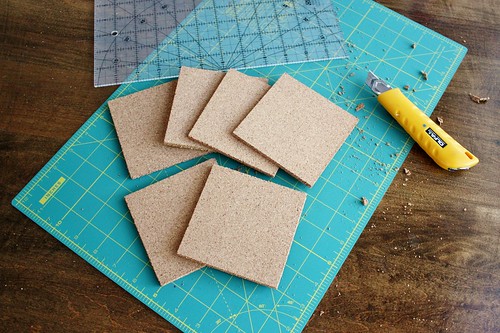
I made these coasters 4″ x 4″, which seems to be the standard coaster size. I found that you are less likely to chip off the cork at the corners of the squares if you make small, shallow cuts with the utility knife, and just keep going over the area you want to cut, rather than trying to cut through the whole tile at once.
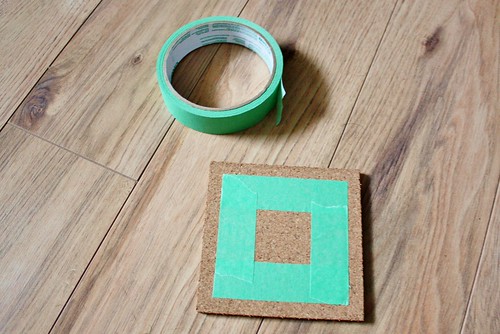
I used painters tape to create a clean line for the painted border of the coaster. I used a ruler to measure where I wanted the border to go and marked it with a pencil. Then I cut the tape to size and firmly applied it to the tile. Make sure that it it is pressed down, or paint can leak under the tape and you won’t get a straight border.
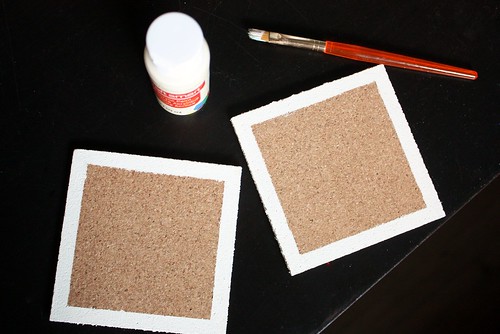
I painted several coats of acrylic paint on the border I’d marked off and along the outside edge. When the last coat was still wet, I carefully pulled off the painted tape. Let the paint dry completely overnight. If you have any smudge marks or areas where the paint leaked under the tape, you can gently scratch it off with the utility knife.
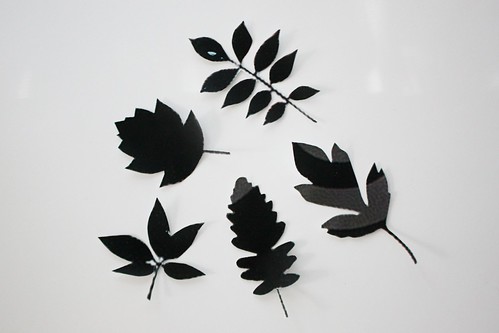
To make my leaf designs, I found some different leave silhouette designs that I liked (here and here). I enlarged them on the computer, printed them out and then carefully cut them out with scissors.
I traced the leaf patterns with a pencil and painted the inside of the design using acrylic paints. I originally had the silhouettes painted a solid colour, but Garrett is the artist in the family and he suggested that I add some dimension with highlights and shading.
I used the same medium green colour and mixed it with dark green to create the shadows, then I mixed some cream coloured paint into the medium green to create the highlights. I was really pleased with how it turned out and I’m so glad that he recommended it.
After everything had dried, I sprayed on two thin coats of clear acrylic to help protect the surface. This is the same stuff that I used to preserve acorns last fall and protect the hand painted wood sign in our washroom. It’s a great product to have around, because you can use it for so many different projects.
I also made a set with a plain rusty red border for their family room. It goes great with the rustic elements of the room and the paisley fabric on their big comfy reading chair.
A set of hand painted coasters would make a lovely housewarming gift or adult stocking stuffer. I’m making a set of them right now to match our bedroom decor for the water glasses on our nightstands.
– – –
Linked Up To:
Chic on a Shoestring Budget
Craftberry Bush
Sugar and Dots
Southern Lovely


Love this! I just did the same thing but used some paper and mod podged it on top with a white spray painted border. I like how you left some of the cork colour showing. Pretty!