Christmas just wouldn’t be Christmas without listening to the haunting rendition of Have Yourself a Merry Little Christmas by Judy Garland. It’s message of gathering your loved ones near and looking forward to a brighter future always tugs at my heartstrings. My sister and I used to play this Traditional Christmas Classics CD on repeat throughout November and December and I’ll always remember that it was track 9. Then they went and put that song in one of the tenderest moments in The Family Stone and I can’t help but get a little teary at that scene.
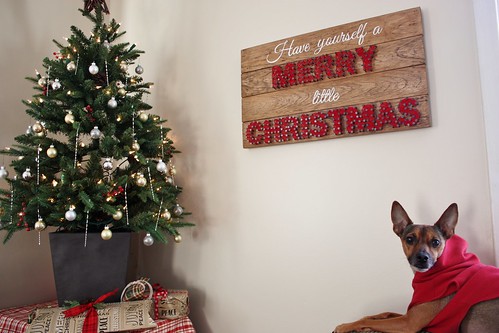
In honour of that beloved holiday tune, I made a wooden sign using a combination of paint and string art to create the words. Garrett took this picture for me yesterday morning because it was still too dark out when I left and I love that he got Whiskey in the shot. In his red sweatshirt no less.
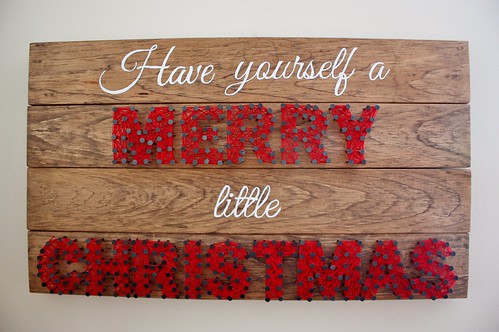
The sign itself isn’t complicated, but it does take a fair bit of time. I counted the nails afterwards and I hammered in 340 nails! No wonder my arm was sore the next day. The hard work was worth it in the long run because I now have a sign of one of my favourite Christmas songs to enjoy for years to come.
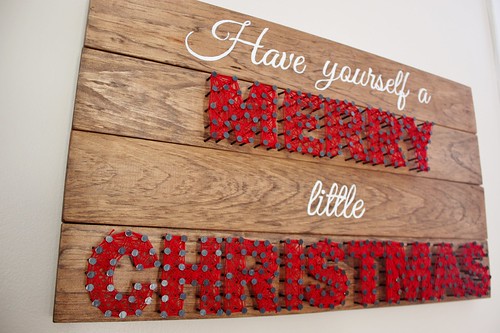
I chose string art for “Merry” and “Christmas” to really make them POP and give some dimension to the sign.
What you’ll need:
- Wooden Boards
- Wood Stain
- Cloth Rag
- Plastic Gloves
- Printout of Letters
- Pencil
- Acrylic Paint
- Paint Brush
- Hammer
- Nails
- String or Crochet Thread

I went to Home Depot and had them cut a 1″ x 4″ board into four equal pieces while we were at the store. Using my new sander, Garrett gave them all a quick sanding to remove any rough areas and clean up the ends.
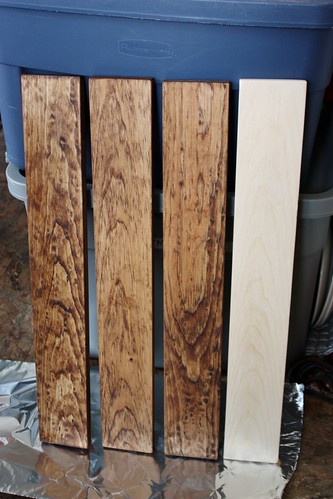
To stain the wood, I used MinWax wood stain in Early American. I applied a thin even layer of stain with a cloth rag and then wiped it off within a couple of minutes. This gave the wood some more depth and brought out the grain. I let the stained wood dry for a couple of days before I started anything else. You could also cover it with a protective polyurethane if you’d like.
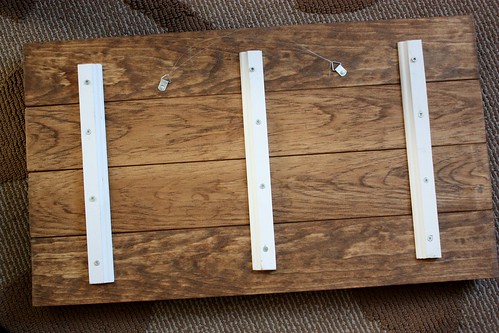
To put the boards together, I screwed three slats of wood to the back of the boards. I drilled pilot holes first to prevent the wood from splitting.
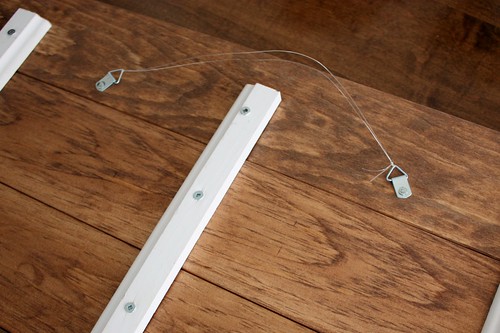
However you’d like to hang the sign, it’s easier to do it before you hammer all the nails into the other side. I used two metal picture hanger loops and strong fishing line to hang it in place.
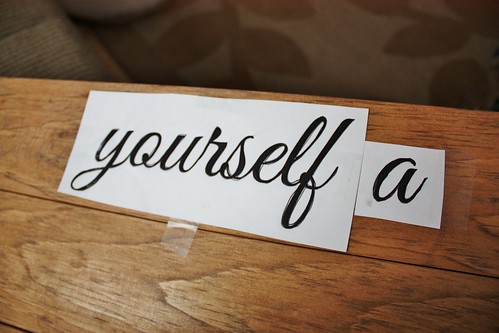
To make the painted letters, I used the same method as I did with the DIY Vintage “Splish Splash” Sign I made for our washroom. I printed the painted letters in one of my favourite fonts, Great Vibes, and then rubbed a pencil on the back of the paper. Then I cut the paper and taped it where I wanted the letters on the board. With a pen,I traced the edges of the letters to leave a light impression on the wood.
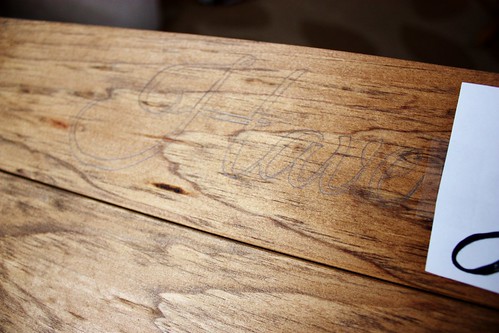
When you pull off the paper, the impression you left will be a penciled line to paint within.
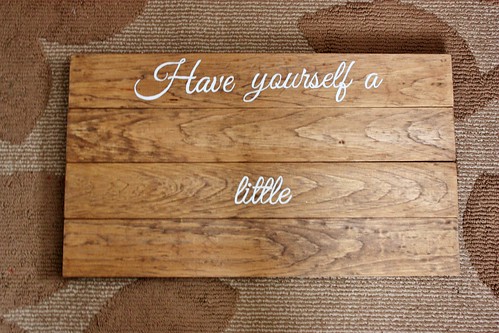
Using white acrylic paint, a thin brush and a steady hand, I carefully painted within all the lines I had created.

For the string art sections, I printed large block letters and arrange them on the boards with tape to secure them in place.
When I was adding the nails I made a mistake on my first few letters. First I’m going to show you was DIDN’T WORK and then I’ll show you what DID WORK. I just want to make sure you can skip my mistake and save yourself some time.
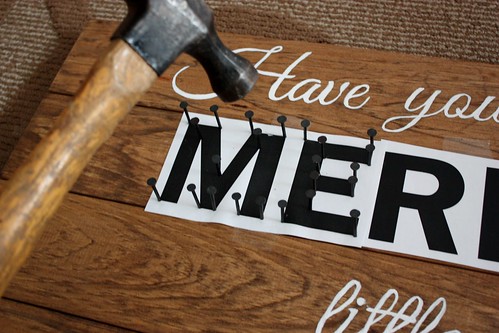
I tried to hammer the nails through the paper and into place, and then rip the paper off around the nails.
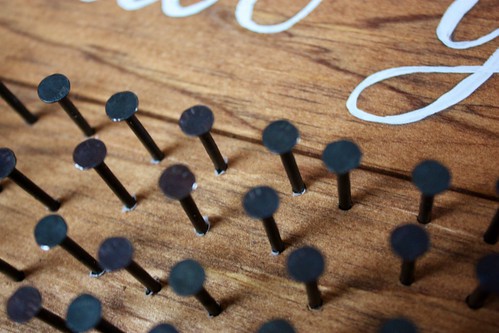
Seemed like a great idea, however it left me with lots of little pieces of paper stuck at the nail bases that I had to pull out with tweezers. I knew I’d go crazy if I had to do that for 300+ nails so I tried something else.
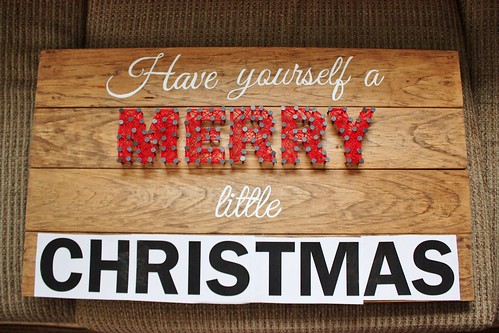
This time, I arranged the letters how I wanted them and taped them in place again.
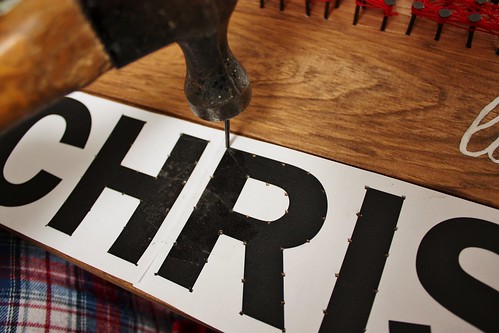
Then instead of hammering the nails all the way through, I just took one nail and used it to make little puncture holes all along the letters. This gave me a guide for where to hammer the nails after I removed the paper.
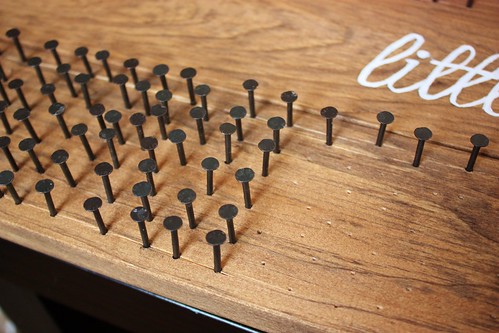
I pulled the paper off the board and hammered the nails into the guide holes. I did notice some minor splitting on some of the rows that I had many nails in a line close together, like the top and the bottom. I’m not too concerned because the braces in the back will keep them in place, but I would probably use a skinnier nail next time.
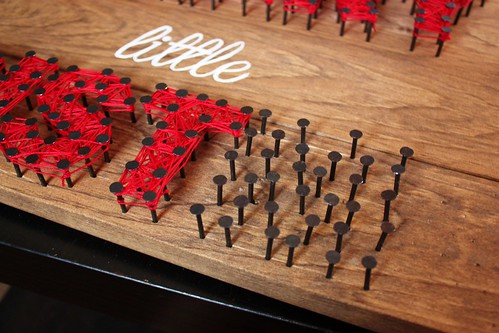
Now for wrapping the nails in string! I found that it was easier to hammer in that nails for one letter at a time and then wrap it in string before you hammer in the nails for the next one.
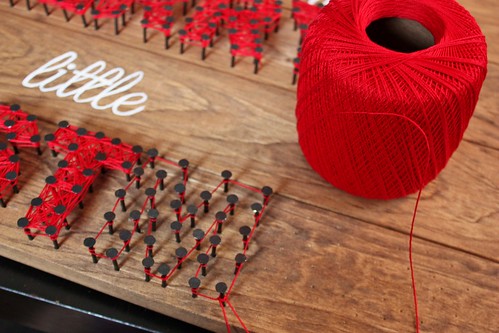
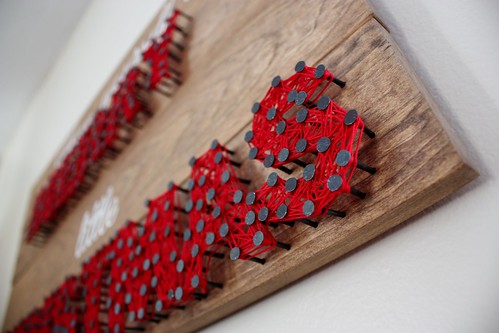
Tie the end of the string to one of the nails, and then begin to wrap the string around each nail of the perimeter to create the basic shape of the letter.
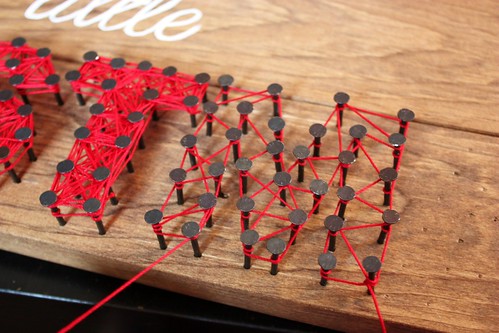
Zig zag the string back and forth until you’ve filled the entire area.
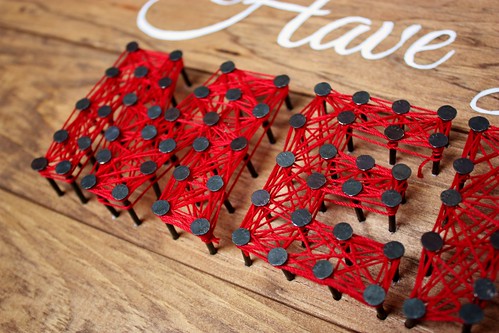
At the every end, I went around the perimeter of the letter one more time to make sure it looked solid and then tied the string off at one of the outer nails.
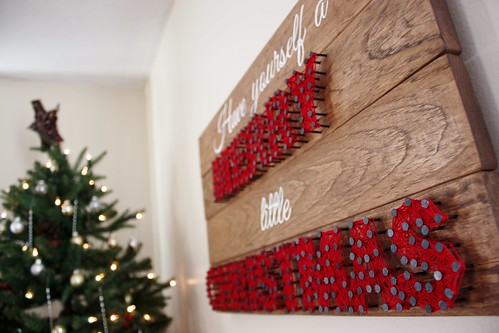
It took me a few evenings of painting, hammering nails and stringing the letters (all while watching Christmas movies) – but it was so worth it to see it all done.
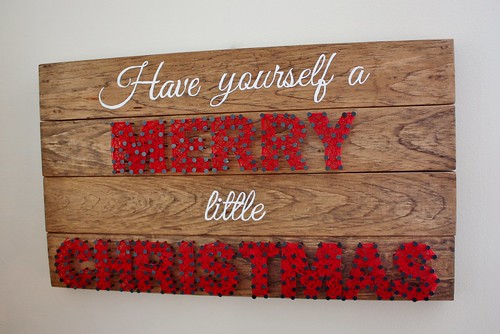 1 tube of paint, 4 stained boards, 340 nails and half a row of red crochet thread later, I have my own handmade holiday artwork to enjoy for years to come.
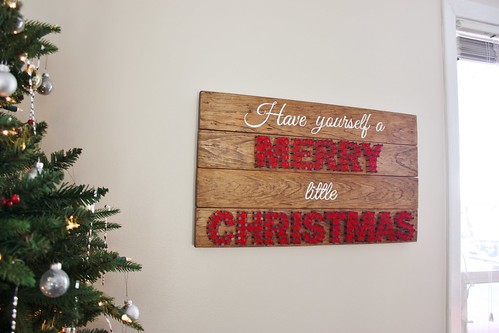
I’m so pleased with how it turned out!
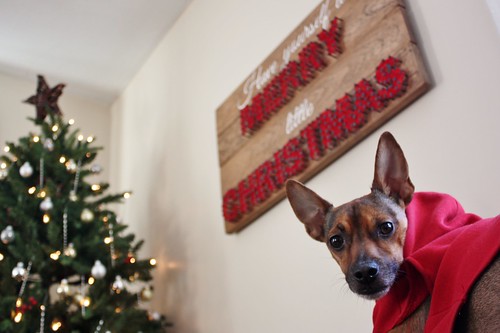
Whiskey approves too. Hope you all have your own Merry little Chrismas this year.
– – –
Linked Up To:

This is so cute Amanda- I love it!!! Pinning:)
cute sign! i did something like this for our wedding – we spelled out the word “love” and wrapped the letters in yellow twine! such a cute project!
I think your sign is incredible, can only imagine how long it took just to get the nails pounded in let alone putting strings on to spell out your words. Think you’re a whole bunch more patient than I would be. It turned out great and love that it’s different way to make a sign.
I’ve been interested to see that string art is coming back slowly. Merry Christmas. Love your dog in his sweat shirt. I’m going to be looking (at thrift store) for a sweat shirt for our dog to wear besides his coat which he hates. Our dog is a black lab/border collie that weighs about 75 lbs. in the winter. He’s our baby along with our cat.
Great project, glad you shared this with us all. Merry Christmas
Oh my word, I LOVE this sign! you did such a great job on this. Pinned 🙂
Love this idea! Would love to have you link up at Link’n Blogs link party. 🙂
http://iputabirdonit.blogspot.com/2013/12/linkn-blogs-4.html?m=1
xo
Daniela
Put A Bird On It
LOVE this!
It’s beautiful!