Our wedding venue, WaterStone Estate, has the old Toronto North York Hunt Club where we were getting married on one side and an equestrian centre on the other side, so we were worried about guests getting confused about which side to go to and where to park. Then we had to direct them to the ceremony and reception in the same area. It didn’t take us long to realize we were going to need some signs.
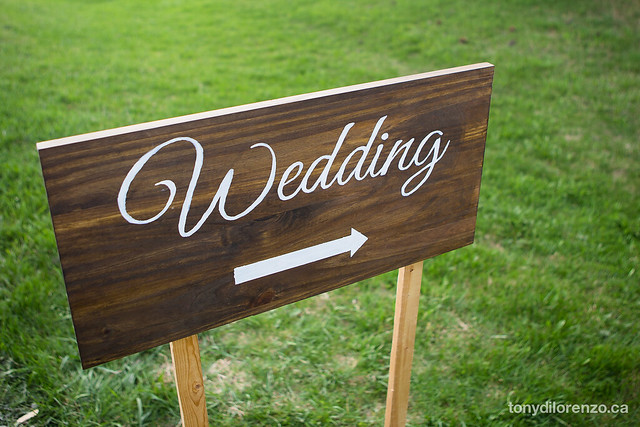
Simple wooden signs seemed like the way to go, but I still wanted to make something that was elegant and clean looking, playing into the rustic English countryside look of the venue.
The ceremony was outside and the wedding party was going to be hanging out inside before the show got started, so to make sure that guests didn’t come through the hall first, we also needed a sign pointing to the outdoor chapel.
And then at the end of the ceremony, we wanted to make sure guests knew what door to go inside to lead them to the cocktail hour with all the lovely hors d’oeuvres and signature cocktails awaiting them.
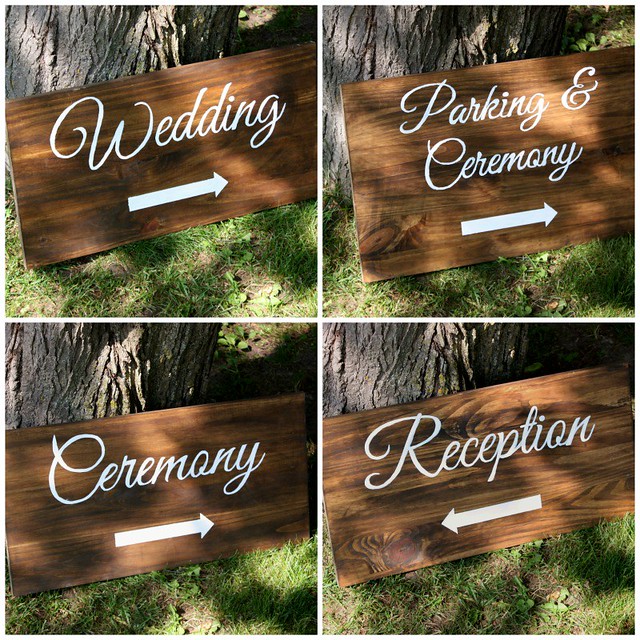
We ended up making four signs – to the wedding, the parking/ceremony, the ceremony and then the reception. They were pretty straight forward to make and I was able to use the same technique that I used for my DIY Vintage Wood Sign, DIY Vintage Wood Crates and Wooden Christmas Sign with String Art projects. This was also a really low cost DIY wedding project because I was able to use some supplies I already had on hand (stain, paint, brushes), some that my dad had (wooden stakes, screws, power drill) and I only spent money on the wooden boards, which were about $22, but if you had leftover wood at home you could save money on that too!
What you’ll need:
- Wooden Boards
- Wood Stain
- Cloth Rag
- Plastic Gloves
- Printout of Letters
- Pencil
- Acrylic Paint
- Paint Brush
- Wooden Stakes
- Screws
- Power Drill
- Rubber Mallet/Hammer (to put stakes in the ground).
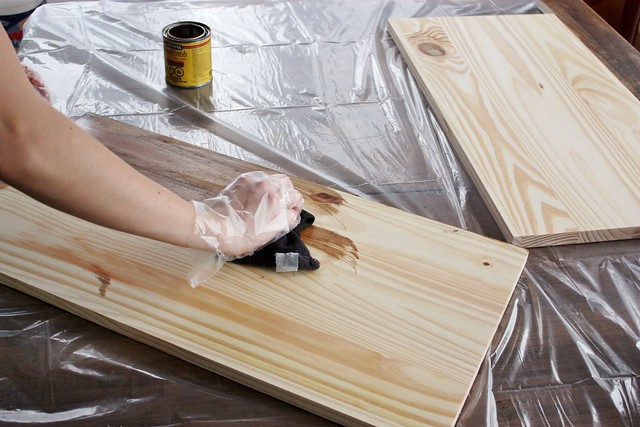
I started out by getting the boards cut for the signs into three 23″x12″ pieces and one 23″x15″ piece. The nice guy at the home improvement shop didn’t charge me extra for the cuts AND he cut down the scraps into smaller boards so that I could use them for testing out the stain colours.
Then Courtney, one of my bridesmaids, came over to help me stain the pieces. We used a combination of Minwax stain in “Jacobean” (leftover from this project) and “Early American” (leftover from this project). Combining the colours gave the wood a warmer tone. We wiped the stain on with old rags (while wearing gloves) and then used another rag to wipe off any excess. They dried for a few days before I was ready to start painting!
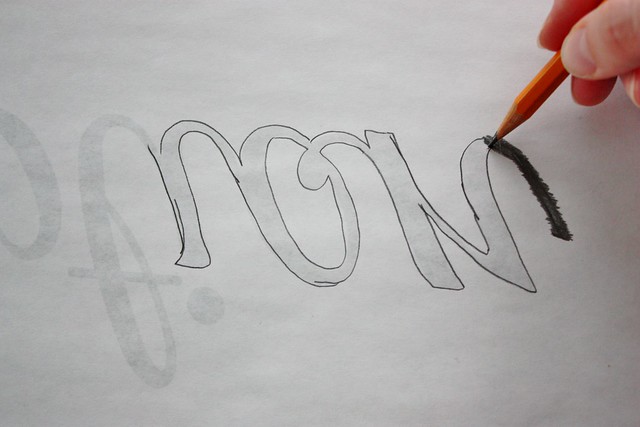
Just like with my other sign projects, I did the print and transfer method using a regular old pencil. I printed the letters I wanted onto white paper (in Great Vibes, one of my favourite fonts!), and then rubbed the back of it with a pencil, making sure to get lots of pencil on the areas I wanted to transfer.
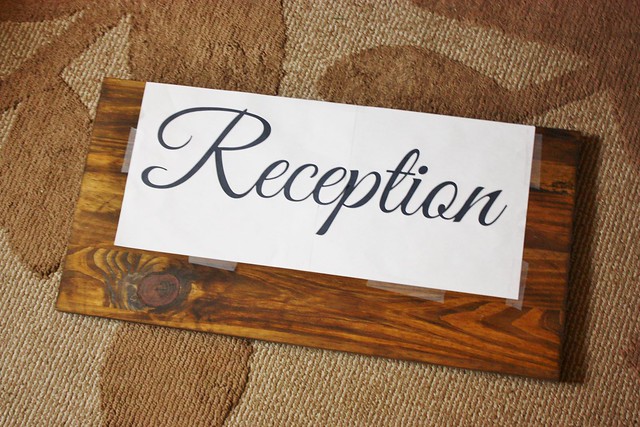
Once I filled in all the letters, I flipped over the paper and carefully taped it down onto the wood. Some of the words required using more than one piece of paper, so I taped them all together into one long sheet before I put it down on the wood.
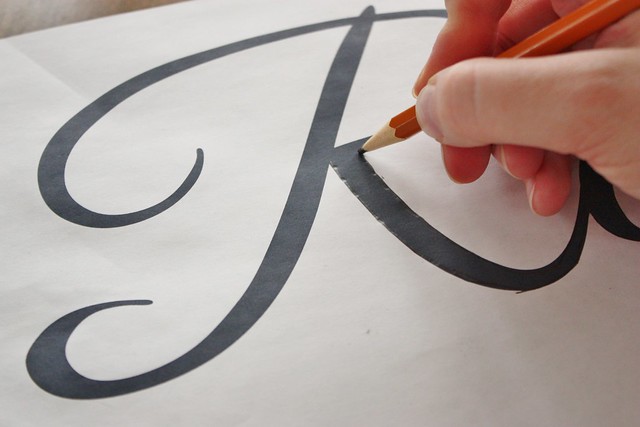
Using a pen or dull pencil, I traced the edge of the letters, apply enough pressure to transfer the pencil on the underside of the paper onto the wood. Once all the letters were done, I pulled off the paper and then drew over the transferred lines with a pencil to make sure that it was really clear what I needed to paint.
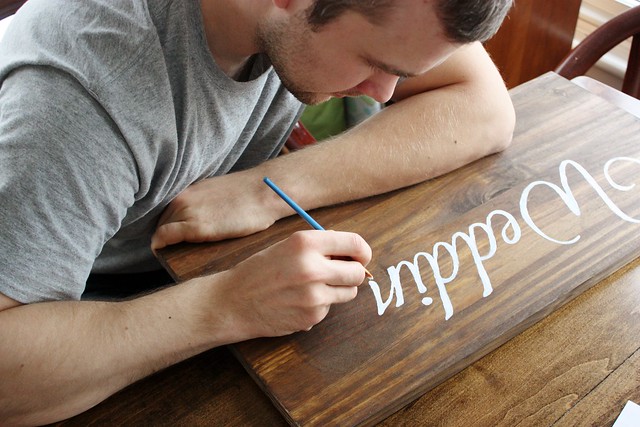
Then it was a matter of filling in the lines with white paint (leftover from this curb side dresser makeover) using a small brush. Garrett was a big help with the drawing and painting the letters on. As you could see in our recap from the Honeymoon Road Trip stop in New Orleans, he really is the artist in the family.

Amy, also one of my bridesmaids, came over to help paint the arrows on. Using green painters tape, I taped on a “stencil” of where I wanted the arrows, and then we did two coats of paint on each before pulling off the tape while it was still wet.
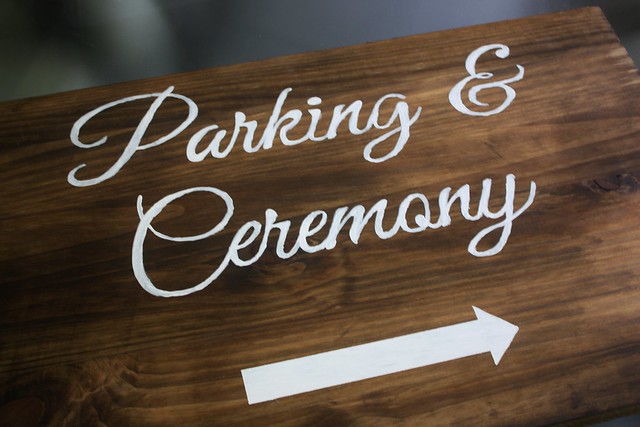
If I’d been keeping them outside for longer than a couple of days, I would have put a protective sealant on it, but they were only outside for one day (and it didn’t rain!) so I left them as is.
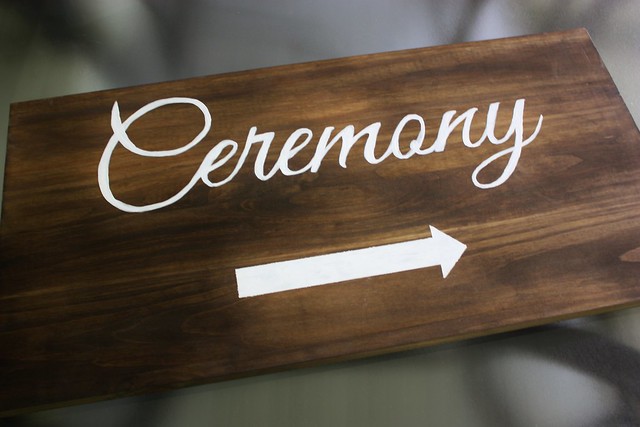
I love how the stain brought out the grain in the wood and made a dark enough background for the words to pop out even when you saw them from far away.

To set them up, my brother (also one of the groomsmen) screwed stakes into the back and then hammered the signs into the ground.
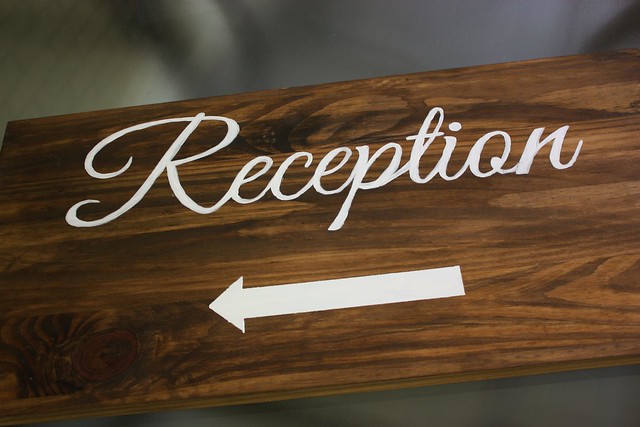
And what are we doing with the signs now? I’m putting them up for sale online this week in case there is another bride out there looking for something similar but doesn’t have the time to do it, but you could also keep the boards and sand them down to reuse for another project. No waste here!

These signs look gorgeous! I am also trying to create wooden signs like that too! Did you use just regular pine plywood? what color stain did you use?