When we first started planning the wedding, there were some things that we knew we wanted to do ourselves (favours, signs, flowers) and some things that were best left to the professionals (catering, music, dress). Originally I was just going to buy my veil like any other bridal accessory but then I started looking at the prices. I was shocked to see that veils can easily cost $200-300+ and I couldn’t justify the cost for something that I was going to wear for a 30 minute ceremony and a few photos. I’d rather put that money into something fun for our guests (like the poutine bar!)
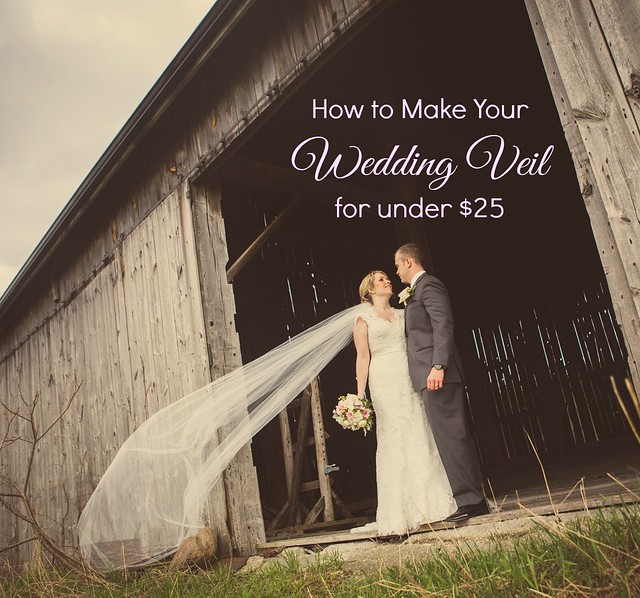
That’s when I came up with the idea to make my own veil. I was able to get all the supplies for under $25 and it took less than an hour to make (broken up over a few days). It turned out to be a fairly simple project – and I’m so glad it was because I was doing most of it during the week of the wedding. In fact, the final stitches of applying it to the comb were done the night before the wedding. Talk about last minute!
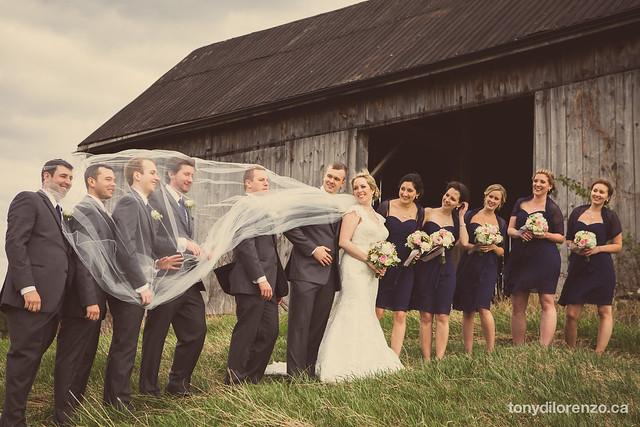
But I think it turned out pretty great. It was long and dramatic, making it lots of fun for photos. We did have a little mishap with it during the ceremony (due to gale force winds!) but more on that at the end of the post.
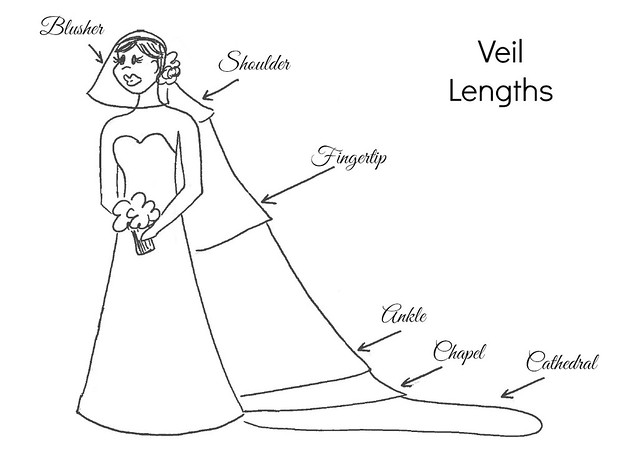
First of all, you need to figure out how long you want your veil to be and whether you want it to sit on top of your head or tucked in under your hair like mine. Before I made my veil, I talked to both my wedding dress seamstress and my hairdresser for advice because they work with veils all the time.
Seamstress Tip: If you’re going to make it, go as long as you want because it really does make for a dramatic statement. She also recommended a simple edge on mine as my dress had so much going on with the lace that a lace veil would just get lost or make it look too busy. Bring your finished veil with you to one of your final fittings if you can.
Hairdresser Tip: If you’re doing an updo, consider doing the veil under your hair at the nape of your neck. If you do it on top of the updo, the weight and the tugging can pull your hair down. Bring your veil with you to your hair trial so that she knows that she’ll be working with on the day of.
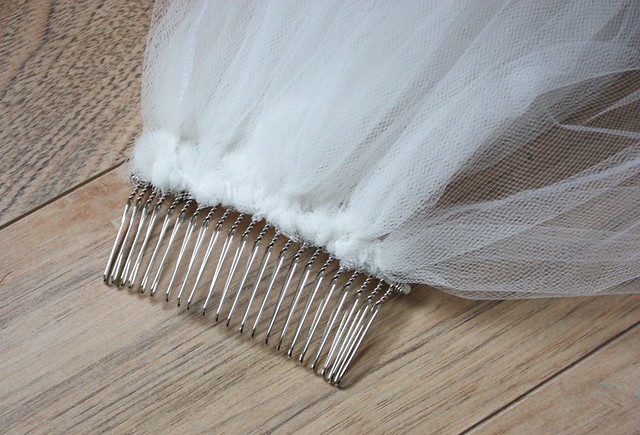
So I decided to go with a nine foot long cathedral length veil with a simple edge and a metal comb to tuck it in under my updo.
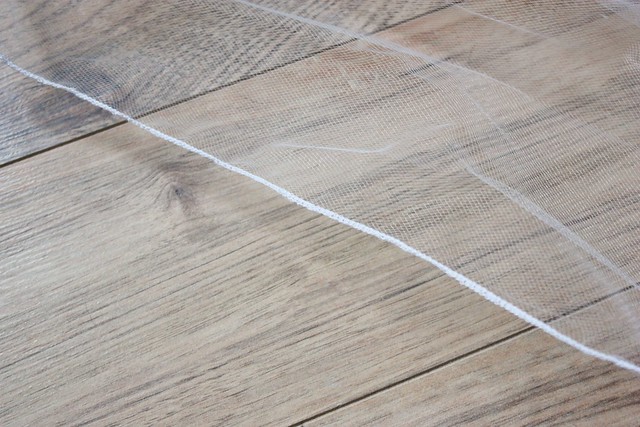 You don’t have to make an edge on the veil because the tulle won’t fray, so it’s up to you if that’s the look you want. For my friend Colleen’s wedding, her mom made her veil with just a raw edge and it looked great.
What you’ll need:
- white or ivory tulle (about $18 for 3 yards)
- matching thread
- metal hair comb ($5)
- sewing needle
- scissors
- serger machine (optional)
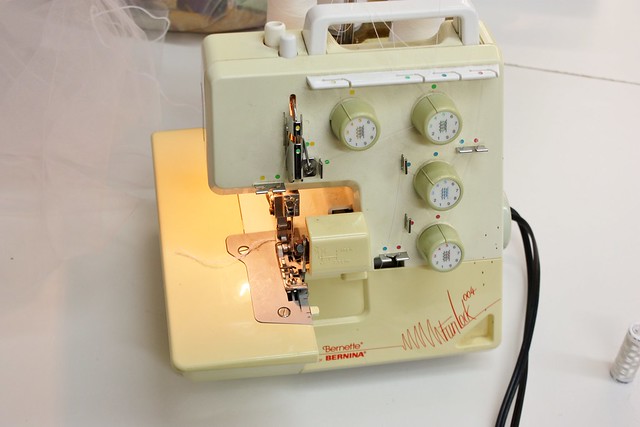
To make my edge, I decided to give my mom’s serger sewing machine a try. She used this all the time to make clothing for us when we were little and although I’ve used it a few times I was a little intimidated by all the different threads, needles and the cutting blade. Rather than go through this blindly, I sought out the help of the wonderful ladies at Evelyn’s Sewing Centre/The Quilt Shop, where my dad bought the machine for my mom many years ago. I popped in there one day after they’d had a class, and Adrienne, one of the instructors, was happy to sit down and teach me how to do it for free. She even stuck working on her own project in case I had any questions.
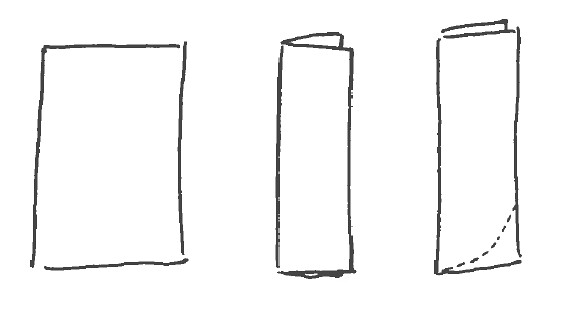
Start by cutting the tulle to make the rounded shape at the bottom. Fold it in half length wise and then cut on the dotted line above, to make the curve at the bottom equal when you go to open it up.
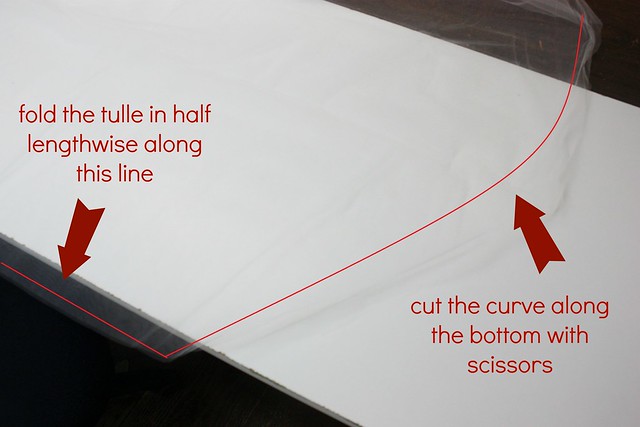
I just freehanded the cut, but if you’re nervous, you could draw the curve on a large piece of paper first, then lay the folded tulle over top and cut along your line.
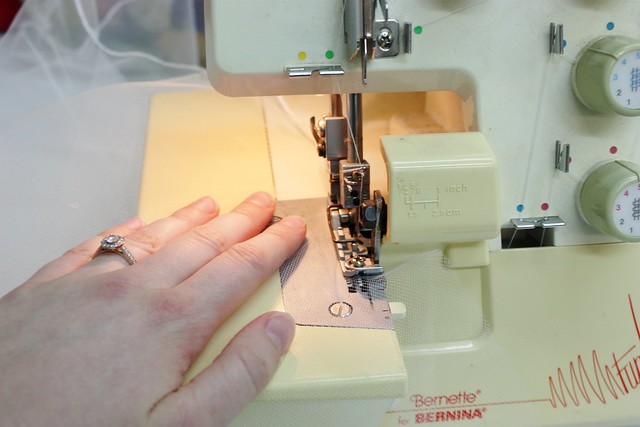
Then it was time to put it through the serger! I started about 1/4″ in on one of the long ends and just slowly went all the way around, stopping at the top of the other long edge. The serger stitched the thread by wrapping it around the edge of the tulle, while the cutting blade trimmed off the extra.

You can see the edge starting to come through on the other side. It only took me about 15 minutes to do the edge around the whole veil.
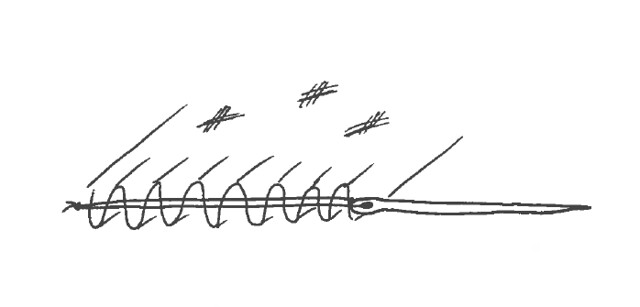
With the edge done, I had to gather up the tulle to attach it to the metal comb. Using a needle and white thread, I gathered up the top edge of the tulle, by weaving my needle in and out of the tulle. Then when I pulled the strings, it gathered all together.
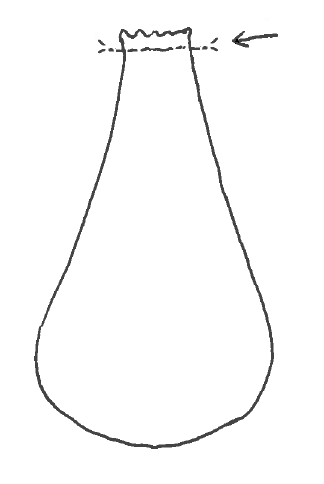
Once it’s all gathered, play around with the width of the gathered piece and when you have it the same width as your metal comb, knot the ends of the thread to make sure it is secure.
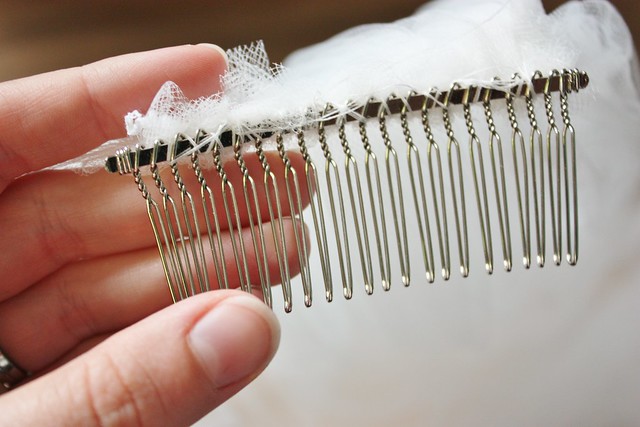
Then it was just a matter of attaching the gathered end to the comb. I’ve seen some veils where they’ve tried to go through the comb, but my gathered tulle was too thick to do that, so I just stitched it into place with a few stitches after every few teeth of the comb. This is the underside of the comb, so it doesn’t need to be pretty, just secure.
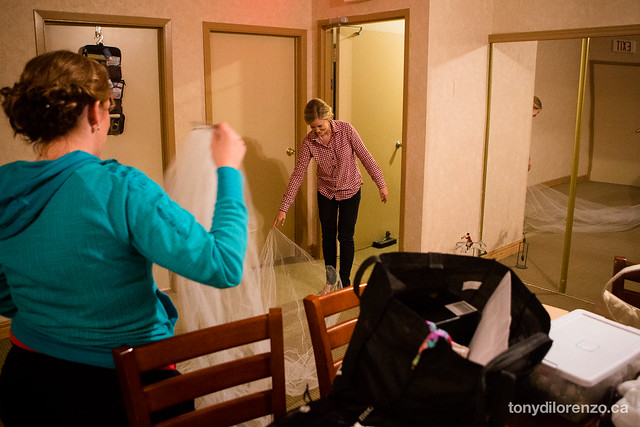
Before I put it on, my lovely bridesmaids laid it out at the venue and using a sticky roller to get rid of any stray threads or lint.
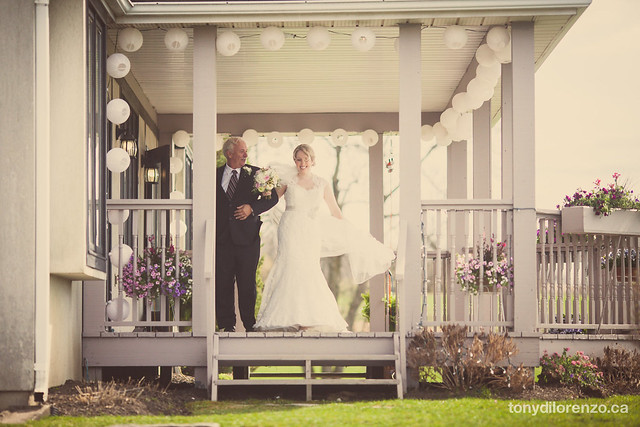
To put it into my hair, my hairdresser recommended using bobby pins to secure it in place. Thank goodness we had it secure because as soon as we got outside, the wind started to blow it away.
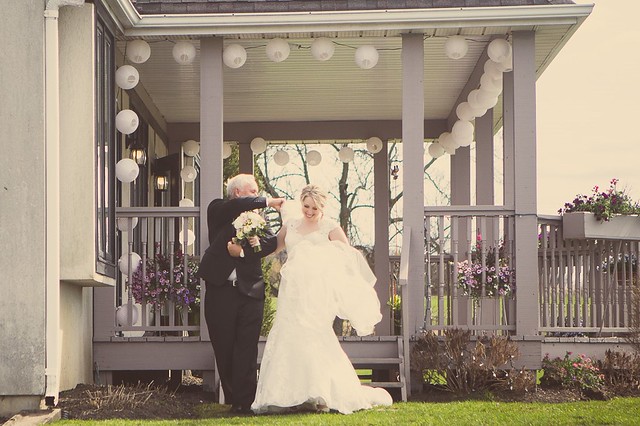
My dad and I couldn’t stop cracking up as we were trying to make our way down to the ceremony. The veil kept whipping around and almost wrapping around my dad.
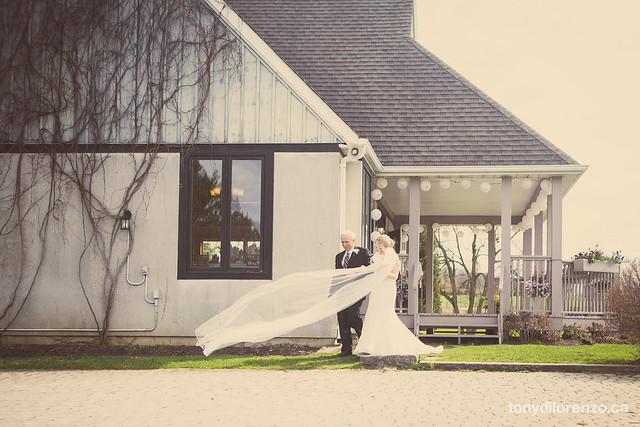
It was actually one of my favourite memories from the wedding, because I was so nervous before the ceremony and this light-hearted moment where I was just laughing with my dad helped me relax.
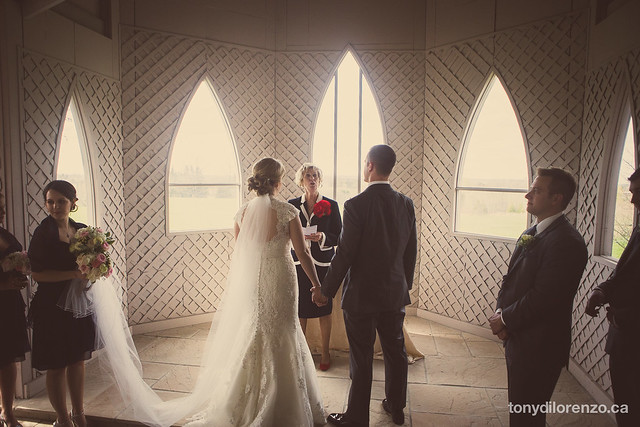
We made it to the chapel and it wasn’t long before the veil was whipping around in the guests faces too, so my sister grabbed it for me to keep from taking anybody out. This veil seriously had a mind of its own. Part way through the ceremony, I guess all the bobby pins couldn’t hold up to the wind, so it started to pull out of hair. I finally gave in, turned around with a smile and wave to the crowd and then pulled out the veil to hand over to my parents.
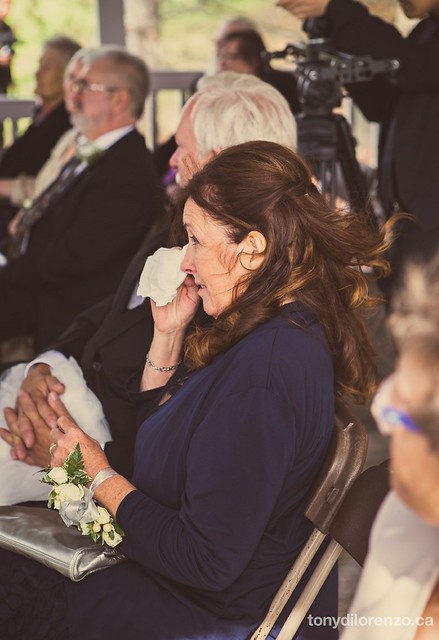
You can see my dad holding it onto it for me, while my mom was tearing up a bit. (This is one of my favourite pictures from the ceremony. She helped me with the wedding every step of the way and I couldn’t have done it without her).
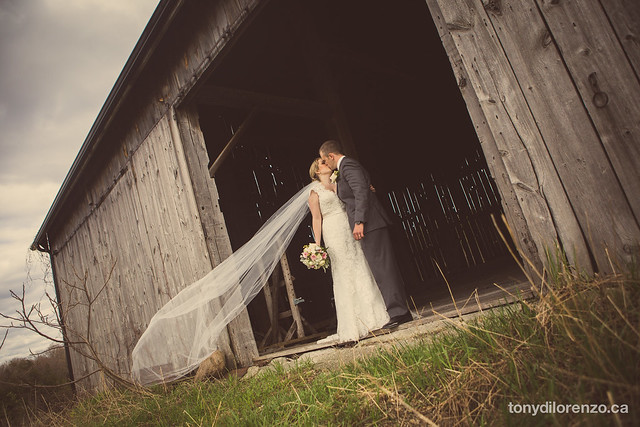
After the ceremony, I put it back on for some photos. The wind ended up being great for those photos, catching the veil like a kite. I’m so glad that I went with the long length and knowing that it’s a piece that I made for myself made it all the more special.
– – –
Linked Up To:

It looked amazing, and I love the long length. My grandmother made mine for me, and it made things all the more special.
Beautiful pictures! I love how it’s flying everywhere, aha the pictures are very sweet.
Perfect timing. We are planning a December 20th wedding here. Your pictures are so special. ~Pamela
Just beautiful! I’d love to feature this one, but I don’t see a link back to my blog party within your post….
Hi Amanda,
I stumbled across your blog and it is amazing. What a wonderful job you have done! Sorry to hear about your scare. I am glad that you are recovering and hope that all is well. Not sure if you remember but your Mom and I were friends from public school days. My daughter Claire is getting married this August and is debating upon a veil. If she decides she would like one I am hoping that I can convince her to make her own. Your tutorial is very helpful. Just one question whereabouts did you get the metal comb that you attach the veil to?
Also your wedding was absolutely gorgeous! Every part of it. Hope to hear from you soon. No rush as I know you are recovering. Say Hi to your Mommy for me! 🙂 Cheers, Lois