While I’ve always been a fan of Chalk Paint® Decorative Paint by Annie Sloan, I’d never had a chance to work with it before. When the nice folks at Annie Sloan Unfolded offered to send me some products to try out, I knew right away that I wanted to make over my beloved glass cabinet. It needed a new finish and I needed some more colour in our apartment.
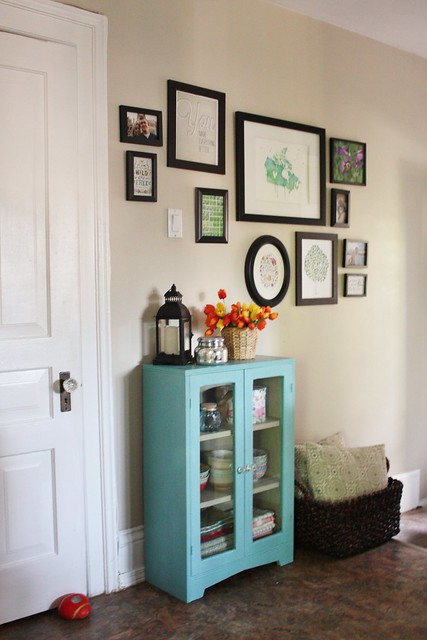
I used to have the cabinet tucked away in the dining room, but now that it’s looking so great, I’ve moved it to our front hall. It’s right under the Gallery Wall and beside the bathroom door (which is currently being held shut by a painted rock/doorstop Garrett made as a wee tot. The latch isn’t working…again. #rentalproblems)
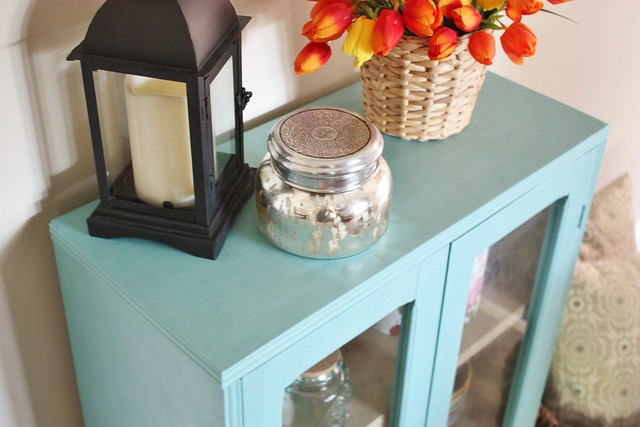
While I loved the dresser that was there before, it blocked most of the pathway and was too dark for the space. This cabinet livens things up!
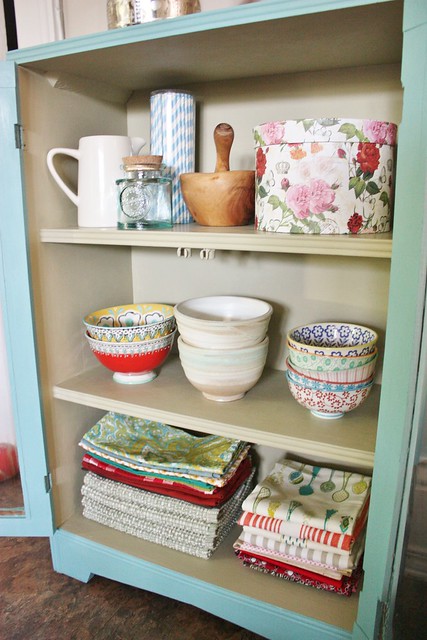
Having a different colour for the inside makes a nice background for all the bowls and linens inside. This is where I keep all my fancy bowls, pretty linens and various props for recipe posts.
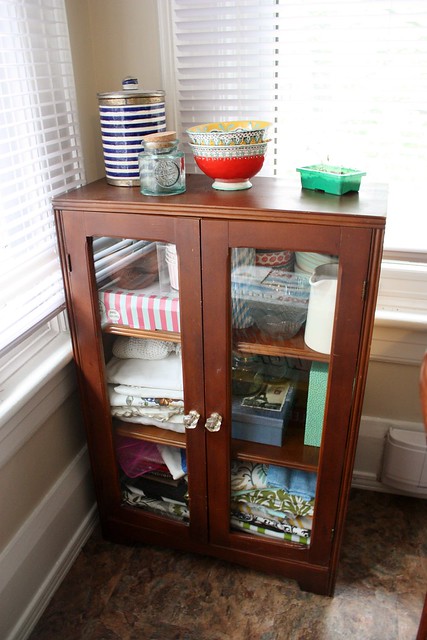
I should back up and talk about how it all started over a year and a half ago, when I posted about being on the Hunt for a Glass Door Cabinet. A few days later, Garrett’s parents found this beauty at an auction and brought her over. It was exactly what I had in mind.
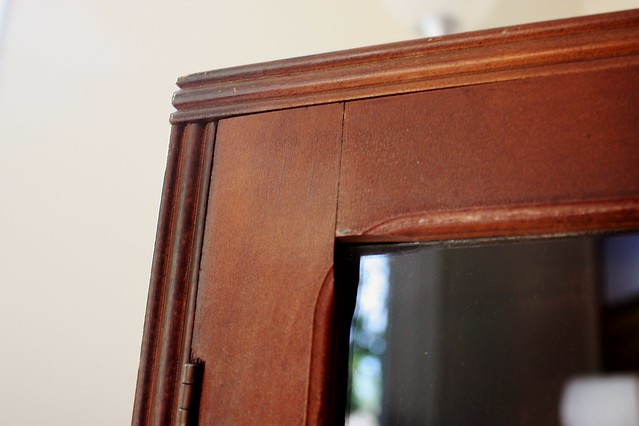
It was sturdy and had great details, but it just needed a some freshening up. There were water marks on the top and a few dents and dings, but all that would go away with some paint!
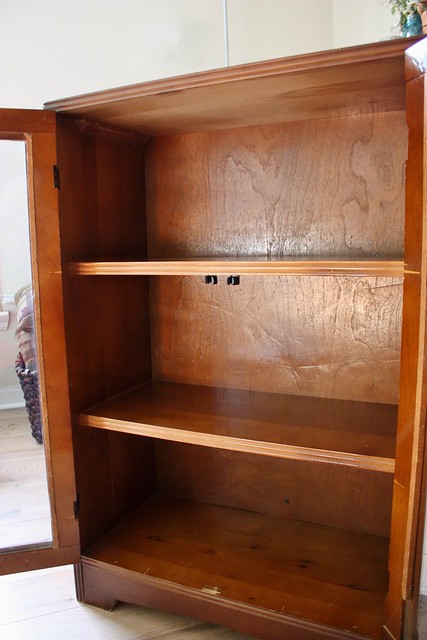
You don’t need to sand anything before you start using Chalk Paint®, which is great on a piece like this where getting into all the nooks, crannies and grooves would have been a real pain. All I did for prep was wipe everything down with a damp cloth and give it a quick dry, just to make sure there was no dust lingering about.
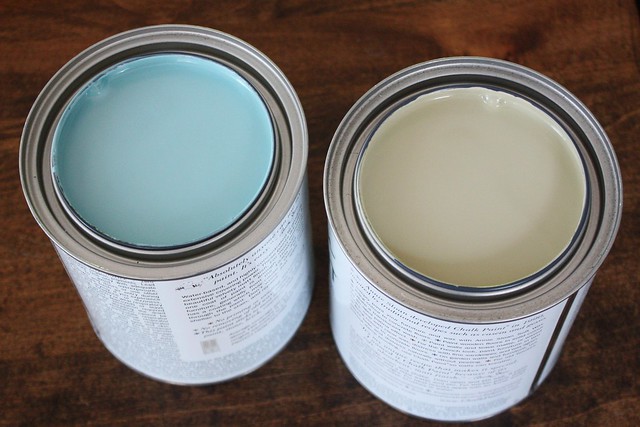
I went with Chalk Paint® decorative paint by Annie Sloan in Provence for the outside of the cabinet and then Versailles for the inside.
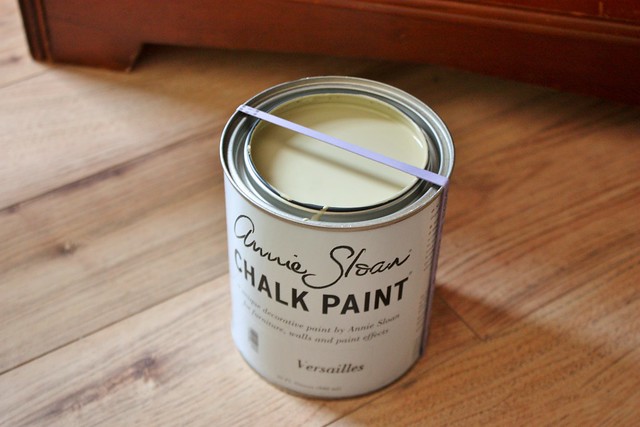
I decided to give that old paint-can-elastic-band life hack a try – you know the one that has been floating around Pinterest for a few years. It was really awesome for the first coat, but then I moved the can, the rubber band moved and it shot across the room – splattering the floor / wall / blanket basket / my jeans and at least one dog. I went back to just passing the brush over the edge of the can like I usually do and it was fine. (Same can’t be said for my jeans.)
For brushes, I went with a 2″ wide good quality brush for the main parts and then a smaller artist brush for the details. You can also use a small roller if you’re doing larger pieces of furniture to make it go faster.
 After I let the paint inside dry for a little bit, I started on the outside. I was really impressed with not only how quickly the paint dried, but also how good the coverage was.
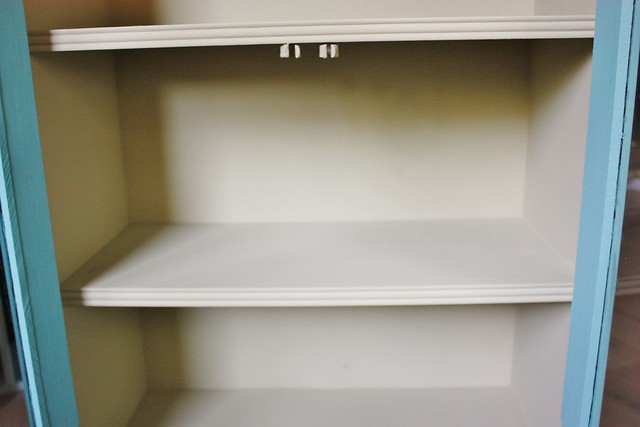 For most of the cabinet, I only really needed to do two coats, and that covered the finish of the wood, as well as filling in any small gouges, scratches or holes.
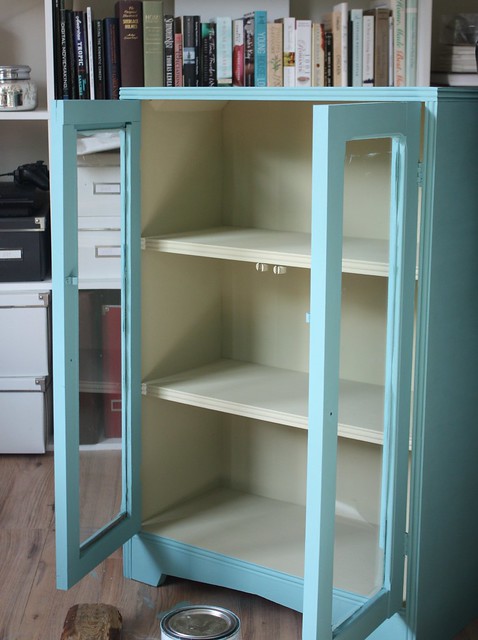
I taped off the edges of the glass doors on the inside and outside with painters tape before I started and then just peeled it off while it was still wet, but I wasn’t happy with the edge. I could still see some of the dark wood peaking out. I ended up just hand painting the edge with a very small paint brush and then carefully using a razor blade to scrape off any excess once it had dried.
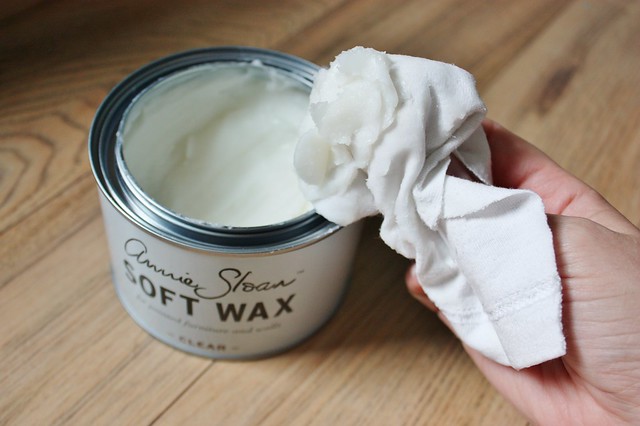
Then it was time to apply the wax to give the furniture a protective layer. There are brushes you can use to apply the Clear Soft Wax but I just used a clean lint free cloth.
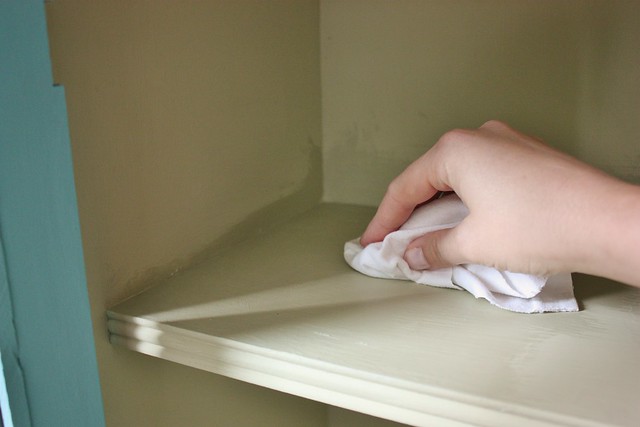
I loaded the cloth up with a huge gob of wax and then used the cloth to really push it into the paint, making sure it was absorbed. You can see the slight colour difference on the area I’d waxed, but I found that while it darkened a bit during application, it was still pretty true to the original colour when it dried. Afterwards, I wiped off any excess wax and let it dry overnight.
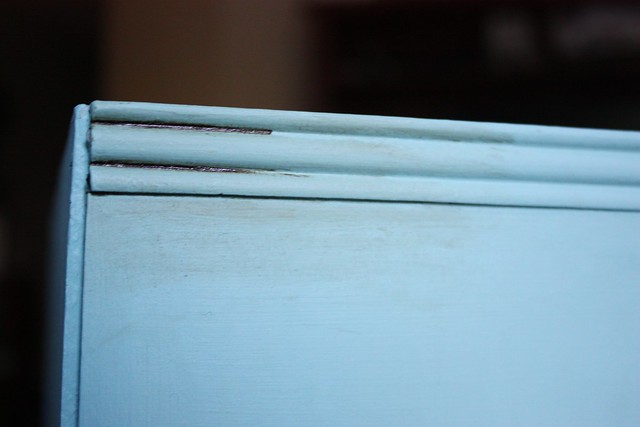
The next day I tried using the Dark Soft Wax over top of the Clear Soft Wax to give it a worn look and highlight some of the details of the cabinet. After a few strokes, I wasn’t quite a fan of the look on this piece. Our apartment always feels so cramped and I was worried it would make this piece look dirty instead of giving it that French Antique look I was going for.
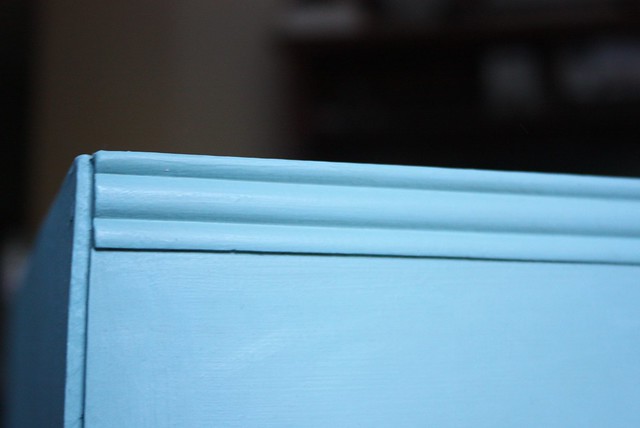
It was super easy to remove the Dark Soft Wax – I just took some Clear Soft Wax and used it to wipe the dark areas off.
After all the Soft Wax was dry again, I used another clean lint free cloth and used it to buff the surface into a nice subtle sheen.
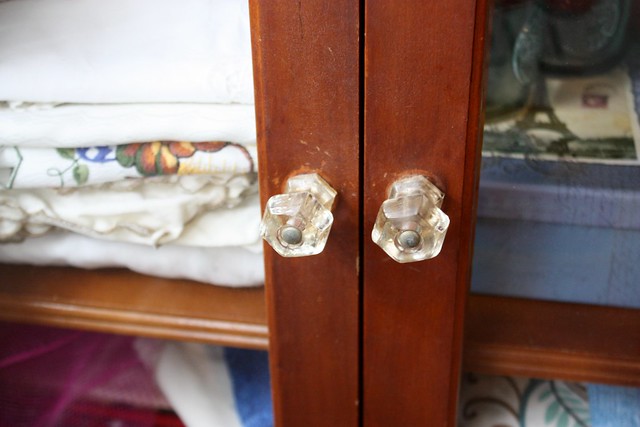
Meanwhile, I worked on bringing these vintage glass knobs back to life. I had originally thought about replacing them because at some point this cabinet was re-stained with the knobs still on – meaning they were seriously tarnished in some places.

Before I did anything, I thought I’d bring out my old tried and true cleaner, vinegar, to see what could be done. I submerged the knobs in a glass filled with undiluted vinegar and let them sit overnight. The next day I rubbed them with a cloth…and ALL the dirt, grime and stain came right off. I rinsed them in water and then let them air dry.
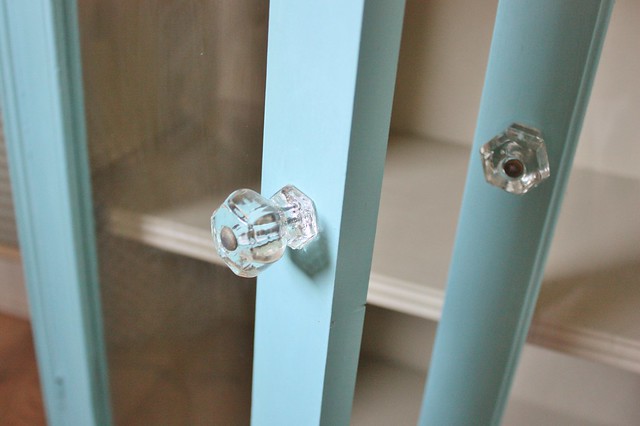
They came out as good as new. I’m so glad I was able to clean them and use them again. They are such a fun touch on this piece, and go well with the other glass knobs in our apartment, like the bathroom door right beside the cabinet.
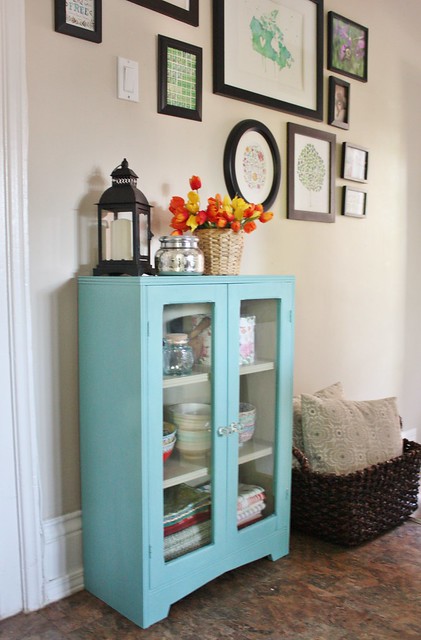 Overall, I’m really pleased with the finished piece. The colours are just as vibrant as I’d hoped, but with a nice matte finish.
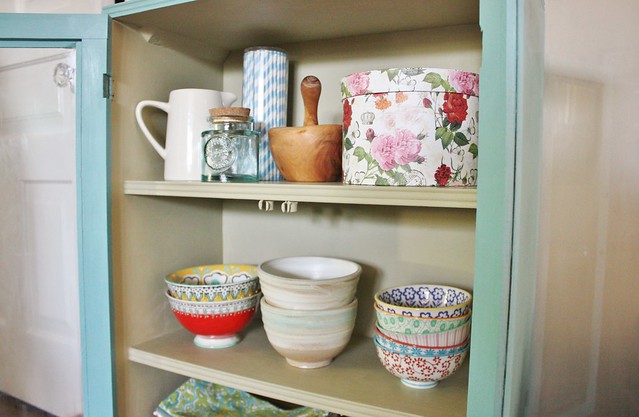
It looks so fresh and clean now!
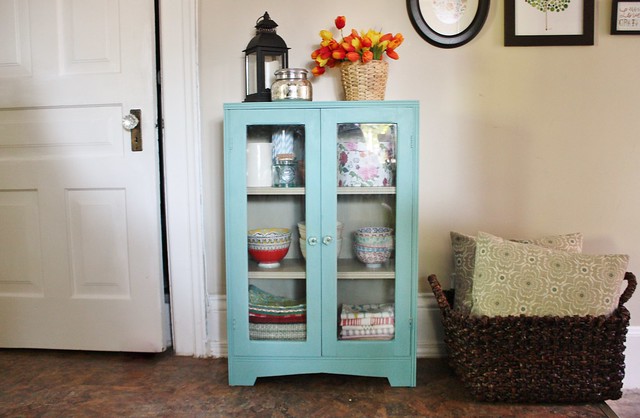
I’m really pleased with how the piece turned out and I still have about half a can of each colour of paint and more than half a tub of wax left too. With such great coverage, the product really went much farther than I had anticipated. I wouldn’t hesitate to use it again, but next time I’d like to find a good piece to try the Dark Soft Wax on too.
For more projects with Chalk Paint®, be sure to check out their Facebook, Twitter, Pinterest and YouTube, or pick up one of their books. They were a huge help in giving me inspiration on this project and showing me all the endless ways you can use these products to create whatever look you’re going for.
Disclaimer: Annie Sloan Unfolded sent me Chalk Paint® decorative paint by Annie Sloan to try out their products. All opinions are 100% my own and I just wanted to share my experience…and my cute newly painted cabinet!
Linked Up To: Serenity Now · Chic on a Shoestring Decorating · Craftberry Bush · The Idea Room

Wow! Visiting from Serenity Now. I painted my daughter’s dresser and the bottom of my kitchen table with chalk paint this week too. I love the pop of color your cabinet gives your room now! It truly does look great.
You did a beautiful job on this–I love it!
Hi, this looks gorgeous 🙂 I am currently doing my first Annie Sloan project, a glass fronted cabinet. It’s so much fun! Where are your bowls from? They’re super cute and I can’t find any similar anywhere.