Saturday mornings usually call for a walk with the dogs down to the farmers market to pick up the week’s produce. I just love seeing all the colourful vegetables and letting what’s in season dictate the week’s menu. A couple of weeks ago, I came across some kirby cucumbers and the idea of making pickles came to mind. I’d never done it before, but I’m always up for a challenge!
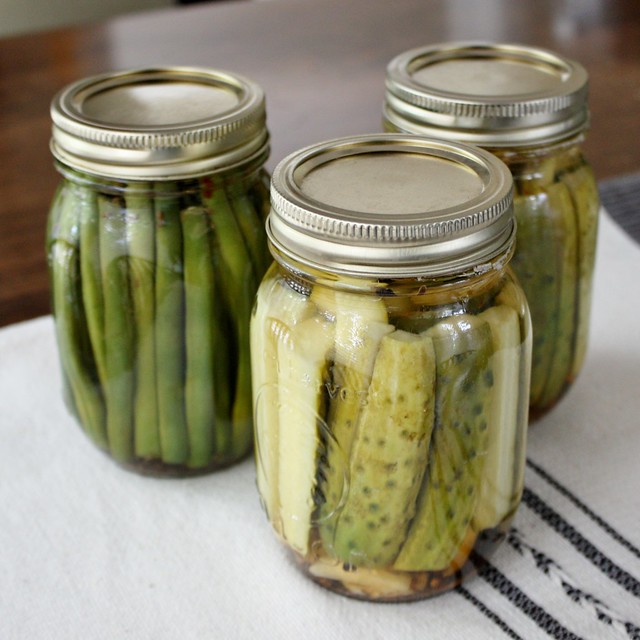
It turns out that you can make AMAZING pickles way easier than I thought. These ones turned out great – with a nice garlicky dill taste and a little heat from the red pepper flakes. They turned out so well, that I went back to the farmers market this Saturday and bought twice as many cucumbers to make some more jars for family and friends who want to try them. I went with spears for these jars, but some of the ones in the fridge right now I did in coin slices and it will be interesting to see how they turn out for sandwiches and such.
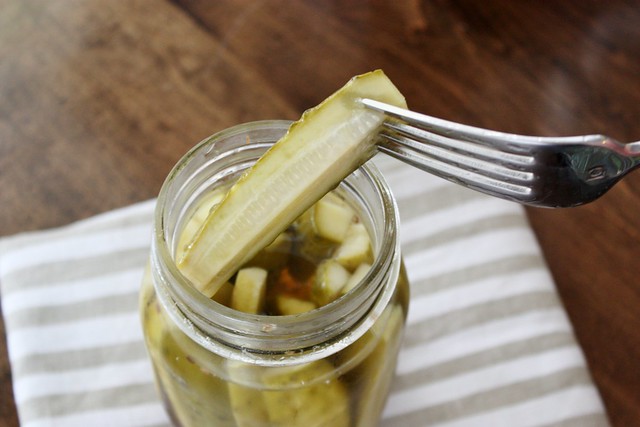
I’m not usually a big pickle fan, but these things are addicting! They have the perfect crunch and taste amazing. Garrett and I went through our first jar in less than a week. I can’t wait to chop some up and add them to a potato salad (or cauliflower “no-potato” salad) for a little crunch.
When you make refrigerator pickles (also known as quick pickles), you pack your vegetables into a jar with spices and pour hot pickling liquid over top. Once these pickles have been allowed to cool to room temperature, they can be stored in the fridge for up to a month. This is a great way to make pickles if you want to make a small batch or if you’re using vegetables that don’t do well when exposed to the heat of canning.
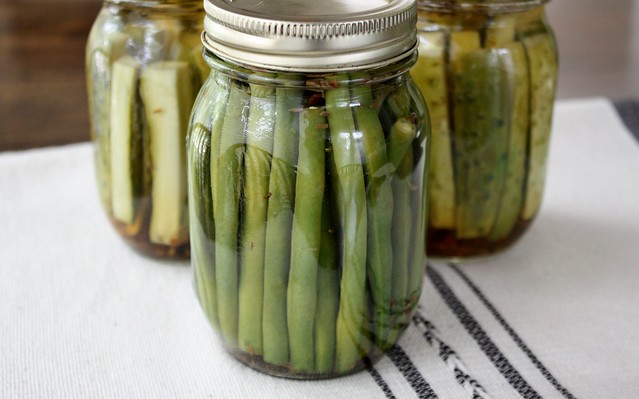
You don’t just have to use cucumbers – I did a jar of green beans too!
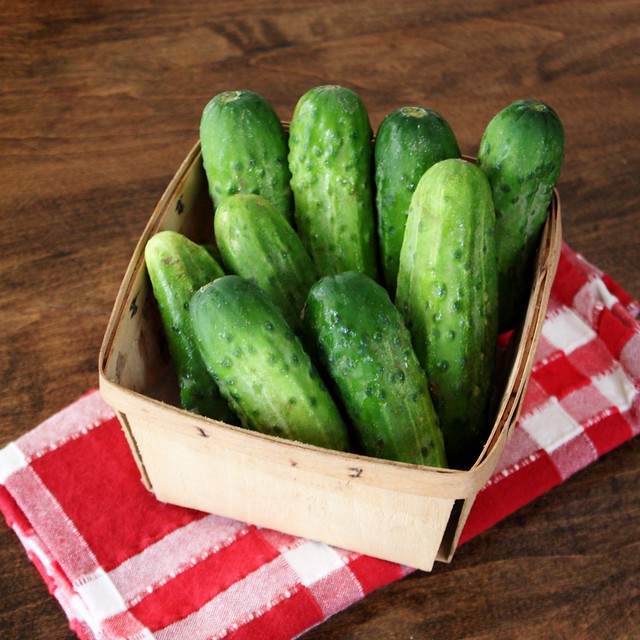
For each pint jar, you’ll need:
- 3/4 lb kirby cucumbers (or green beans, etc)
- 2 garlic cloves, peeled and smashed
- 1 tsp dill seed
- 1/4 tsp red pepper flakes
- 1/2 cup water
- 1/2 cup apple cider vinegar
- 2 tsp kosher salt
You can easily multiple the amounts, based on how many jars you’re making or what size they are. (Printable Version)
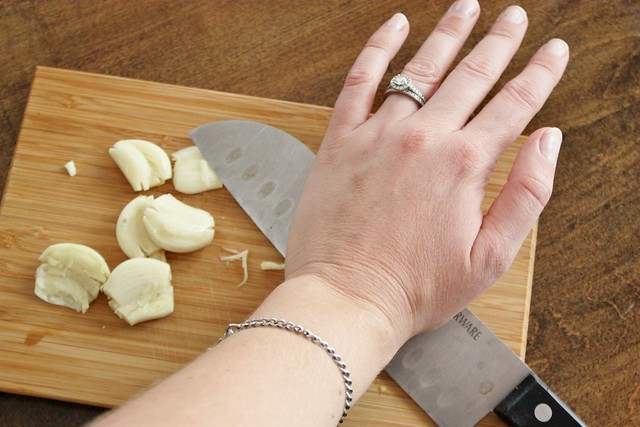
To smash the garlic, place an unpeeled garlic clove on the cutting board and use the heel of your hand to press the flat side of the knife against the clove, with the knife blade facing away from you. The clove will easily crush under your weight. Use a rocking motion to crush it thoroughly. The papery peel with come off and the garlic will be smashed.
(***also, don’t have the knife blade facing you, like I did in this photo. Oops! Always keep the blade facing away from you***)

Put the smashed garlic, dill seed and red pepper flakes in the pint jars.
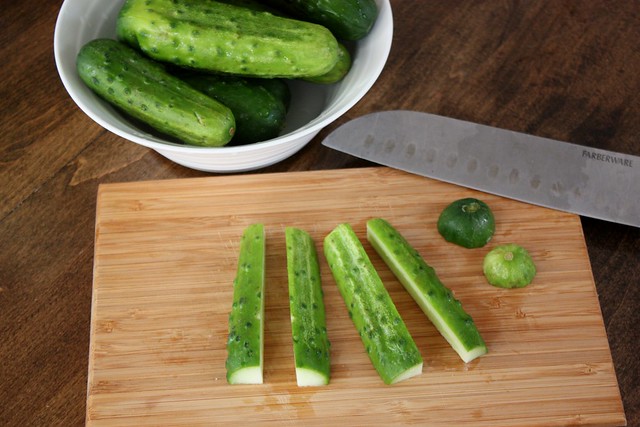
Wash and dry the cucumbers. Trim the ends, then slice into spears or coins. Be sure to cut off the blossom end, has it has an enzyme that can contribute to limp pickles.
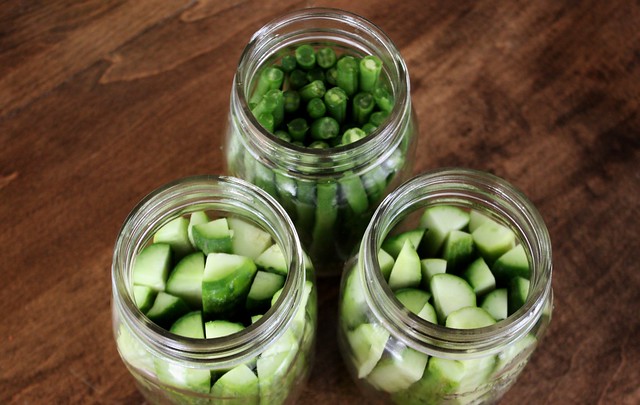
Pack the cucumbers into the jars. Trim the ends if they stand more than 1/2 inch below the top of the jar. Pack them in as tightly as you can without smashing the cucumbers.
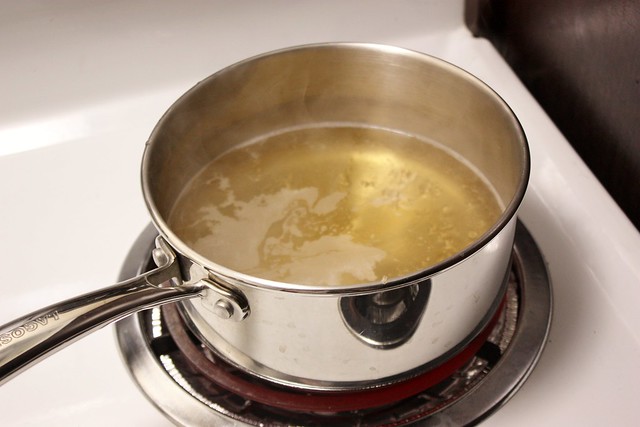
To create the brine mixture, combine the vinegar, water, and salt in a small sauce pan over high heat. Bring to a rolling boil.
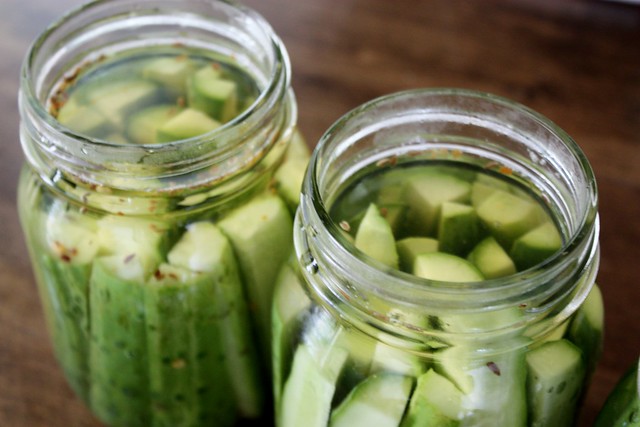
Pour the brine over the pickles, filling each jar to within 1/2″ of the top. Gently tap the jars against the counter a few times to remove all the air bubbles. Top off with more pickling brine if necessary. Discard any unused brine.
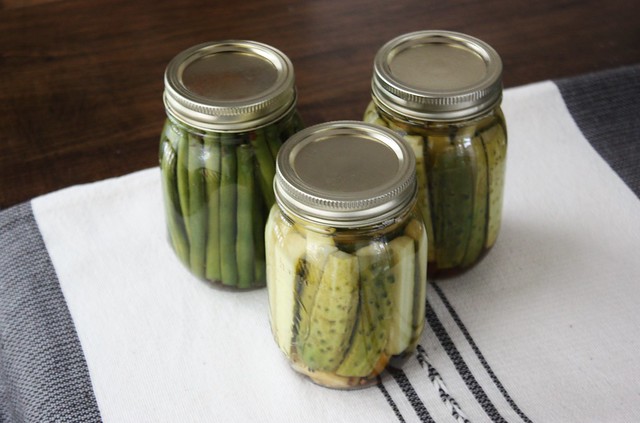
Place the lids over the jars and screw on the rings until tight. Let the jars cool to room temperature and then place them in the fridge.
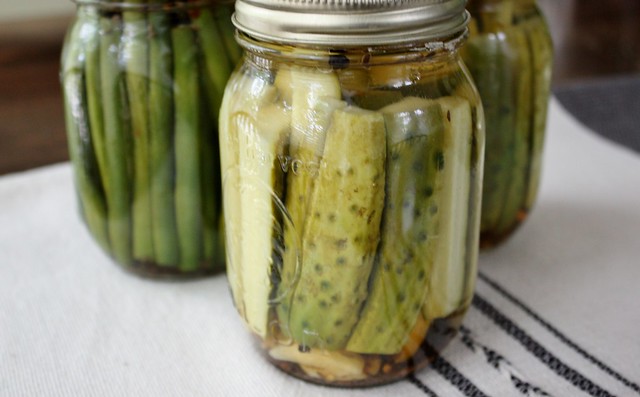
Wait 48 hours before opening the jar, as the flavour of the pickles will improve as they age. These jarred pickles will last for up to a month in the fridge.
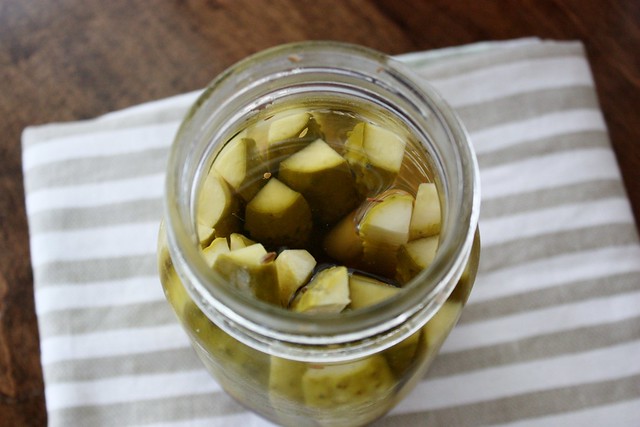

They look so good! Definitely trying this one.