
It’s beginning to smell a lot like Christmas! Christmas Stovetop Simmer Mix is a lovely way to make your home smell warm and inviting, especially during the holiday season. It also makes an easy inexpensive gift for friends, neighbors, teachers and co-workers. I printed the instructions directly onto the bag and dressed them up with ribbon and cinnamon sticks. (Tutorial at the bottom of the post).

What to Put in a Christmas Stovetop Simmer Mix
For this Christmas Stovetop Simmer Mix, I used the following:
- 3 dried orange slices
- 3 sticks cinnamon
- 3 small bay leaves
- 1 tbsp whole cloves
- A bit of grated nutmeg
Put all the ingredients into a saucepan. Fill pan with water. Place on the stove on the smallest burner, on the lowest setting. Top up water as needed. This also helps humidify the home a bit too! You can refrigerate it for up to one week and use it daily.
Caution: Set your timer for 30 minutes so you remember to top up with water. You don’t want the pot burning dry. Do not leave the house with this left heating on the stove.

There are lots of different ingredients that you can use to create your simmer. You can even save orange, lemon and lime peels or apple skins (dry them out first before storing in a container) and add those in too. Experiment to find your favorite aromas!
- cinnamon sticks
- dried orange slices or rinds
- dried lemon slices or rinds
- whole cloves
- dried apple peels
- apple juice
- vanilla extract (a few drops)
- sprigs evergreen or handful pine needles
- bay leaves
- star anise
- ground nutmeg
- dried lavender
- fresh rosemary
How to Dry Orange Slices in a Dehydrator

While I was slicing oranges for our Dried Orange Slice Ornaments last month, I made a few extra for these Christmas simmer bags.
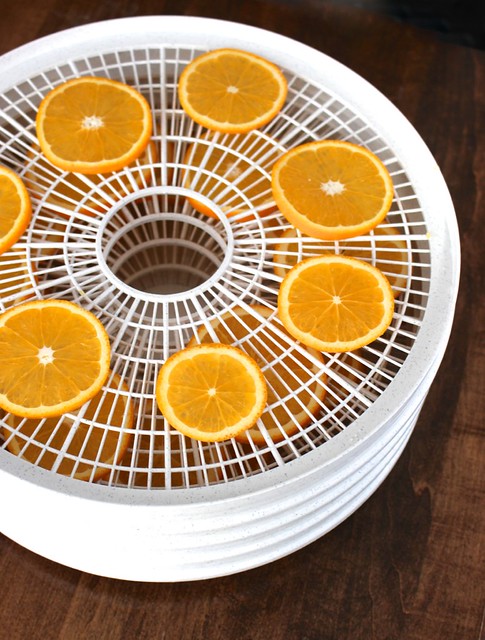
I added the slices in a single layer on each tray on our dehydrator. Follow your dehydrator’s instructions but for ours I was able to dry slices from three oranges (more than enough for the tree) in about 9-10 hours. I rotated the trays and flipped over the slices every 2-3 hours.
How to Dry Orange Slices in the Oven

If you don’t have a dehydrator, you can do this in the oven too. Arrange the slices on a baking rack on top of a baking sheet lined with aluminum foil. By putting them on the rack, you allow the air to get under them too. Set your oven to the lowest temperature (about 150°F) and bake them for about four hours, check them every hour. You want them to be dry to the touch and still have some of their orange colour. They’ll continue to dry more at room temperature.
How to Print Christmas Stovetop Simmer Mix Bags
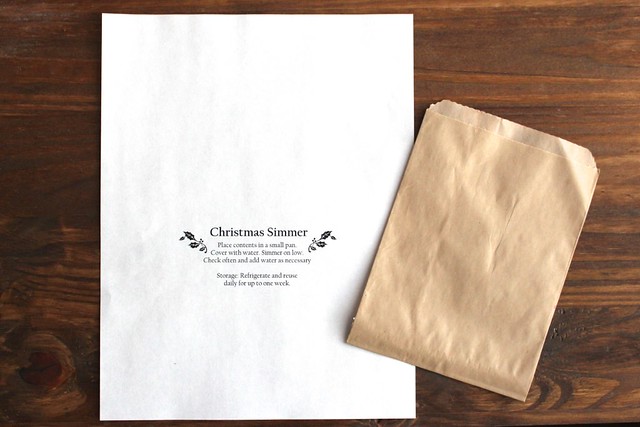
To make the bags, I started with creating my design in Microsoft Word and then printing on a piece of paper. You can download the Christmas Stovetop Simmer Mix FREE Printing Template, from the Printables Vault:

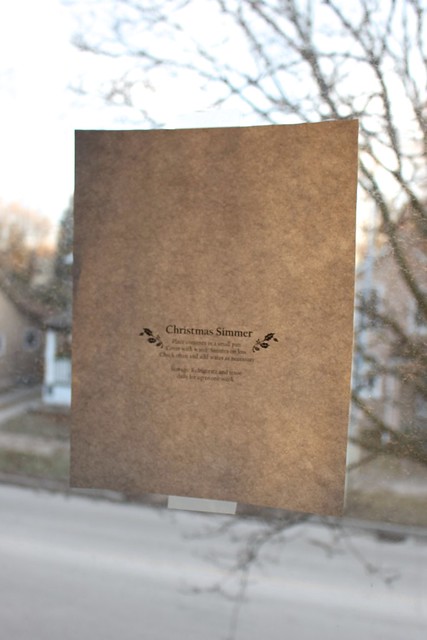
Tape the paper onto the window, so you can see through it.
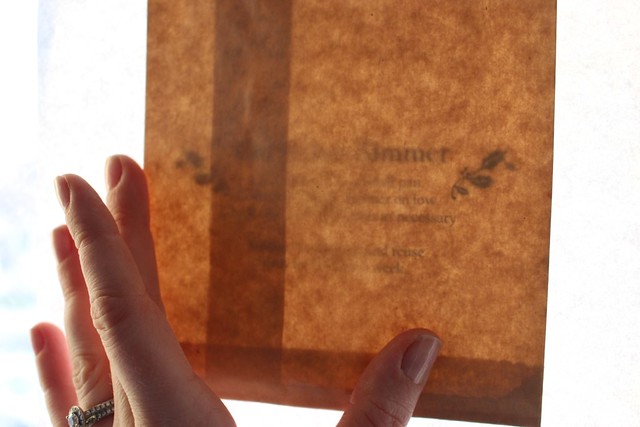
Center the bag on the paper, until you have the text where you want it on the bag.
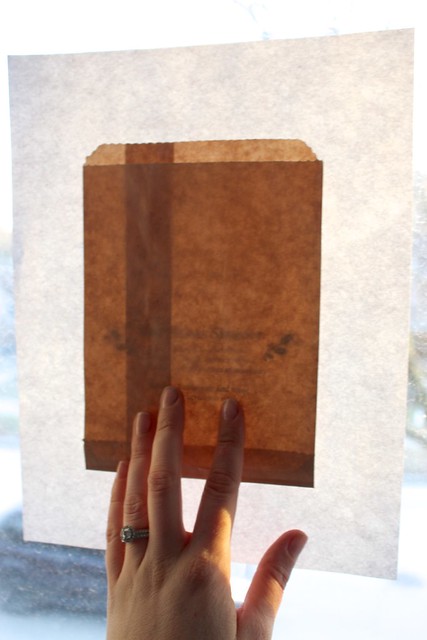
Tape the bag in place at the top and the bottom.
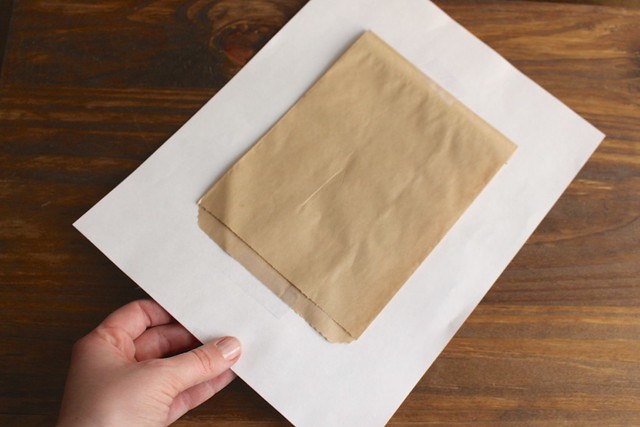
Run the paper again through the printer.

Do a test run to see if the image prints where you want it on the bag.
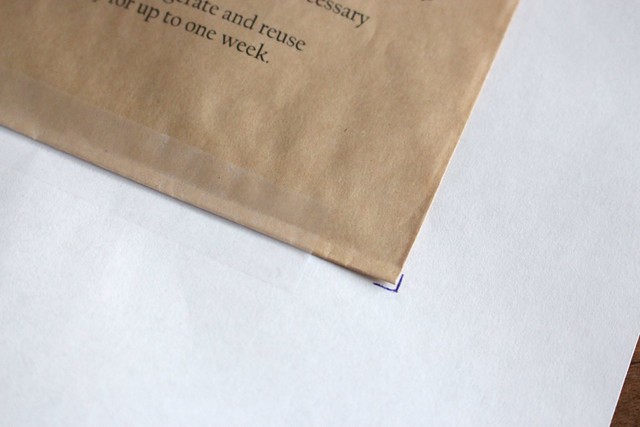
If the image on the first bag looks right, then mark the bottom corners on the page, so you know where to line up the next one. Carefully remove the tape from the printed bag and set up the next one to go through the printer.

Then it’s time to decorate! I used this lovely fabric ribbon from our trip to the Paper Place in Toronto a few weeks ago, along with some sticks of cinnamon.

Fill the bag with your dried fruit, peels and spices. Fold the top over and punch two holes into the top with a hole punch.

Thread the ribbon through the holes and ties in a bow with a cinnamon stick.

If you give this a try, I’d love to hear what your favourite aroma combinations are for a Christmas Stovetop Simmer Mix!
