I started decorating the apartment for Christmas this weekend, which I know is early for some people but I like the idea of taking my time over the next couple of weeks to do it. One evening I might put up my miniature village, while another afternoon I’ll clean the windows and string up our wreaths. It breaks up the work and lets me take the time to enjoy each step, instead of rushing through to get it all decorated in time. I’ll be sharing little bits and pieces over the next couple of weeks and then do the final holiday home tour on Monday December 1st, which I hope you’ll stop by and see! For now, here is a little preview of one of the simple handmade decorations I was working on this weekend.
/ / /

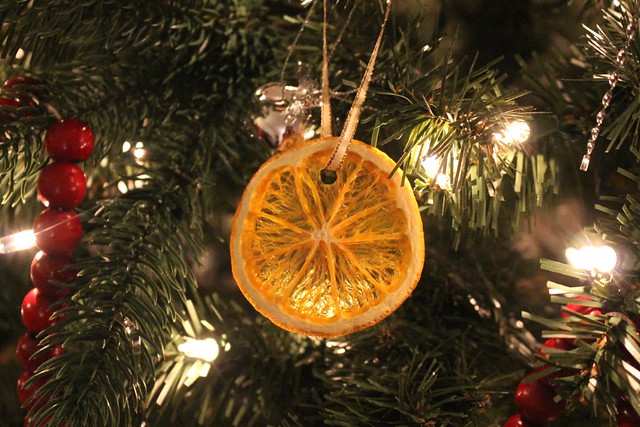
Lately, I haven’t been able to get the idea of Dried Orange Slice Ornaments out of my head. I wanted to decorate the apartment in simple, rustic Christmas elements this year and the thought of creating something easy, with things I already have on hand, stuck with me.
The idea to decorate with dried fruit came from our visit to the Black Creek Pioneer Village last Christmas. They had beautiful trees decorated throughout the village, showing the different holiday customs of the 1800s.
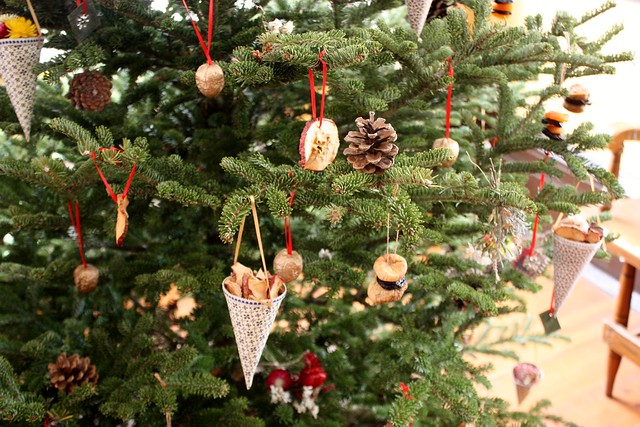
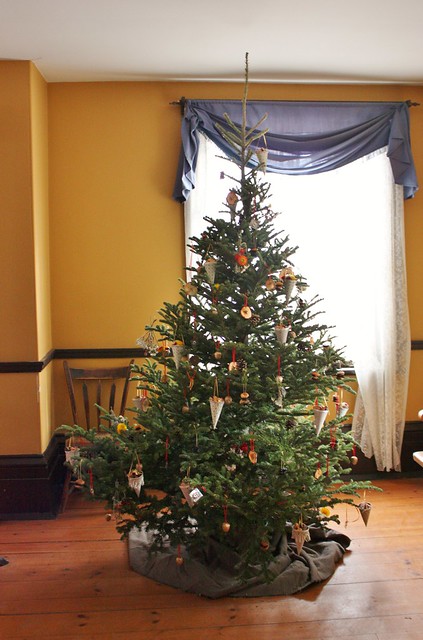
This tree decorated with pinecones, dried flowers, fruit and nuts really stood out for me. Back then people used what they had on hand, rather than buying fancy decorations. It was a celebration of the things they were fortunate enough to have (including treats like dried fruit and nuts) and less so about what they didn’t have.
In an effort to try to be more positive this year, that’s what I wanted our Christmas tree to focus on too. We’re decorating it with all things that we already had or could make by hand using things from the kitchen or pantry. We started working on the tree last night and I can honestly say that it’s one of my favourite trees ever. I’ll be sharing more if it soon.
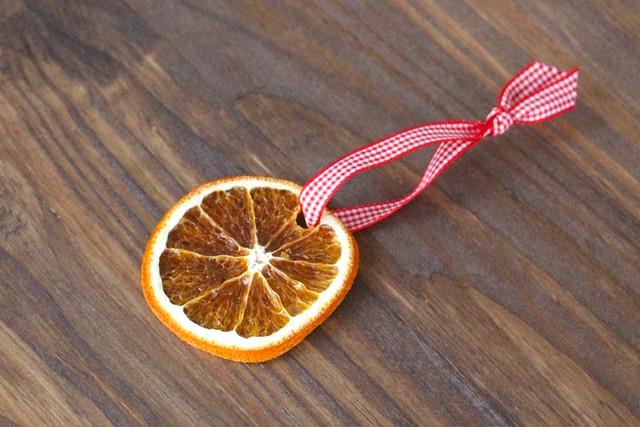
I’ve always loved the look of dried oranges on trees – they look like little stained glass windows and give off a faint orange smell.
How to Dry Oranges Slices in the Dehydrator
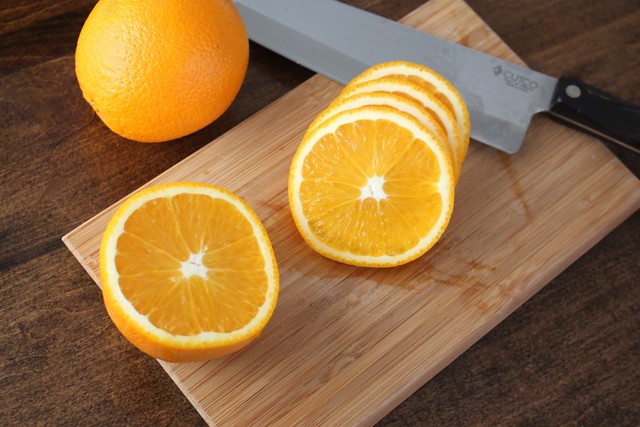
Carefully slice oranges into 1/4″ thick slices with a sharp knife.
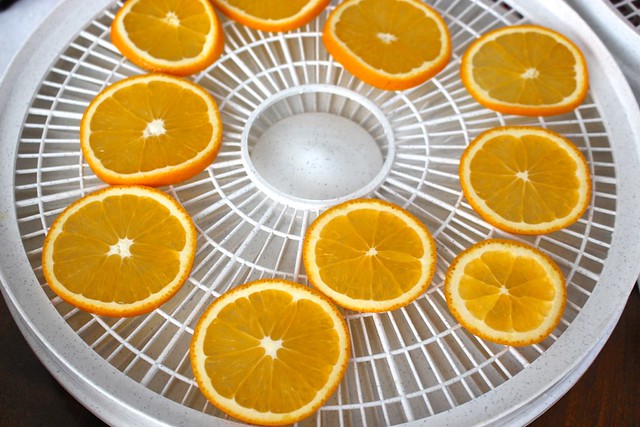
A few years ago we bought this dehydrator and it’s been great at making beef jerky and banana chips, so I thought it would be perfect for this project too.
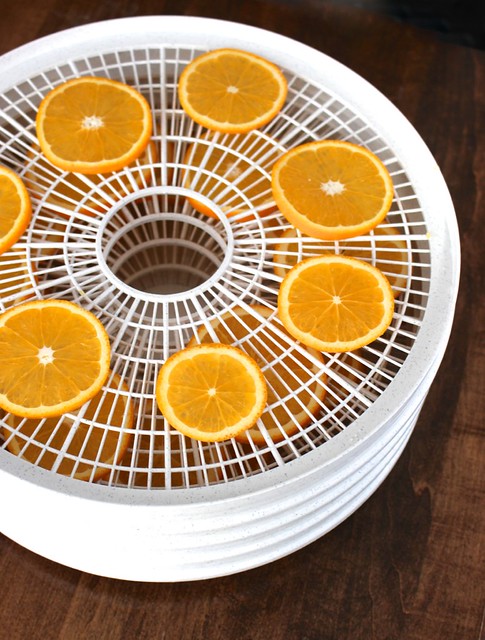
Arrange slices in a single layer on each tray. Follow your dehydrator’s instructions but for ours I was able to dry slices from three oranges (more than enough for the tree) in about 9-10 hours. I rotated the trays and flipped over the slices every 2-3 hours.
How to Dry Oranges Slices in the Oven
If you don’t have a dehydrator, you can do this in the oven too!
Arrange the slices on a baking rack on top of a baking sheet lined with aluminum foil. By putting them on the rack, you allow the air to get under them too.
Set your oven to the lowest temperature (about 150°F) and bake them for about four hours, check them every hour. You want them to be dry to the touch and still have some of their orange colour. They’ll continue to dry more at room temperature.
How to Make Dried Orange Slices Christmas Ornaments
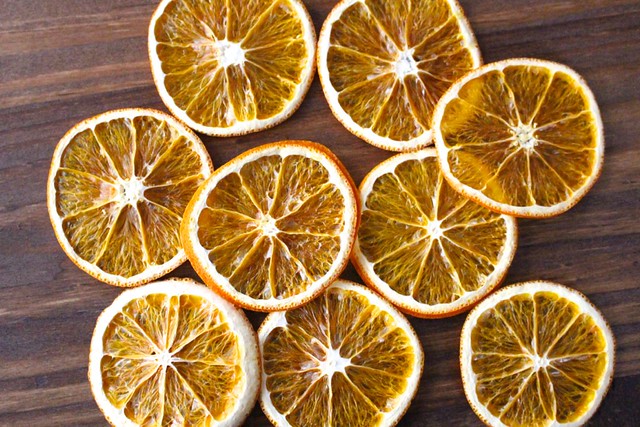
Whether you use the dehydrator or the oven, you’ll need to let them cool before you start decorating with them.
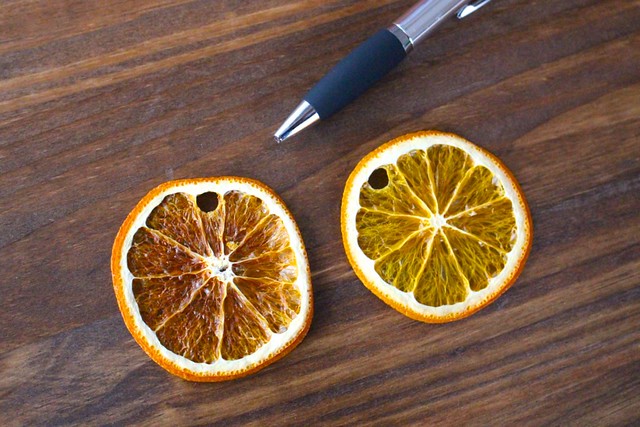
To make it easier to hang, use a pencil or pen to carefully poke a hole through one segment.

Use string or ribbon to make a loop to hang on the tree. I cut all the ribbon into the length I needed and then settled down with a Christmas movie while I strung them up.

Hang them in front of the lights and you’ll get a lovely stained glass effect!
For more decorating and project ideas, check out the Holiday section!
MORE HANDMADE CHRISTMAS ORNAMENTS
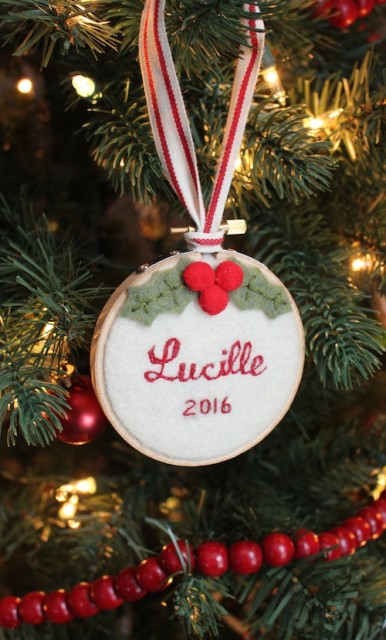
Hand Stitched Baby’s First Christmas Ornament 
Gingerbread Man Ornaments 
Squeeze Santa’s Cheeks Ornament 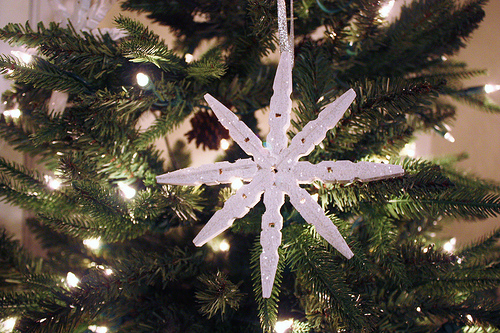
Sparkly Clothespin Snowflakes 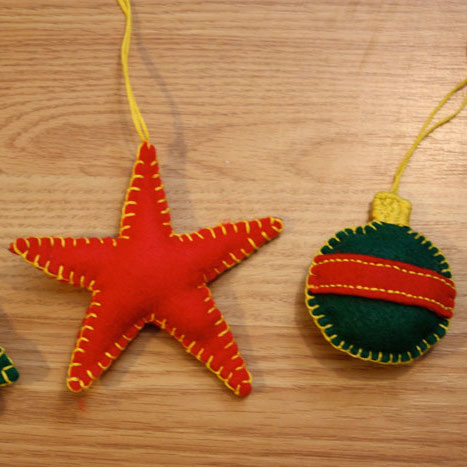
Simple Felt Ornaments 
Christmas Ornament Gender Reveal 
Mini Yarn Hat Christmas Ornaments

Love this idea!! The tree looks beautiful!
Oh my gosh I love this! We have an orange tree in our backyard and I always do the cloves in them for Christmas, but I never thought of making ornaments! Thank you for sharing, what a terrific idea!
Love this idea!
I made the orange-slice ornaments for our tree this year and they turned out great! Thanks for the idea!
Can you reuse these every year?
It they’re complete dry and you put them in a sealed container, they should last for a couple years.