
As we start to get ready for the holidays, there are so many things to think about. From decking the halls and finding the perfect gifts to updating your home with new furniture and linens for guests – there is plenty to do at home, but what about when you’re a guest during the holidays? Not everyone drinks wine or eats chocolate, and sometimes it can be difficult to come up with a nice hostess gift that doesn’t break the bank.

Over the years, I’ve watched my mother take a few stems of flowers and greens and turn them into beautiful festive centrepieces to decorate her own home, as well as give as gifts. When you see these creations in stores, it can look really intimidating, but with this step-by-step tutorial, you can create your own special holiday arrangements.

I’m visiting my parents in Southwest Florida this month and it wasn’t until I got down here that I realized how difficult it can be to find fresh greenery. We take it for granted up North, but I quickly discovered that if you combine faux greenery with real greenery, you can still create a dynamic effect that looks real. The best part is you can use them throughout the season, swapping out the flowers once they wilt, and I’m going to show you two different variations in this tutorial. (You can also reuse the faux greenery for arrangements next year!)

I am loving the plaid trend this holiday season. The traditional Christmas decor of plaid with red and green has always been my absolutely favourite seasonal colour combo, so I’ve happy to see it in the stores again.

When I was out for a walk with Lucy at my parents’ place in Florida, I spotted these perfectly dusty blue juniper berries at their neighbours’ house. I knew I needed to add them into the arrangement for some fresh greenery
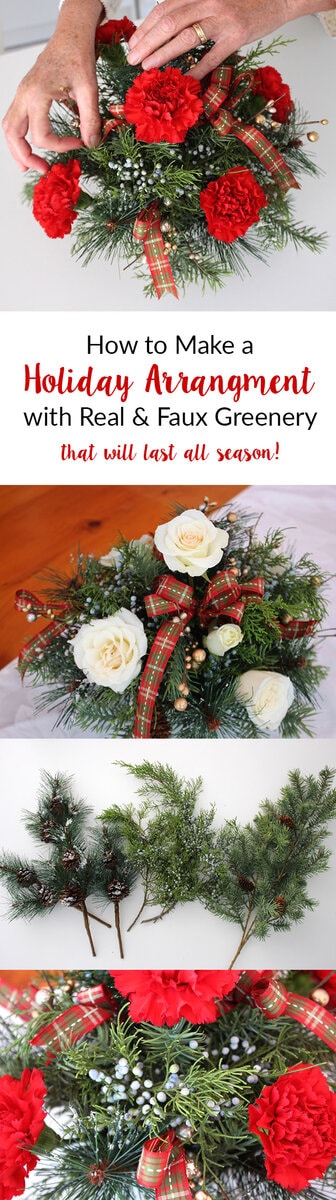
How to Make a Holiday Arrangement with Real and Faux Greenery
What you’ll need:
- small 6″ bowl
- 3-1/2″ square block of green floral oasis
- clear tape
- real and/or faux greenery (spruce, pine, cedar, juniper)
- sparkly faux berry picks
- ribbon
- floral wire and tape
- 5-7 fresh flowers (carnations, roses, mums)
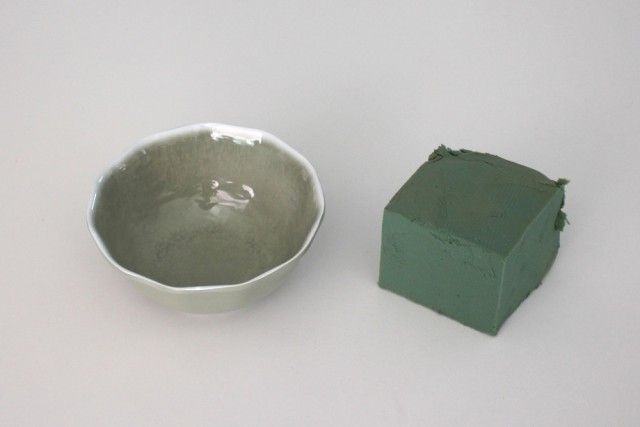
When deciding on your dish to hold the arrangement, keep in mind that it will be 1.5 times taller than it is wide. I’d suggest going with a 6″ bowl, which will give you an arrangement that is about 9″ tall and about 12″ in diameter. It’s a nice size for a dinner table or coffee table, without obstructing anyone’s view. For a 6″ bowl, you’ll need to cut a 3-1/2″ square block of oasis.
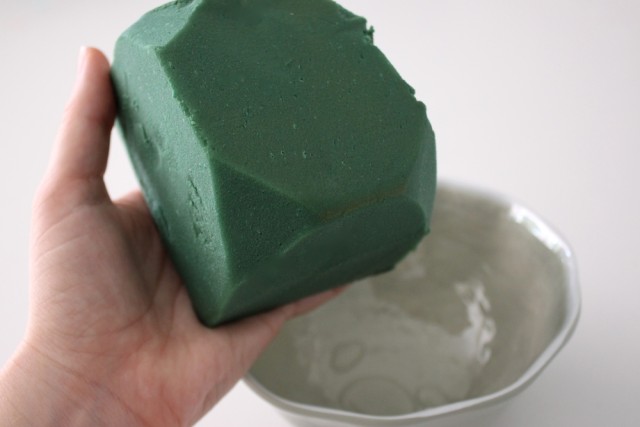
Cut the corners off the bottom of the oasis block and then let it soak in a sink of clean cool water for about 30 minutes or until completely saturated.
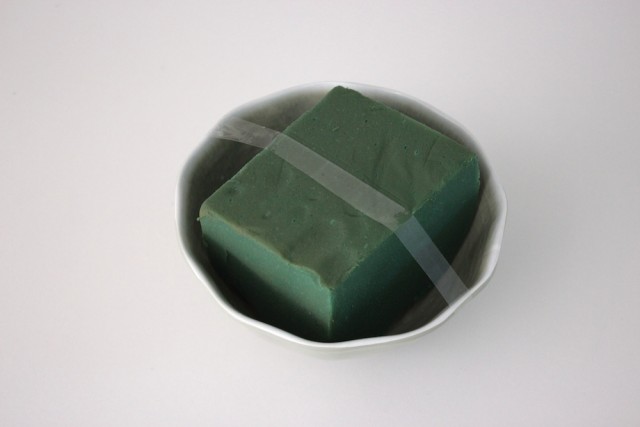
Place the oasis in the bowl and wipe the sides of the bowl dry. Secure with a piece of clear tape.
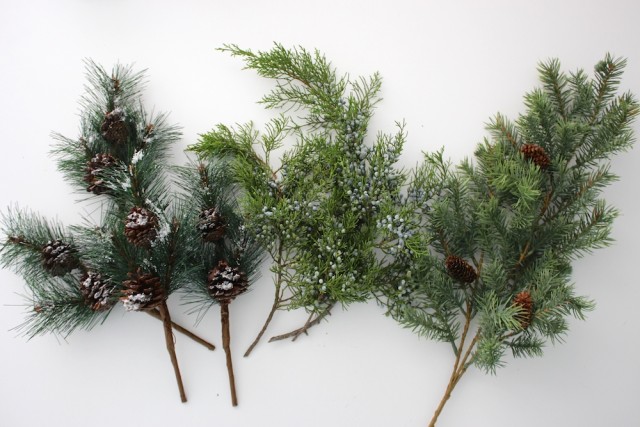
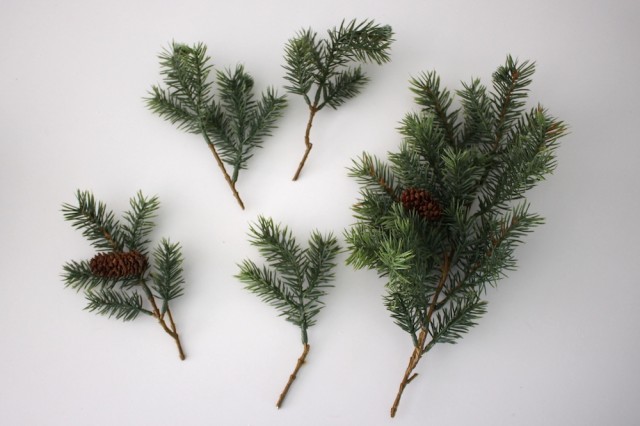
I went with three different types of greens for this arrangement – faux spruce with some subtle flocking, fresh juniper with the light blue berries still on the branch and faux spruce with small pinecones.
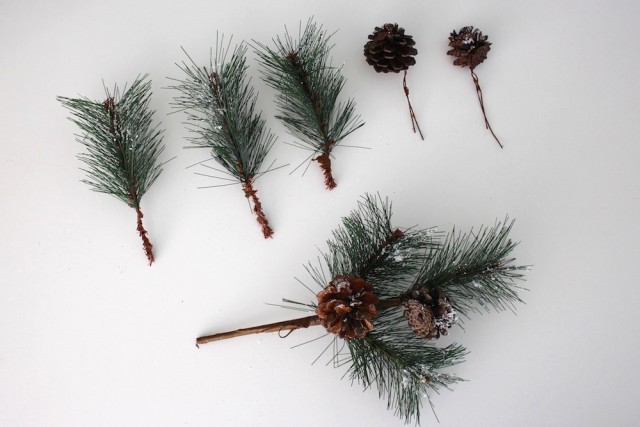
Start by taking apart the spruce picks. Each of these picks had three stems of faux pine needles and two large pinecones. I wanted to use the smaller pinecones on the faux spruce branches, so I removed these pinecones and set them aside for another project. That’s one nice thing about using faux branches – you can reuse them for other projects. Trim the branches so that they are approximately 6″ long, leaving one about 7″ for the top piece. You’ll be pushing them about 1-1/2″ to 2″ into the oasis, so they’ll most likely need to be trimmed to fit. You can see where I had trimmed the third stem here. Clip them on an angle to make it easier to insert them into the oasis.

Stick the stems in evenly around the oasis about 1-1/2″ to 2″ deep. I used 6 stems here and then added a seventh stem on top that is a little bit longer than the others.
Next add the faux spruce stems, cut them in 6″ long pieces from the main branch. This one was on strong wire, so I cut in with wire clippers to get an angle. I kept the small pinecones on these ones for some more texture in the arrangement.
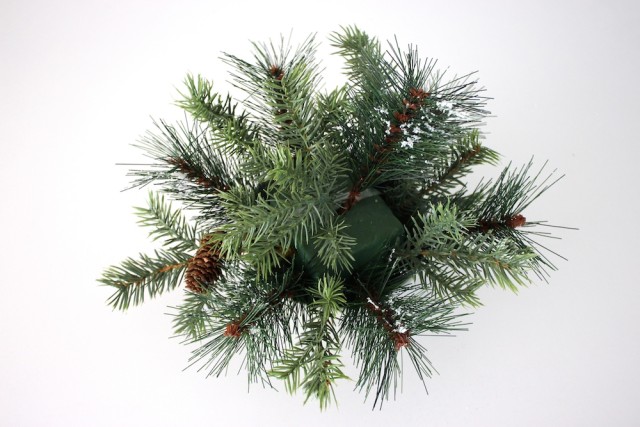
Go around the arrangement and add these in between the pine pieces. Again, you’ll need about six smaller 6″ stems and then one 7″ long one for the top.
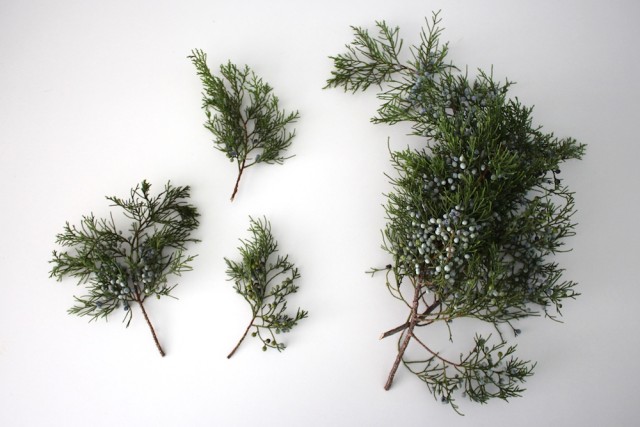
Do the same thing with the live juniper, cutting 6″ stems of the larger branch on an angle. Look for pieces that have nice full foliage with some of the berries. Strip the branch of any extra foliage if it’s too bushy.
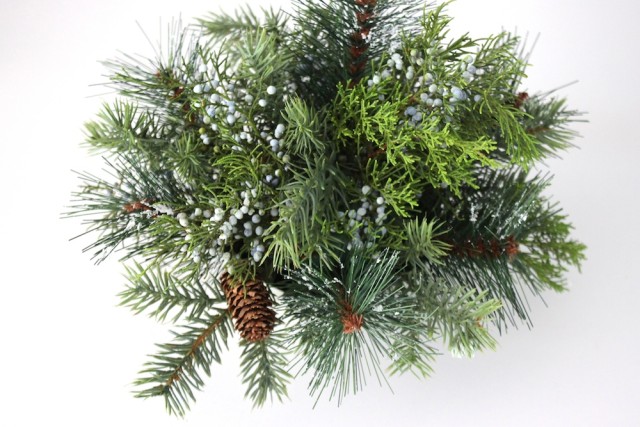
Add those branches into the arrangement, filling any holes.

Now it’s time to add the flowers! For the first variation, I went with these lovely Christmas red carnations. They’re easy to find a most local grocery stores throughout the holiday season. Cut the flowers on an angle, about 5-7″ long from the top of the bloom. For a larger bloom like these carnations, you’ll need 5 flowers, but you may need to add more with a smaller bloom. A quick florist tip – flowers look best in odd numbers – 5, 7 or 9 work best.

I love to add a little bit of sparkle to an arrangement and one of the easiest ways to do that it with some sparkly berry picks. You can find them at most craft stores and even some dollar stores. One large pick may actually be made of several smaller ones. When I took this one apart, there were three picks inside on their own separate wires. For an arrangement of this size, I’d use 3-4 of these smaller picks. If they’re on bendy wire, gently pull them apart to “fluff” them up a bit, like real tree branches would look.

Go around the arrangement and insert them right into the oasis.
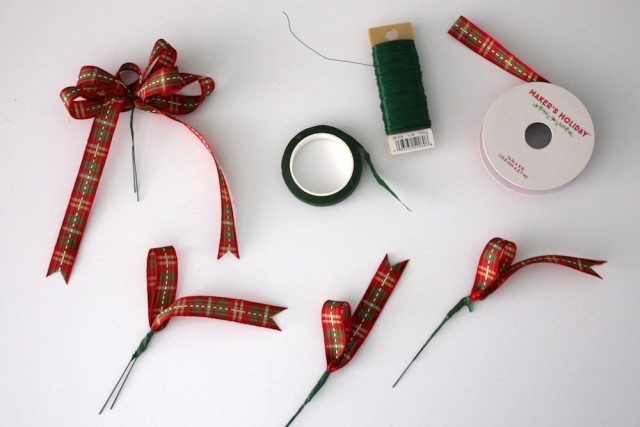
For a final step, I like to add some festive ribbon. You’ll need a large ribbon bow on florist wire and three ribbon loops with tails as well. If you’re not familiar with how to make these, check out my tutorial on how to make ribbon picks yourself.
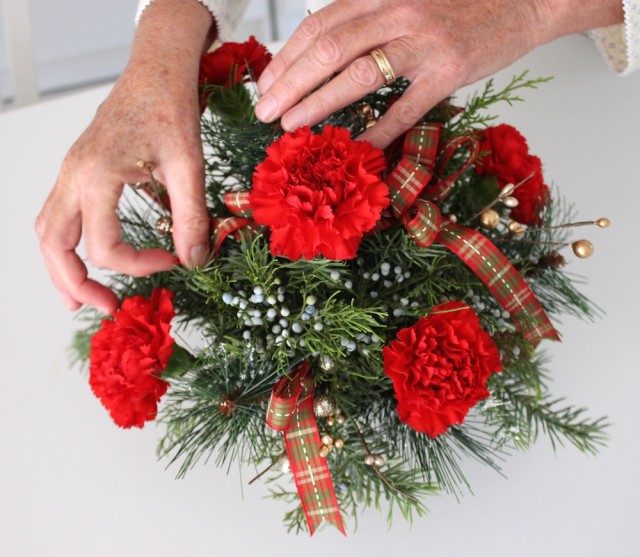
Insert the ribbons right into the oasis, with the big bow on the top and the smaller ribbon loops all around.
An arrangement like this should be watered daily and can last 7-10 days, but even when the flowers start to wilt, the arrangement can be reused! It’s as simple as replacing the flowers with fresh ones.

For the second week of this arrangement, I went with this lovely cream spray roses I found for $4 at the grocery store.

Remove the old flowers. Cut off some of the large spray roses on an angle in 5-7″ long pieces. Insert them right into the oasis.

Doesn’t it look like a whole new arrangement? It’s a great way to give your hostess a gift they can continue to enjoy throughout the holiday season.
Disclaimer – This post was graciously sponsored by Wayfair. All thoughts and opinions are my own.
