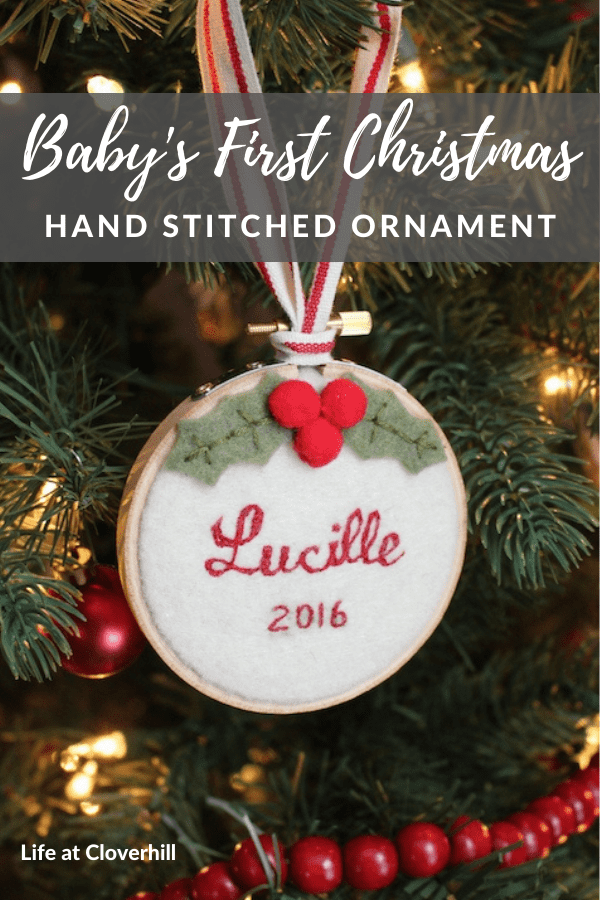
It’s only a few more days until Christmas folks! If you haven’t already been able to tell through my Instagram posts, we’re pretty excited over here about it being Lucy’s first Christmas. Every year we get a new ornament or two, so of course we needed one for Lucy this year. I was going to buy one but then I got thinking that maybe when she’s older she’d like to have one that was hand-stitched by her mama for her first Christmas ornament. *Cue this sentimental mother’s tears!*
What You Need to Make a Hand-Stitched Baby’s First Christmas Ornament
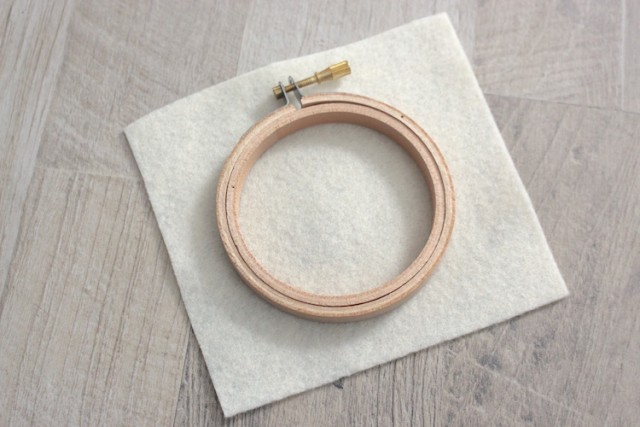
- 3″ wooden embroidery hoop
- template of text
- cream and green felt
- red and green embroidery thread
- embroidery needle
- poly fil stuffing
- small red pom poms
- hot glue gun
- hot glue sticks
- ribbon to hang
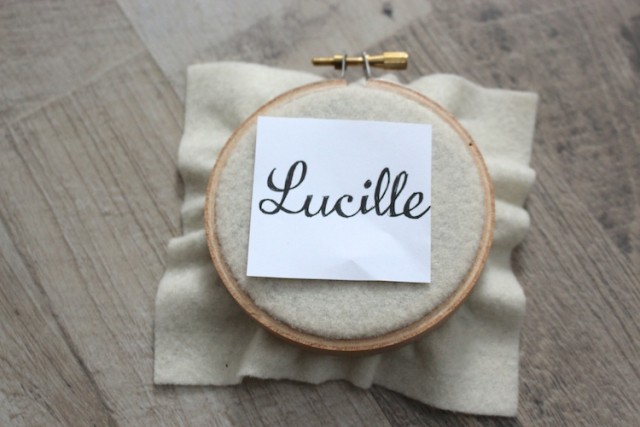
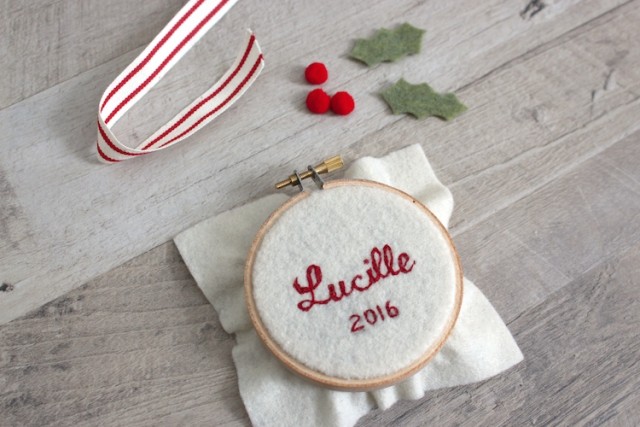
Open the wooden embroidery hoop and place a square piece of cream felt that fits with a little extra hanging over the edge. I looked up different fonts online and picked one that I liked “Lucille” written in. Then I hand sketched it onto a piece of paper as a template. You could do the same thing by printing out the font on paper.
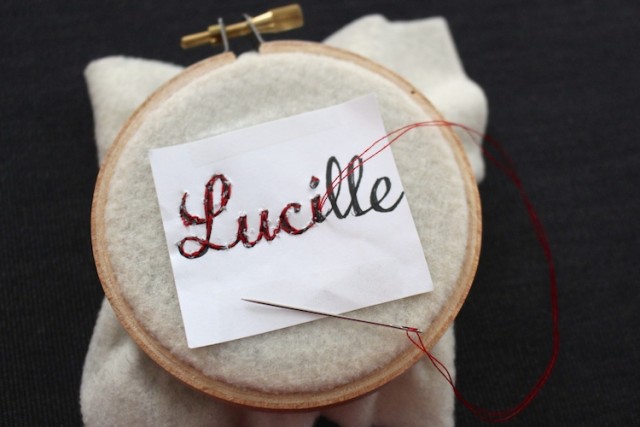
Tape the template in place and use one strand of the embroidery thread to stitch the outline.

Carefully cut and rip away the paper template. This will leave you with a stitched outline to fill in with embroidery thread.
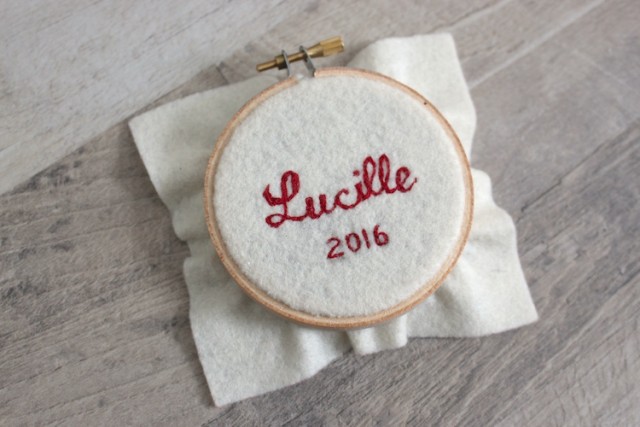
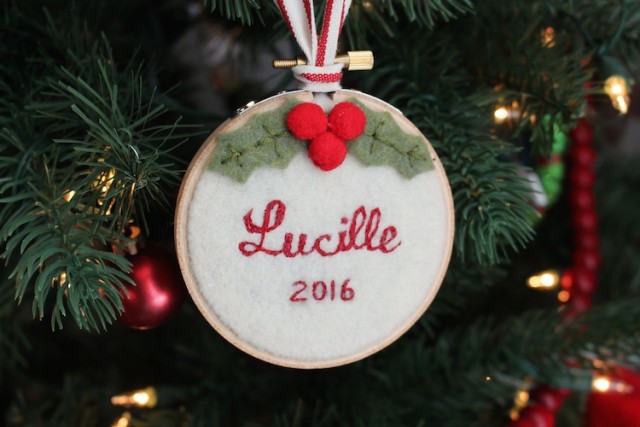
I lightly drew “2016” on the front of the felt with a thin marker and stitched that in place too. Trim the corners of the felt square, so that it will tuck in behind.
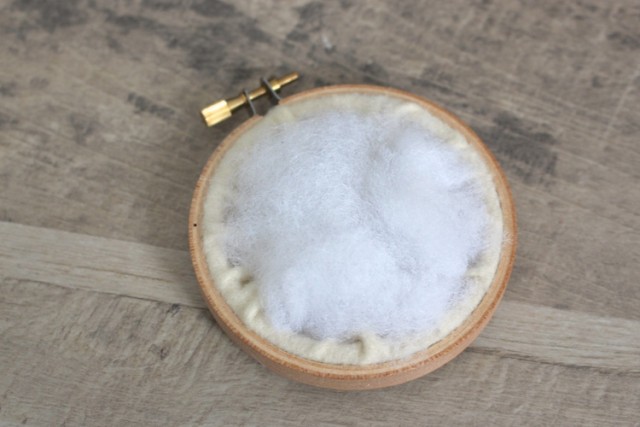
Tuck the edges of the cream felt until the embroidery frame and glue in place with the hot glue gun. Stuff with a little poly fil until the frame is just filled.
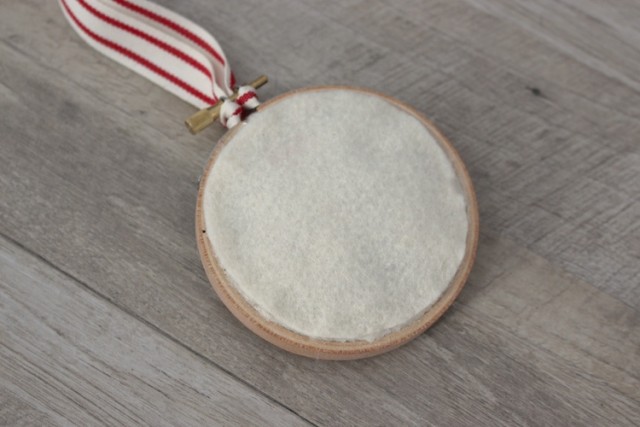
Cut a circle of cream felt that will fit the back and glue in place.
To decorate the front, I cut a couple of leaves of holly out of green felt, some red pom poms for berries and ribbon to hang it.

I added some stitches onto the holly leaves to make them look like real leaves and then hot glued them in place, with the berries on top.
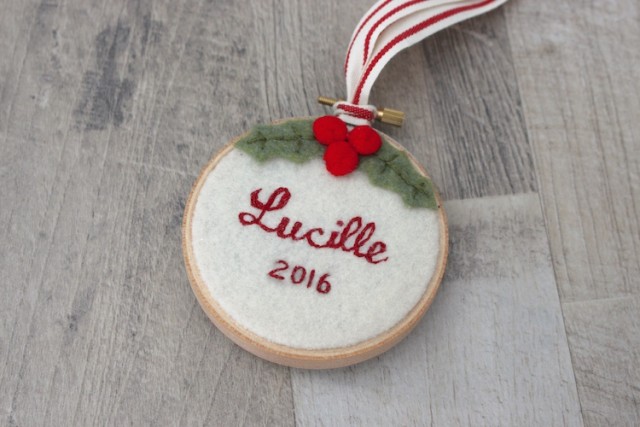
A piece of ribbon threaded through the top of the hoop completes the look and makes it ready to hang on the tree!
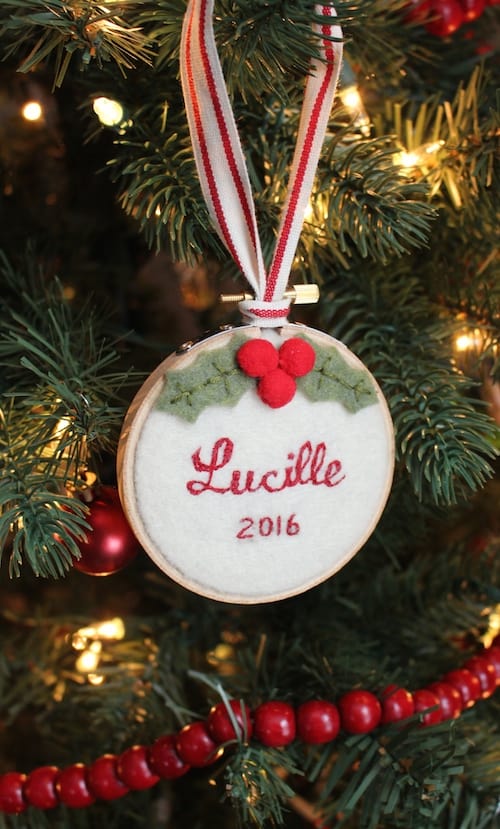
Seeing our sweet girl’s name on the tree makes me smile every time!
Check out more Handmade Christmas Ornaments
Squeeze Santa’s Cheeks Ornament 
Christmas Ornament Gender Reveal 
Gingerbread Man Ornaments 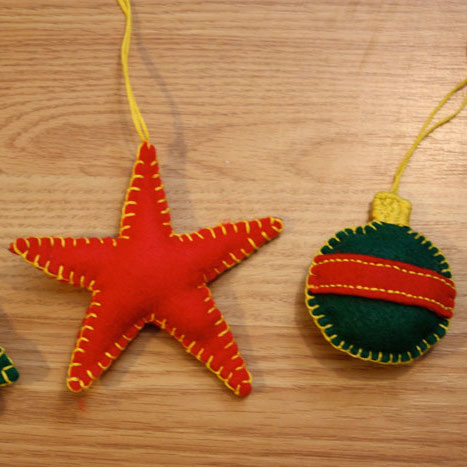
Simple Felt Ornaments 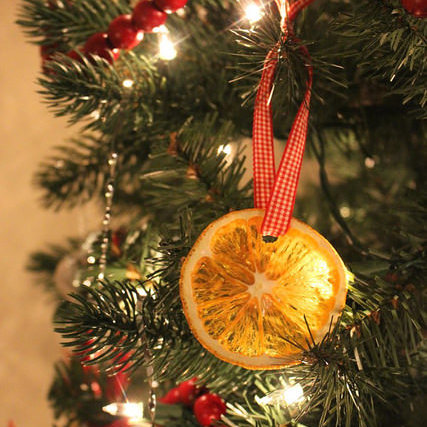
Dried Orange Slice Ornaments 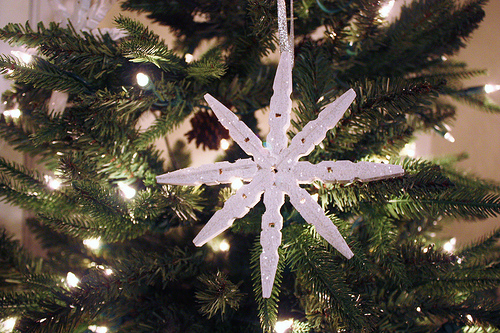
Sparkly Clothespin Snowflakes 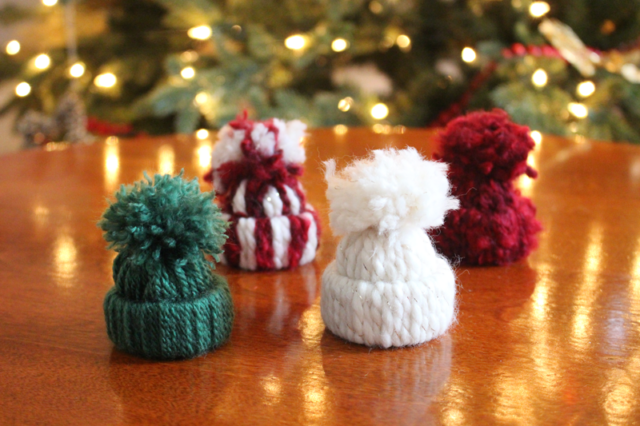
Mini Yarn Hat Christmas Ornaments