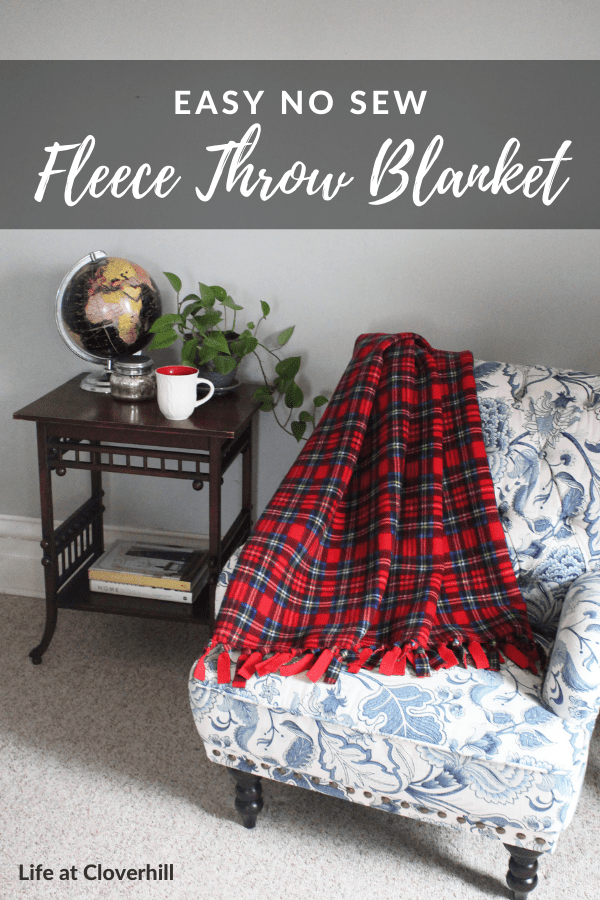
This easy No Sew Fleece Blanket is a fun project to make a cozy and warm throw for snuggling up. These inexpensive blankets make a great gift idea too!
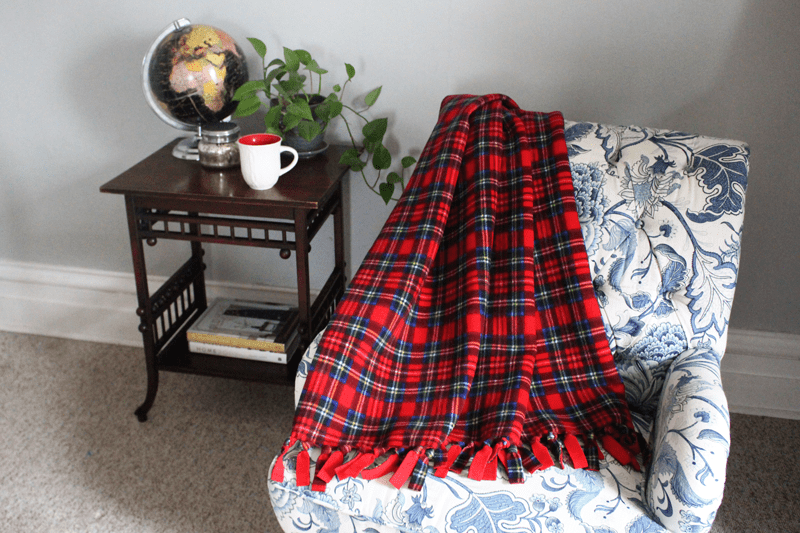
When the snow starts falling here in Canada, if I get a minute to myself, you better believe I’m burrowed under a cozy blanket with a cup of tea and a good book. We’ve also been spending much more time outdoors in the cooler weather this year and hanging out on the front porch, so I wanted to have a couple of super cozy blankets we could bring outside with us too.
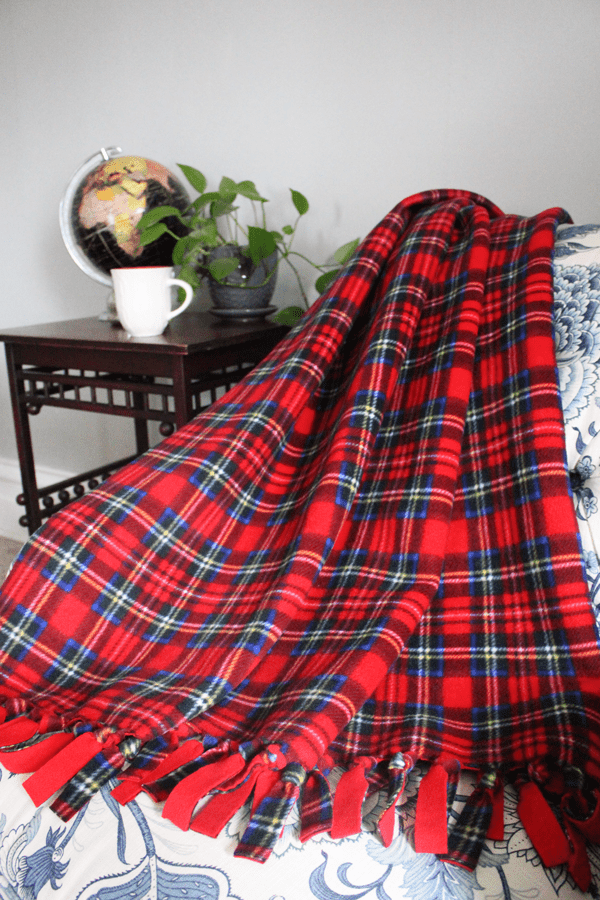
This easy No Sew Fleece Blanket Throw doesn’t require any sewing skill and is a great beginner project. I’ve seen many fleece blankets done with a tight fringe but I find that it can bunch up the material, while the method I show below lets the fleece blanket lie flat like a traditional wool blanket might. A throw blanket is usually about 52″ x 60″ for an adult but you can make these fleece blankets whatever size you’d like.
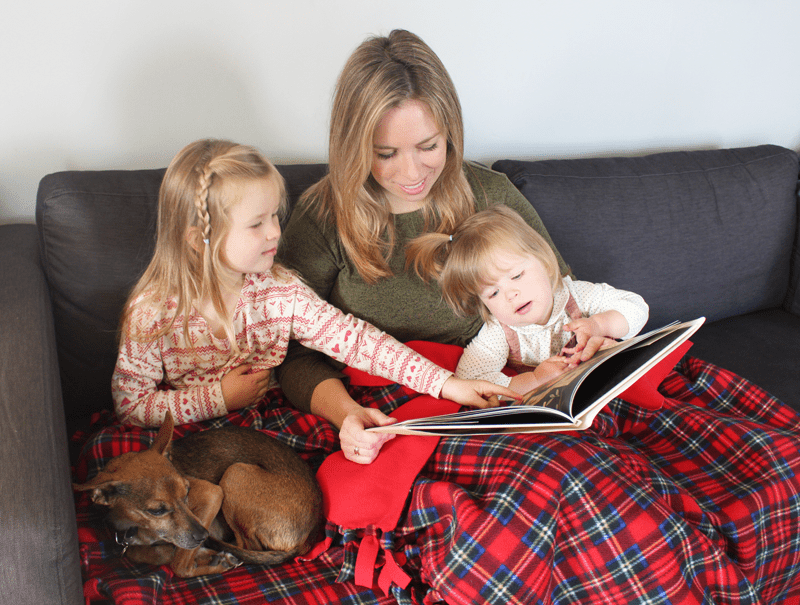
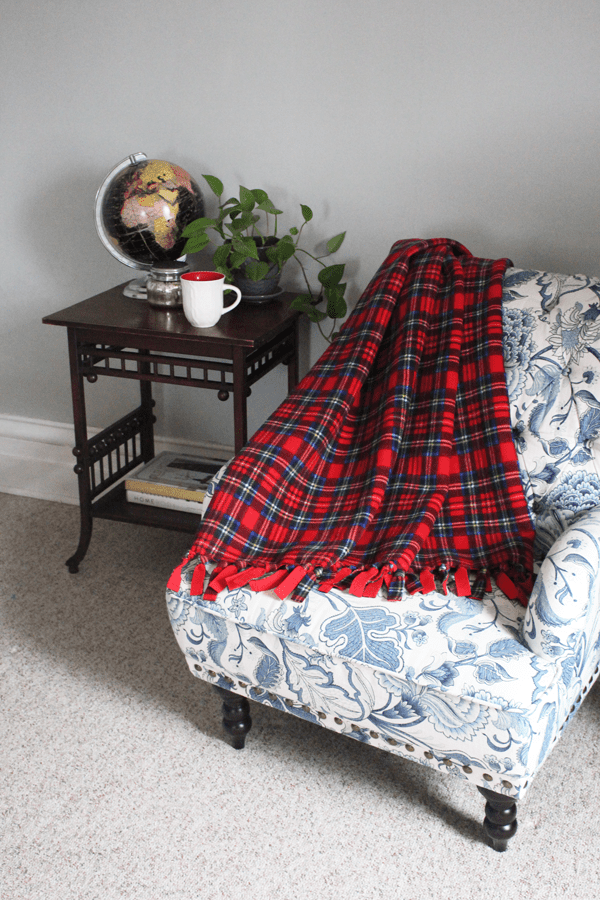
I made both of our girls their own red tartan lap blankets that are about 45″ x 50″. These are about the perfect size for reading stories together or snuggling up to watch a movie.
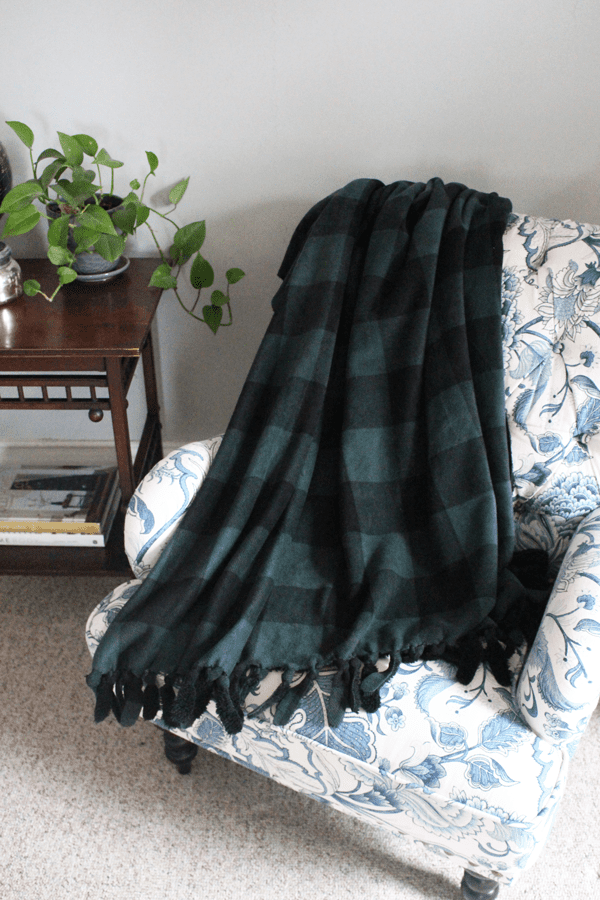
I’ve also made a couple with this teal and black plaid bonded fleece with black fur on the other side. It is very warm, super soft and cuddly. Exactly what I’m looking for in the winter!
Why Use Fleece?
Fleece is a synthetic fabric that is easy to work with and has a smooth, plush look. For this project, I’d suggest using something thick such as double sided bonded fleece or a thicker polar fleece.
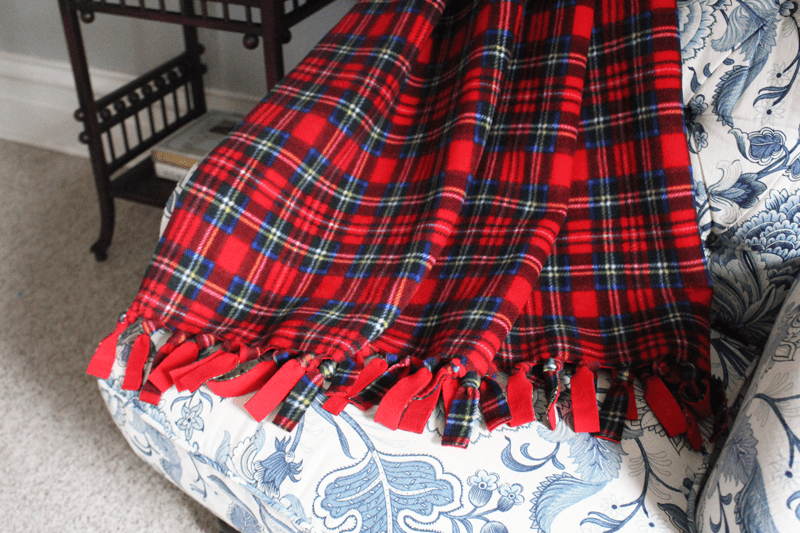
Both of these kinds are warm, moisture resistant and very soft. Fleece is a great fabric to work with on a no sew project like this blanket because it doesn’t fray. You can usually find good quality fleece fairly inexpensively at a fabric store – and look out for deals during the colder months! I was able to get this fleece for about $10 each for the girls lap blankets and $15 each for the larger adult throw blankets.
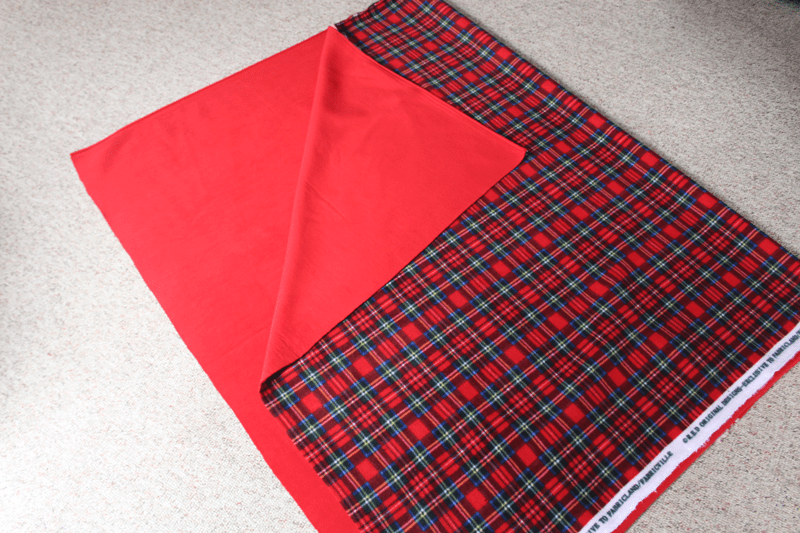
To make these fleece throws the coziest they could be, I went for a double-sided bonded fleece. You can usually find them in fabric stores near the regular fleece, but these are extra thick with either fleece on the second side (like this red tartan) or a faux fur (like the teal & black one in the pictures above). I’ve seen them with a white sherpa before too.
What You’ll Need to Make a No Sew Fleece Blanket
- 1.5 – 2 yards of Double Sided Bonded Fleece or Thick Polar Fleece, depending on the size you’d like (at least 52″x 60″ for an adult or however big you’d like to make it)
- Sharp Fabric Scissors
- Cutting Ruler
- Optional: Rotary Cutter and Cutting Mat
Getting Started on the No Sew Fleece Blanket
With whatever fabric you use, start by washing it first according to the care instructions. For most fleece, you should wash it on a cold/cool setting and dry on the lowest setting. Fleece is a synthetic material made with plastic and the fibers can melt on high heat settings.
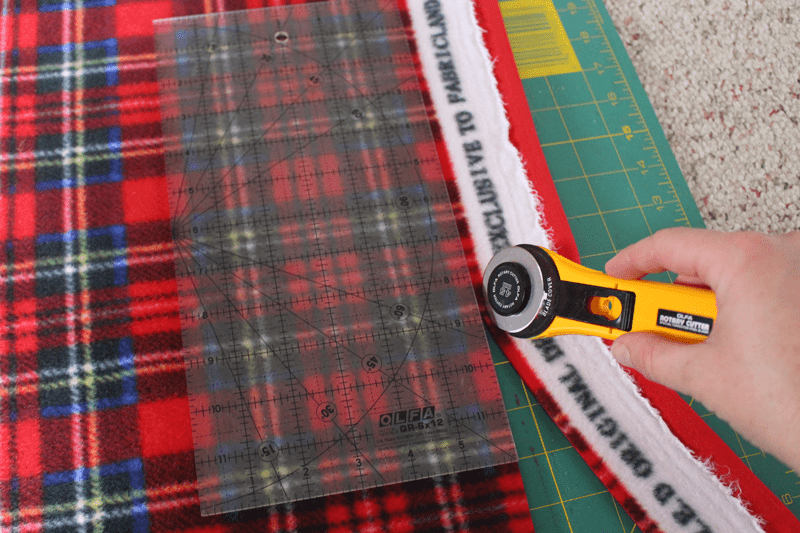
Trim the selvage on the ends with a rotary cutter, ruler and mat, or with sharp scissors. Fleece doesn’t fray once you’ve cut it, so this will be the final edge. For a tartan like this, I try to keep to the lines in the pattern.
Option 1: Fringe on Just the Ends
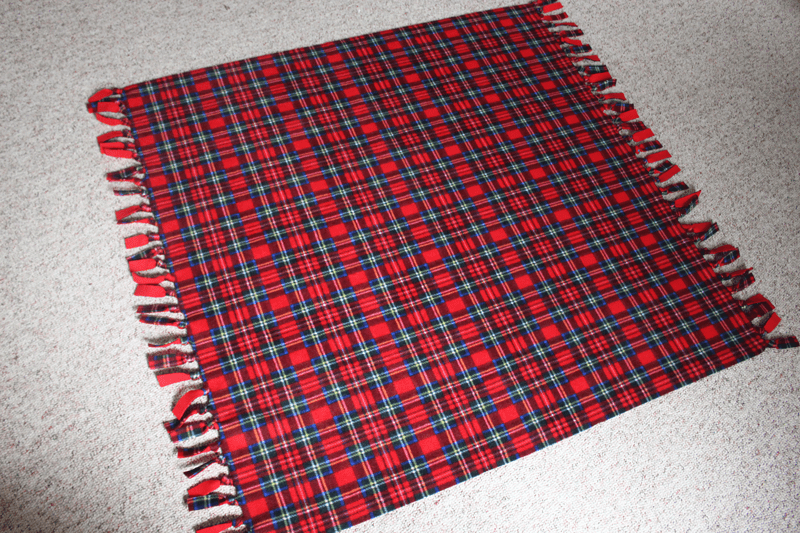
If you look at most traditional wool blankets, there is a fringe on just the two shorter ends. That is the style that I went with for my blankets, but I’ll show you farther down how to do it with fringe all around too.
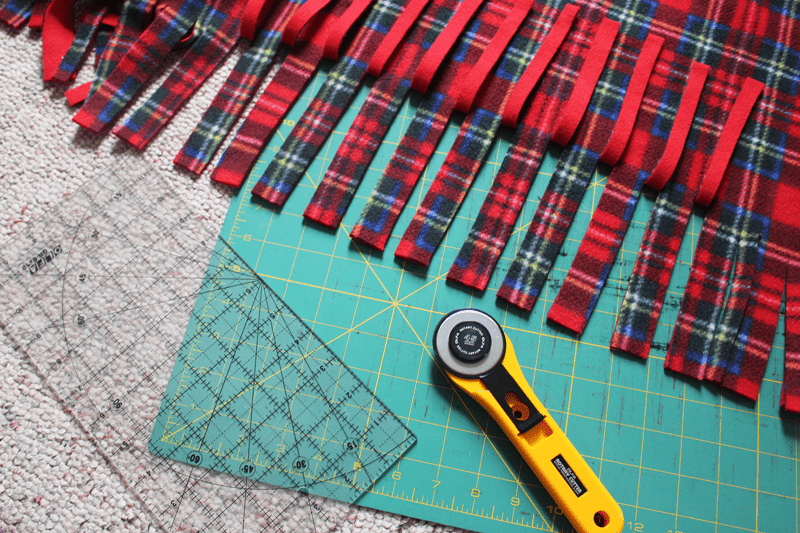
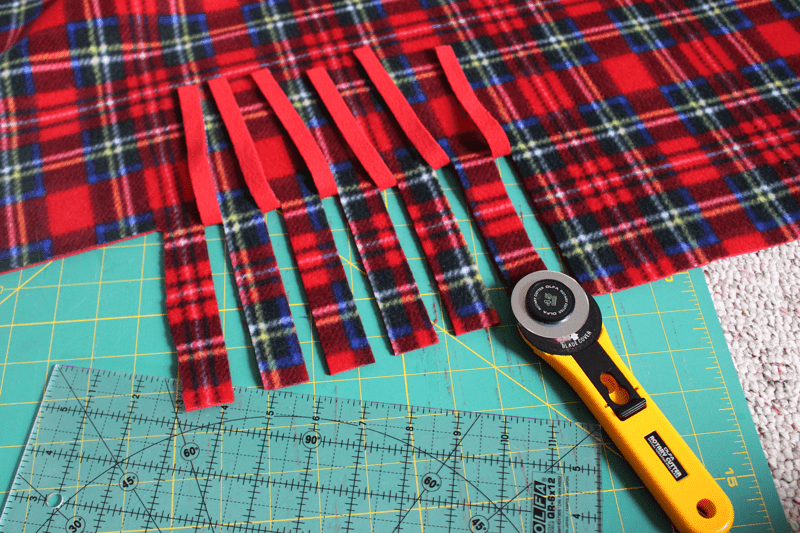
Starting on one of the short ends of the blanket, you’re going to cut the fringe to knot it. To get a nice fringe that lays fairly flat and doesn’t bunch up the blanket too much, I like to cut the space between out. I also want to make sure there is enough space to tie a knot in my fringe and leave a little bit of a tail. So for this blanket, I made my cuts 5″ deep and alternated going 1″ and 0.5″. The 1″ sections are my pieces to knot and the 0.5″ are the space that I’ll cut out. I found that using a rotary cutter, ruler and rotary mat was the easiest way to get a clean, precise cut, but you could use sharp scissors too.
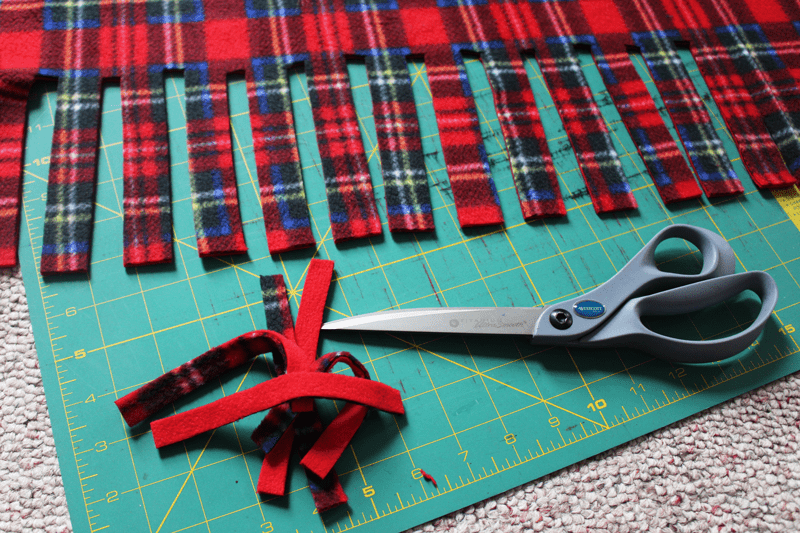
Using sharp scissors, carefully cut out the 0.5″ pieces to make the spaces in the fringe.
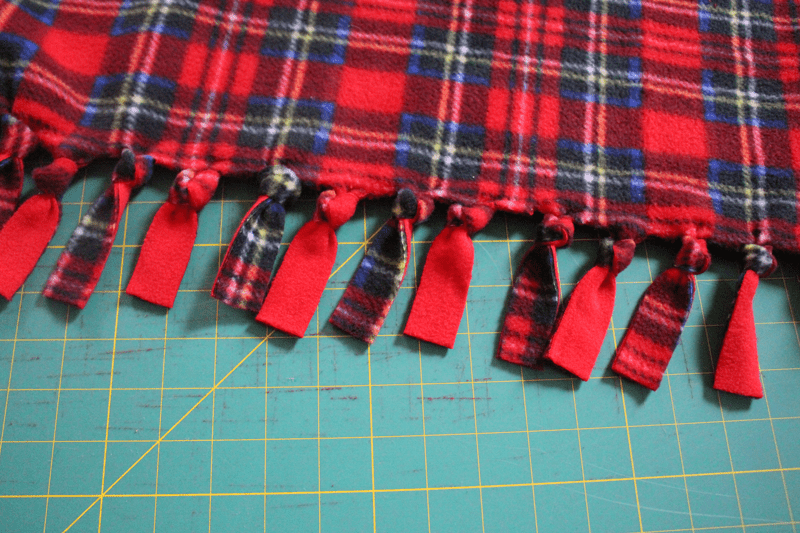
Then it was just a matter of putting a knot in each piece of fringe. To get a bi-colour knot fringe, where it alternates the front colour and the back colour, twist the fabric in the knot as you tie it.
Continue on the other short end of the blanket and voila!…you have yourself a soft, cozy throw with a nice knotted fringe.
Option 2: Fringe All Around
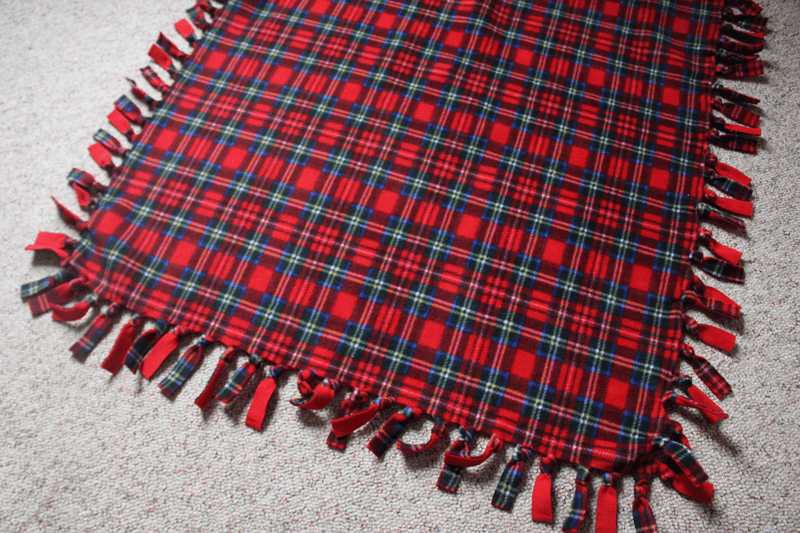
Alternatively, you can create a knotted fringe all the way around the blanket. I find this does bunch it a little bit (and the kids didn’t like the feeling of it), but if you’re unable to find bonded fleece and want to just put two regular pieces of fleece together, you can use this method too.
Starting at a corner, cut a square that is 5″ x 5″, to remove the gap where you won’t be adding fringe. Then continue in the same method as mentioned above, cutting 5″ deep, and then alternate 1″ for the fringe and then 0.5″ for the gap, until you get to the other corner where you’ll cut out a 5″ square again.
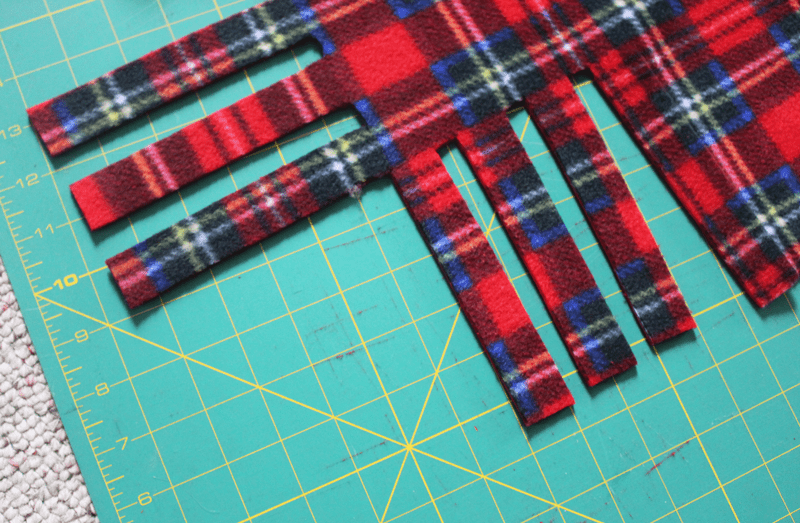
Continue all the way around the blanket so that you have a square cut out of each corner and then the fringe all the way around. Cut out the 0.5″ gaps between the fringe.
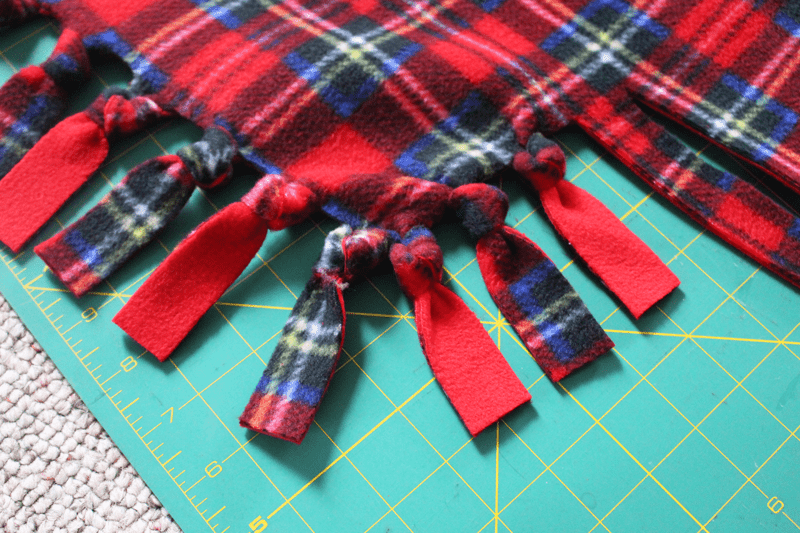
Now it is just a matter of knotting it all around. You can still alternate the direction of the fringe if you want to show the front or the back pattern, by twisting the fabric while you knot it.
Option 3: Rounded Fringe

For the green buffalo check and black fur blankets, I wanted to do something a little bit different, going for a rounded fringe.
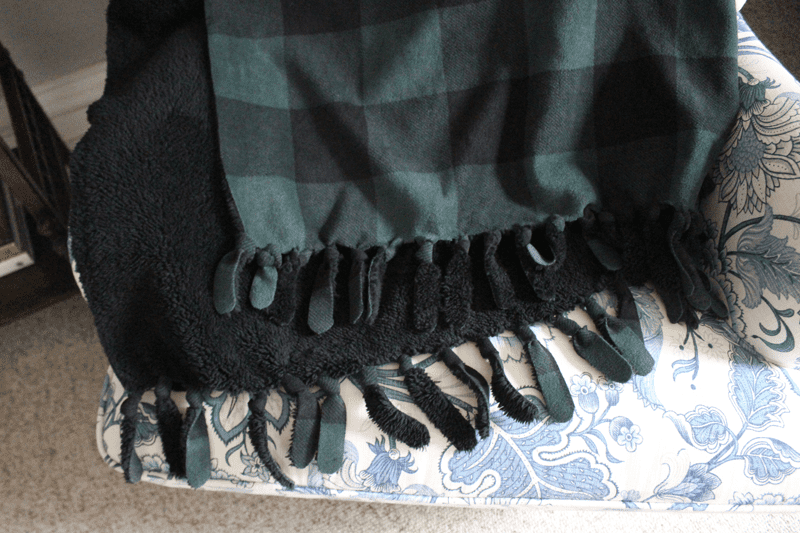
It was the same method as the first blanket method I showed above, with fringe just along the two ends, but I took the extra step to round the corners of the ties.
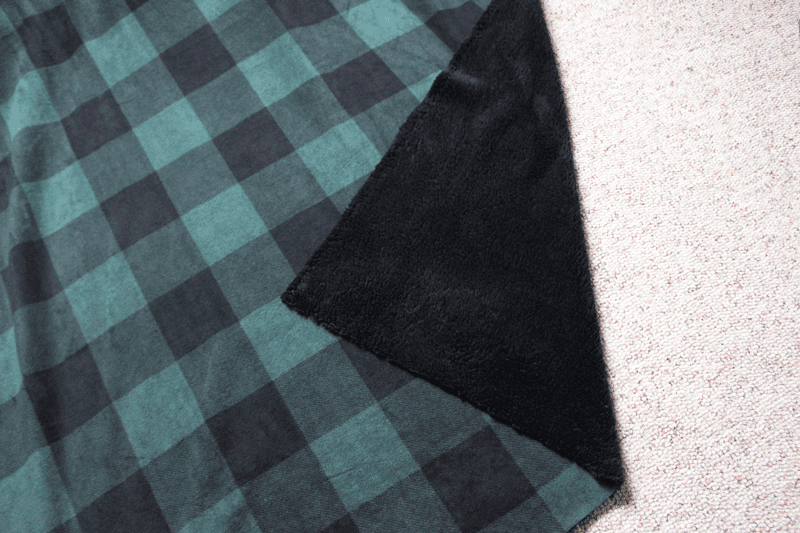
The fur sheds a little bit when you first cut it, so I started with putting it through the wash on cool and then the dryer on low to remove some of the loose fluff. After I cut and knotted the fringe, I put it through the dryer on the lowest setting another time to get the last of the fluff.
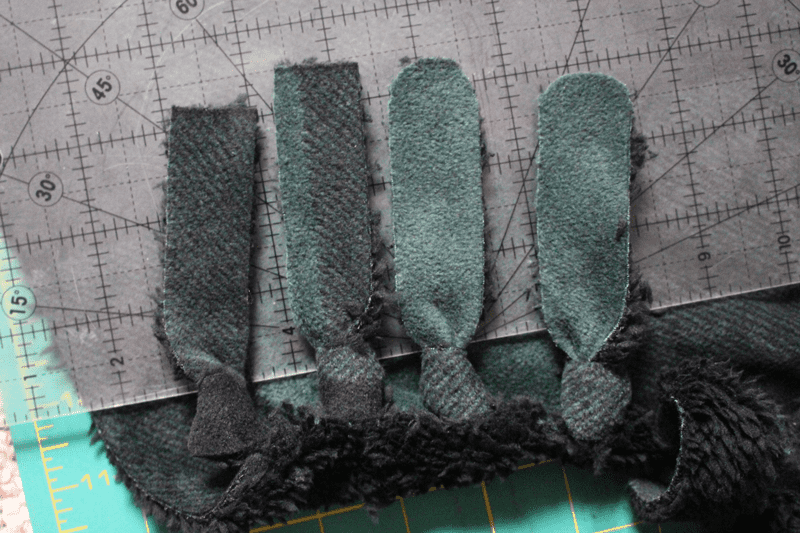
After I’d cut and knotted the fringe, I took my sharp scissors and cut a slightly rounded edge. It’s a little change but it makes this blanket feel different.

I hope this Easy No Sew Fleece Throw Blanket inspires you to make something cozy and warm to give this holiday season…or to make for yourself!
