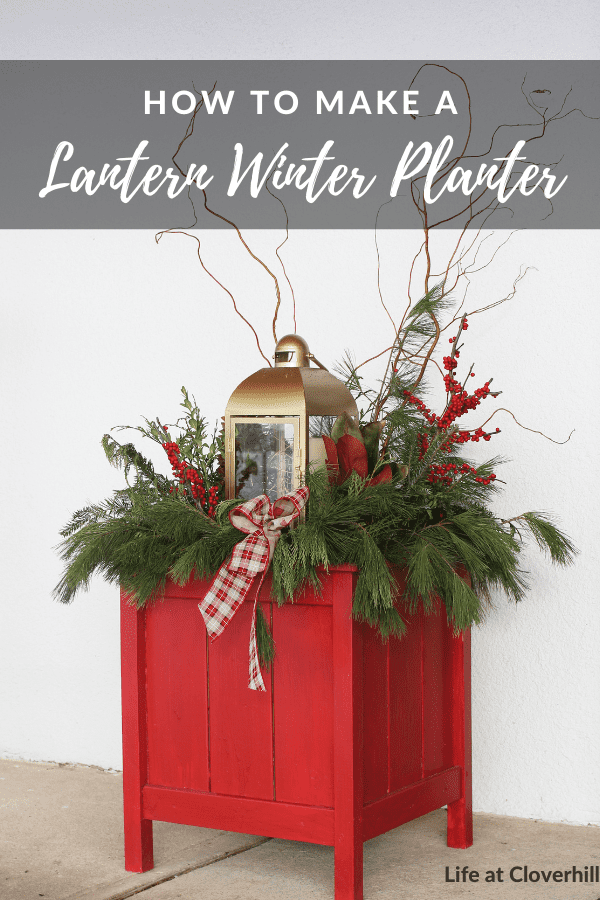
Make a DIY Outdoor Christmas Lantern Planter for your front door, using a festive red planter, large lanterns, fresh greenery and LED twinkle lights.
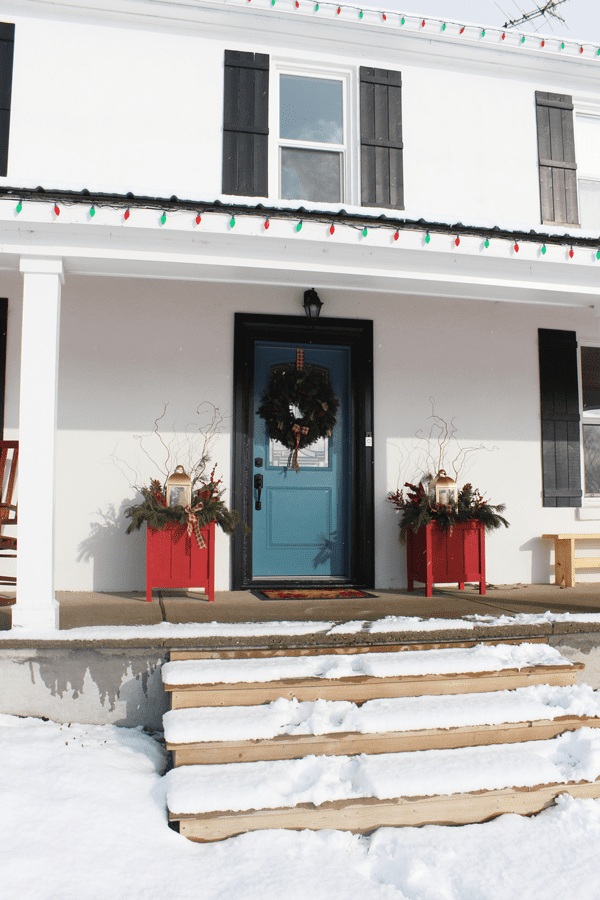
Earlier this month, we got an unexpected dose of warm weather (a rarity for November in rural Ontario!) and I took advantage of it to update our front door. My dad helped me add thick wood molding (similar to what we have in the house) around the door frame and I painted it to match the DIY Board and Batten Shutters. While I was at it, I figured I may as well change up the door colour with a nice muted blue too. Once the front door was looking freshened up, it got me thinking about decorating the front porch to greet friends and family who pop by. I’ve always wanted to make an Outdoor Christmas Lantern Planter and this was the year to do it!
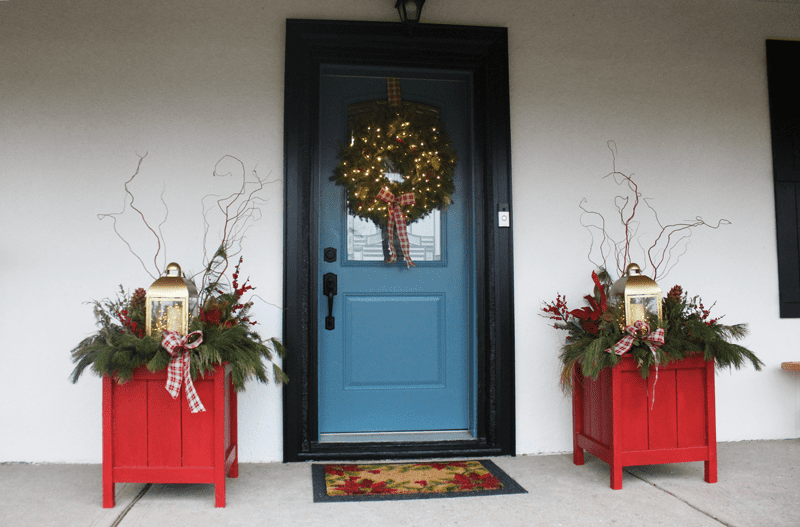
We have these large Holiday Outdoor Wood Planters that Garrett built me the first Christmas we spent at Cloverhill Farmhouse. I’ve reused them several times over the years but wanted to try something a little different this time. I found these large gold lanterns on sale in Canada (similar ones in US) and knew they’d be a fun way to update the planters.
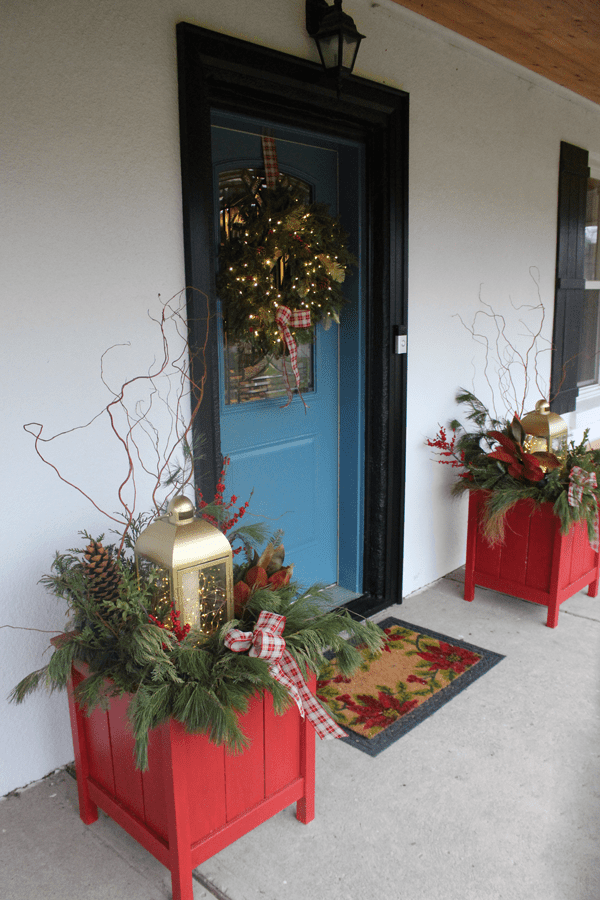
With two little girls who are absolutely delighted with Christmas lights, I hoped the twinkly lights would be a big hit too. They love changing up the light patterns with the little remote they came with.

How to Make an Outdoor Lantern Christmas Planter
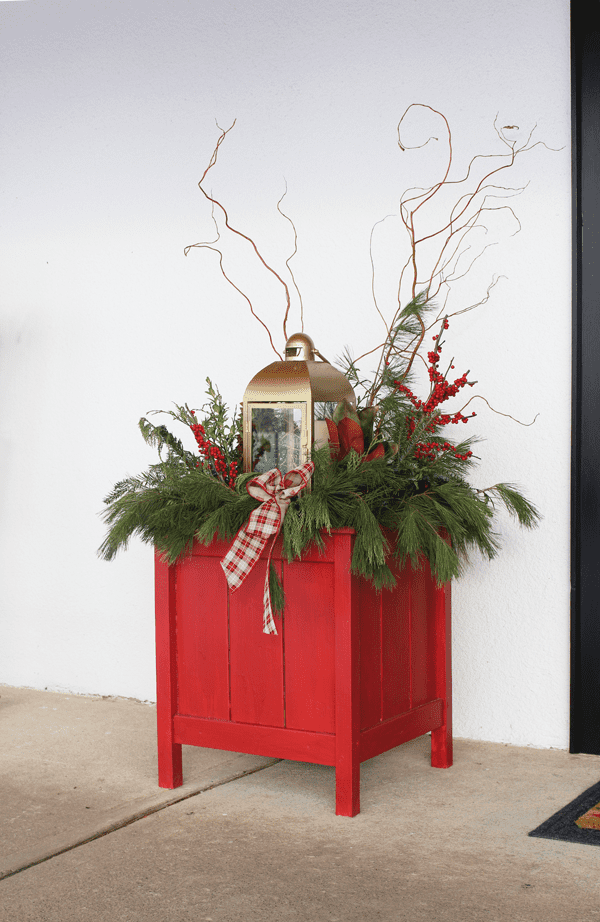
What you’ll need:
- Outdoor Planter (you can use my free design for the red one seen above)
- Lantern, approx 16″ tall (Find them at Canadian Tire // Similar at Amazon US)
- Scrap Lumber
- Soil or Mulch
- Mixed Greens (pine, cedar, fir and boxwood are all lovely)
- Curly Willow or Dogwood Branches
- Decorations such as Berries, Large Sugar Pine Cones, Christmas Balls, Magnolia, Ribbon, etc.
- Real or Faux Pillar Candle (for filling inside)
- Exterior Twinkly Lights (these ones are waterproof, battery powered and have a timer) (Find them on Amazon Canada // Amazon US)
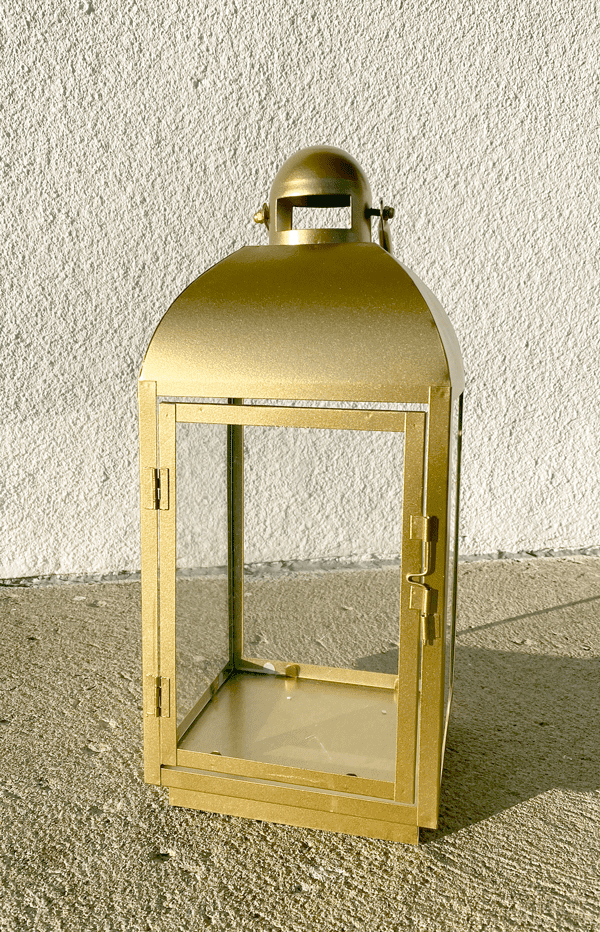
I found two of these large gold lanterns on sale at Canadian Tire a few weeks ago. (I just checked and they’re on sale again from $60 down to $24 each for anyone hoping to grab them!)
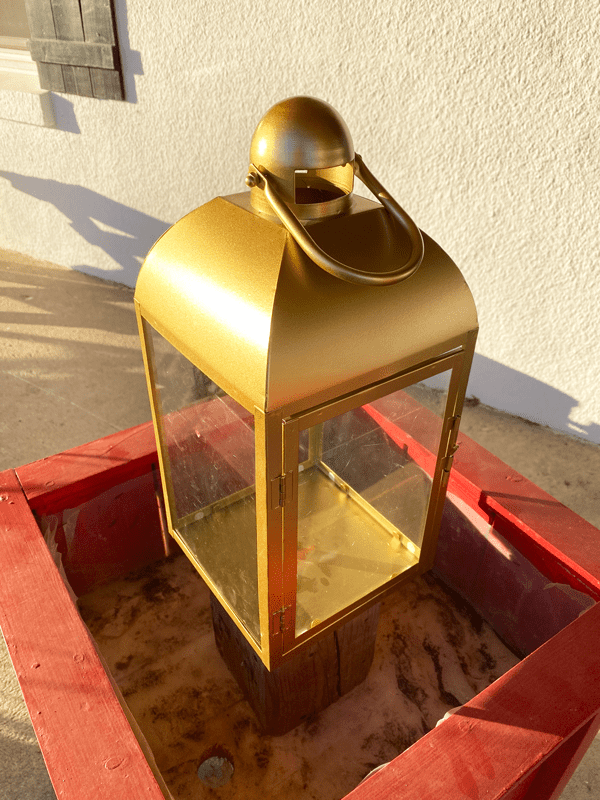
I knew I wanted to secure the lantern to the Holiday Planter I was using, so the plan was to screw a block of wood to the planter and the lantern on top of the block of wood. It would help get the lantern up higher in the planter, out of the dirt, and would keep it from blowing over in the harsh winds up here on the hill.

I started by drilling a small pilot hole in the centre of the bottom of both lanterns.
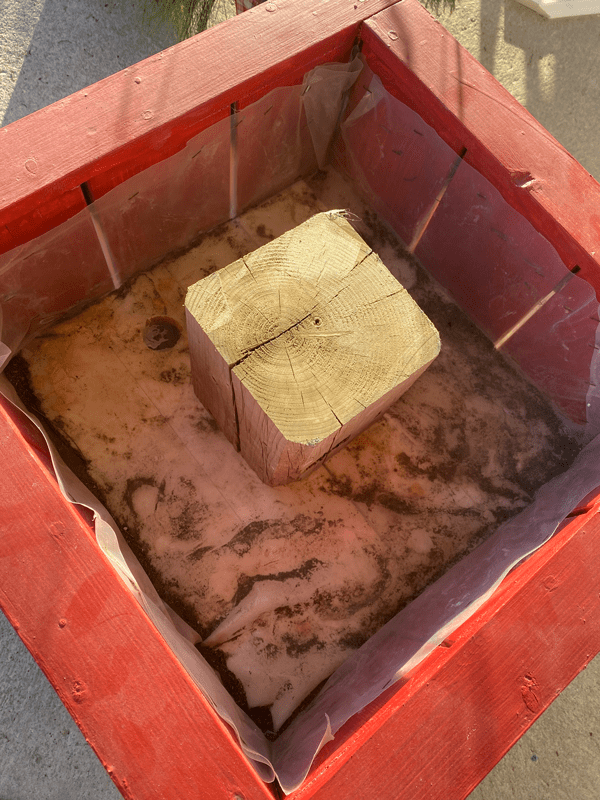
Then I found a block of spare lumber that we had hanging around that was tall enough that if the lantern was on top of it, it would be able to sit above all the dirt I planned to put inside the planter. I secured the block by adding a screw into the bottom of the planter that went up through and into the block of wood.
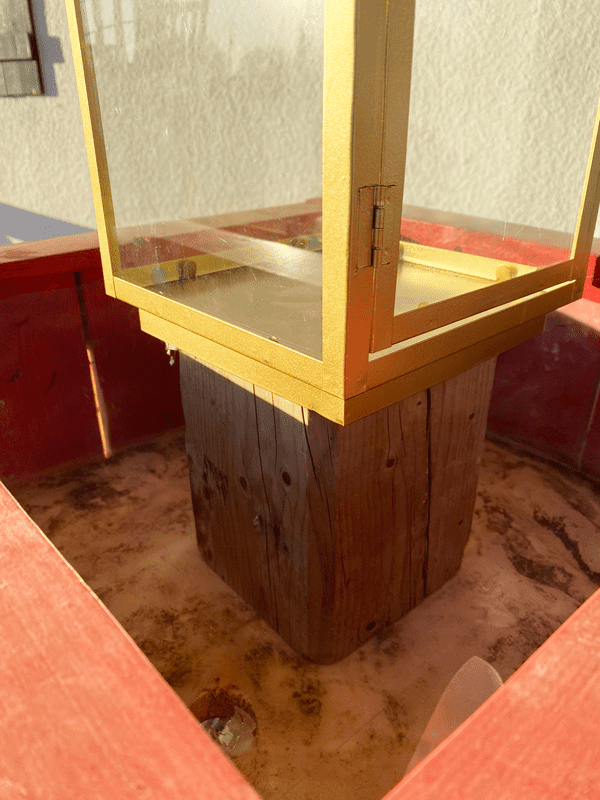
Once the block was secure, I added the lantern on top and put a screw through the pilot hole I’d made in the lantern and into the block of wood below. Make sure that the “door” of your lantern is facing forwards when you do this.
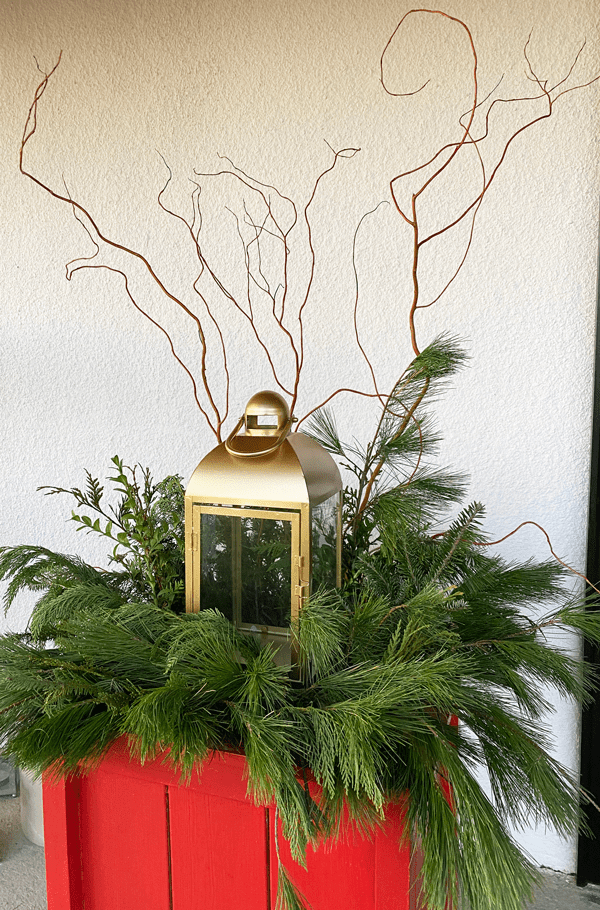
Now it was time to fill the planter up with soil and add in the greens. I went with a mix of pine, cedar, fir and boxwood to create a dimensional look. For a bit of height I added in curly willow branches (dogwood would work too).

You can see here where the small screw inside the lantern is securing it to the block. Once you add a candle and lights inside, you won’t even be able to see it.

Once the greens were done, it’s time to add some decorative touches. I love adding a few big pieces, like a cluster of magnolia leaves or a massive sugar pine cone from out West. Branches of real ilex berries (or faux berries) add a pop of colour. Don’t forget to water the planter as well. This will help hydrate the greens and if you like in a colder climate like we do, when the damp soil freezes it will lock the greenery in place.

Last I added a bow and filled the inside of the lantern with a large pillar candle and twinkly lights.
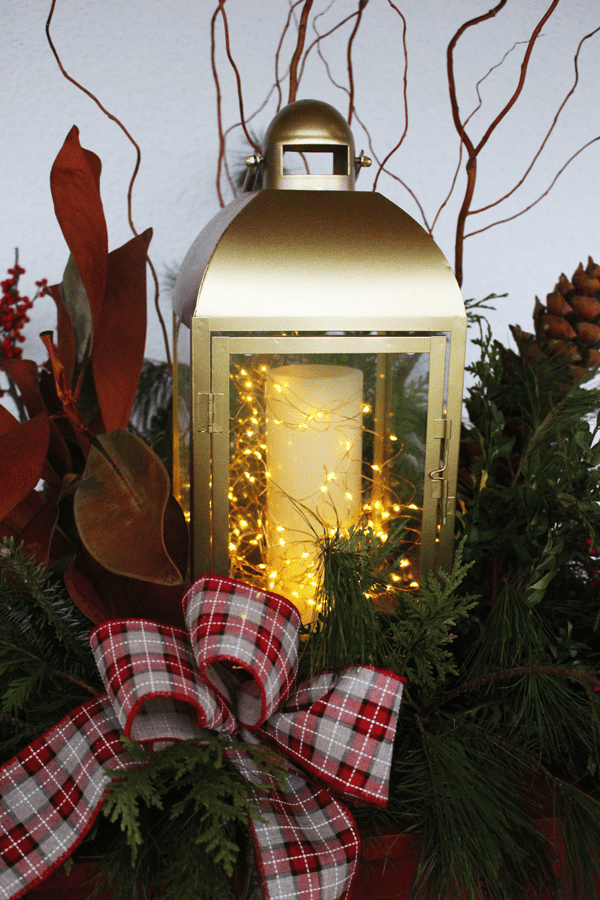
The pillar candle alone wouldn’t be enough light, so it isn’t even turned on, but I filled the lantern with these twinkly battery operated remote control lights. They are waterproof, have 8 different light settings and can be set on a timer. I have mine set on a timer with a flicker setting to mimic a candle. (Find them at Amazon Canada or Amazon US)
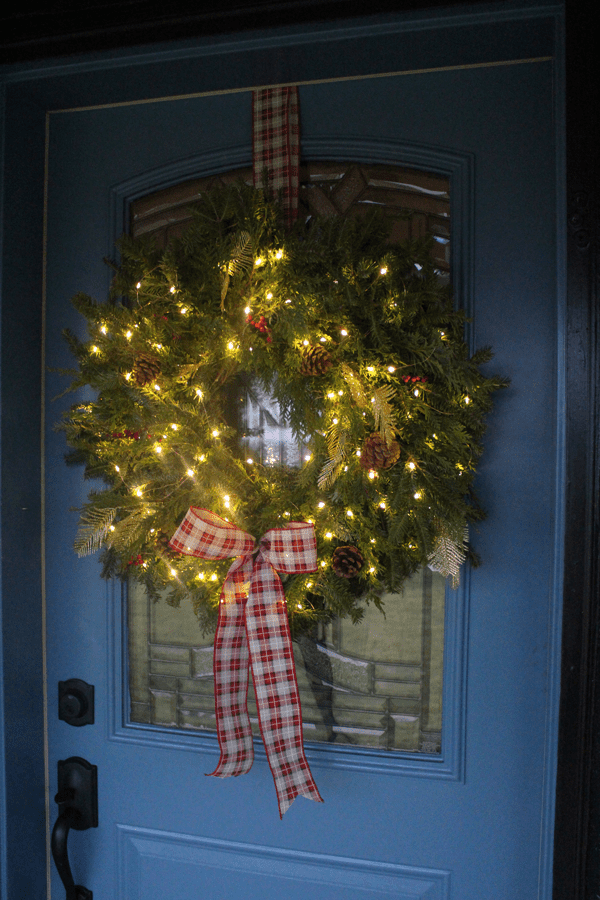
I grabbed an extra set to put on my door wreath too! This Mixed Greens wreath is one that we sold through Cloverhill Flowers this holiday season, and I just wired in some pinecones, gold leaves, ilex berries and a bow.

All twinkly and festive!
I hope this inspires you to try making an Outdoor Christmas Lantern Planter of your own. Happy Holidays!
