
We’re in the home stretch of winter! One more month (maybe two) to go before the sun becomes a regular occurrence again. Even if you get outside in the winter, chances are there’s still going to be some snow days that you’re cooped up in your house. That’s why now is the perfect time to work on some fun DIY’s!
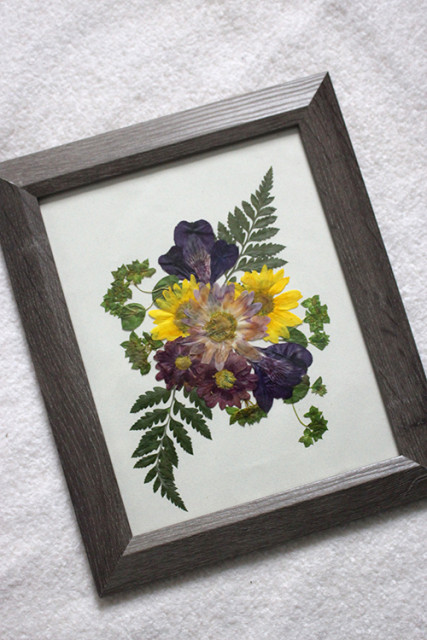
We’re currently renovating the powder room of our 1903 farmhouse and I’ve been on the hunt for inexpensive artwork to compliment the fixtures we’re putting in. Who knew I’d find inspiration from the Cloverhill Flowers in our own field? We won’t have any of our own flowers until later this spring, but I did have a beautiful bouquet my husband gave me for Valentine’s Day last week and this seemed like the perfect way to preserve part of the bouquet and have some DIY artwork for the new room.
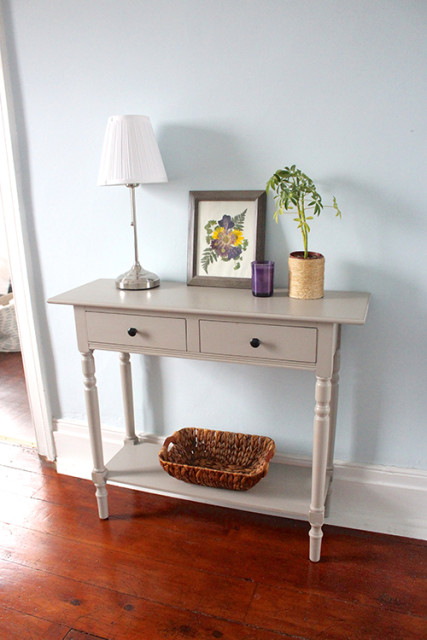
For now, I have the print I created hanging out in the upstairs hallway on our new Cable Knit Console Table from Wayfair.ca. For months we had an old table sitting here while we waited to find a new spot for it, and it made me realize how nice it is to have somewhere in the hallway to set things down. Now that we have this console table here, I don’t know what we did without it! I was really impressed with how well it’s made and the finish is perfect for that old farmhouse look I’m going for.
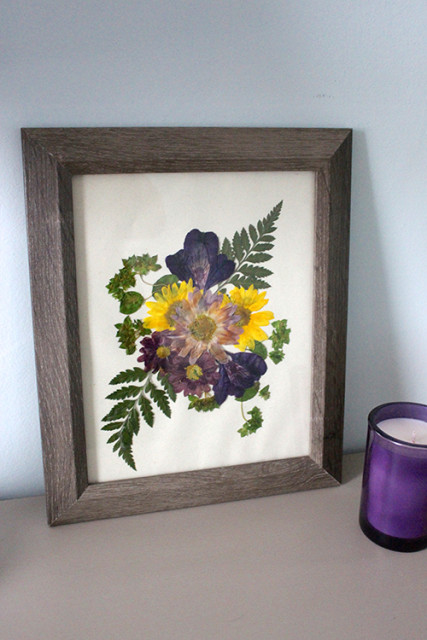
By pressing my own flowers, I was able to make a unique yet economical statement in this small space. Botanical prints are huge right now and making your own is a fun and easy project. Traditionally flowers are pressed between wood or books, but I’ve found a quick way to use an iron that still gives great results. It’s a really nice way to preserve flowers from special occasions too, like weddings, anniversaries and birthdays. I wish I’d done this with my own wedding bouquet!
I absolutely love these Wildflower Botanical Prints and think it would be fun to recreate them with wildflowers from our own field and meadow this summer too.
How to Quickly Press Flowers With An Iron
What you’ll need:
- Fresh Flowers and Greenery
- Absorbent Paper, such as Plain White Printer Paper (do not use paper towel, as it will leave a pattern in the flowers)
- Heavy Book
- Iron
- Ironing Board
- Tweezers
- Cardstock
- White Glue
- Picture Frames
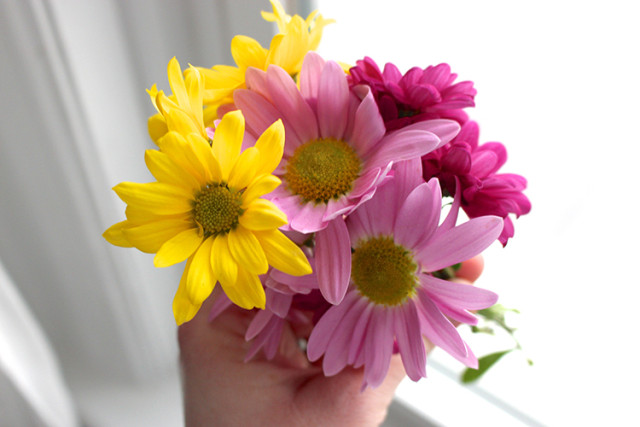
When picking flowers to press, look for ones that are already relatively flat. Even daisies like this can be difficult with the thick button centers. If you’re using flowers from the garden, cut them in the late morning, after the morning dew has evaporated and before the sun and heat of the day has wilted them.
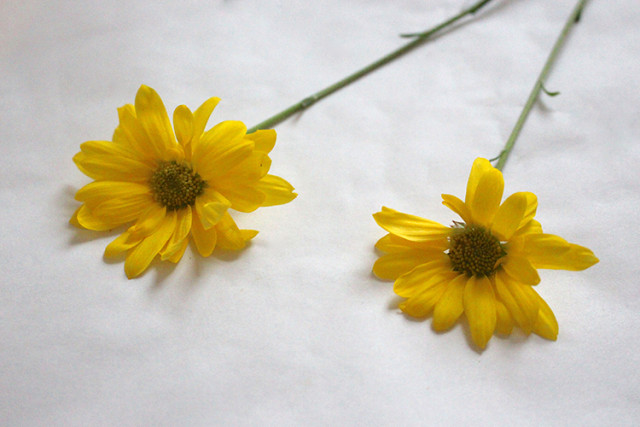
It helps to slightly press them in place with your fingers first. This will help you catch any petals that might get bent, and correct their placement before they’re pressed. Lay out the flowers on a piece of paper for pressing.
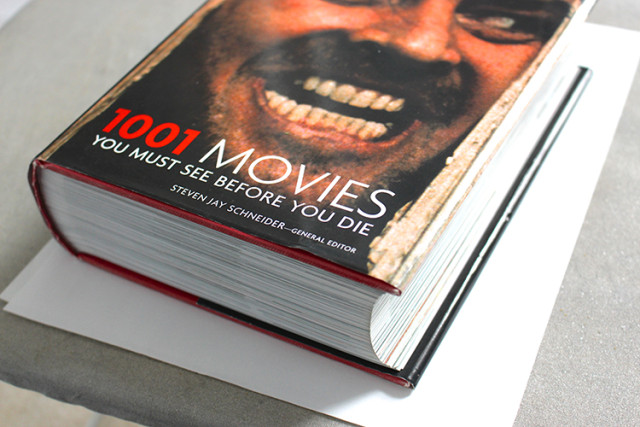
Once you have them in place on the paper, lay another piece of paper on top, and gently press down with a heavy book. This is a great way to use those textbooks from university, ha!
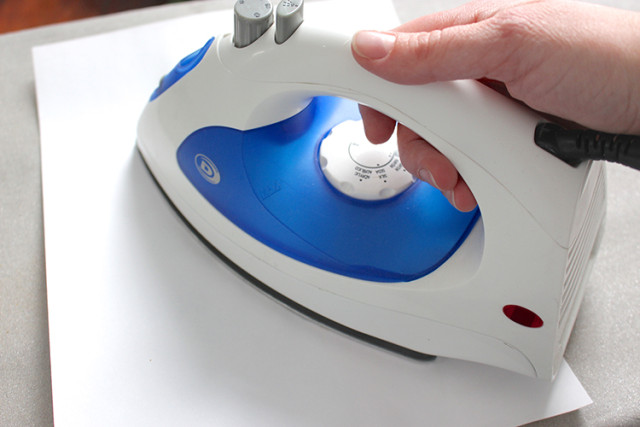
Turn your iron to a medium-low setting and gently press down on the flowers for 10-15 seconds. Be sure not to glide the iron over the paper, like you would when ironing clothes, or you could ruin the flowers. Allow the flowers to cool for 10-15 seconds, then gently lift off the top piece of paper to see how they are drying. Repeat the process until the flower has no more moisture.
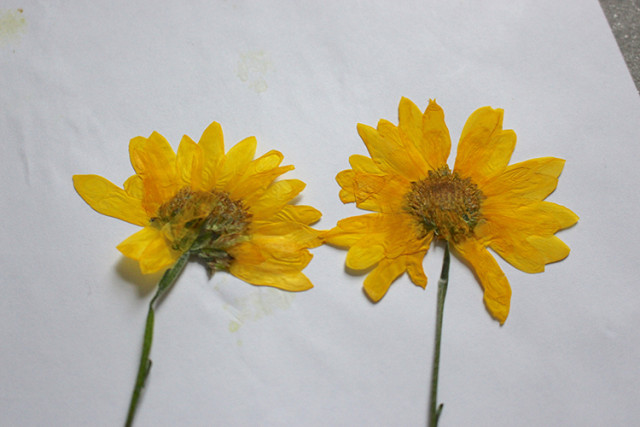
I found that it took about 3-4 times before the flowers had dried. As tempting as it is to turn up the heat on the iron, doing so can result in burnt flowers, which will cause them to lose more of their colour. If you’re not arranging your flowers for framing right away, I’d recommend storing them in between paper with a heavy book on top. This will help keep them flat until you’re ready to create your artwork.
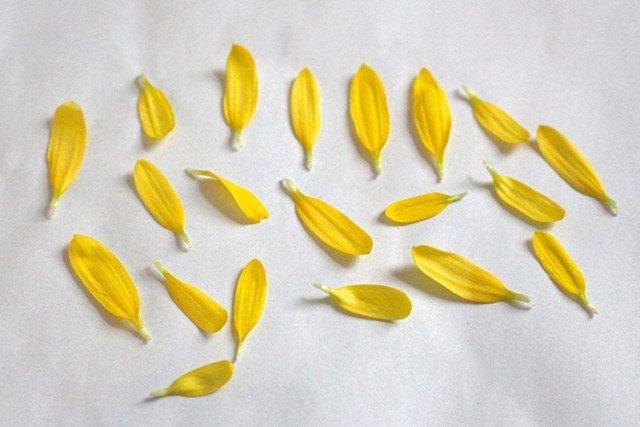
You can also do individual petals too. This is a great way to preserve flowers that are too bulky to press when they’re all one piece.
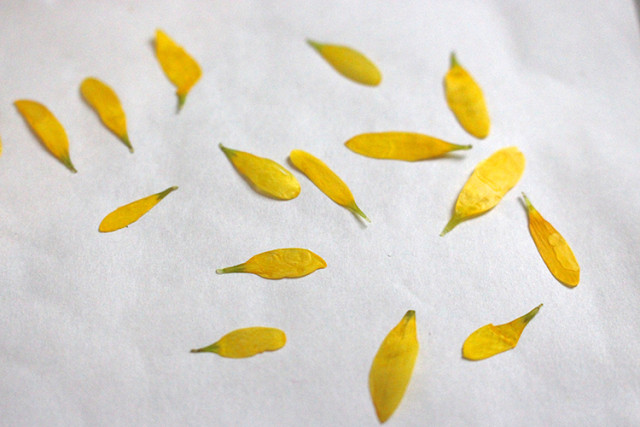
They dried into the most delicate little pieces. This is where I would use a pair of tweezers to delicately remove them from the paper without ripping the delicate petals. I used some of these petals to help fill in the spots of the whole yellow daisies as well.
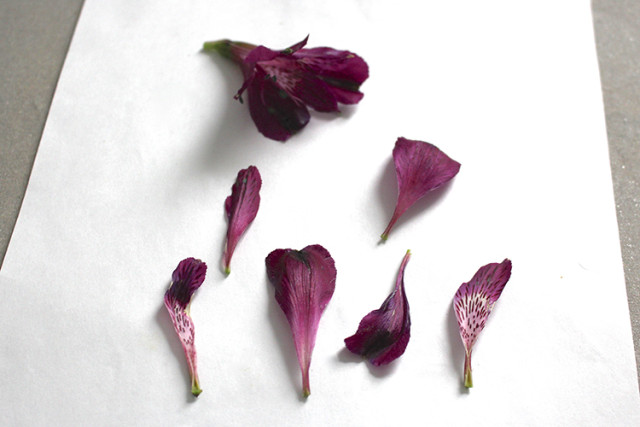
Alstroemeria are a beautiful flower to press, but are a great example of one that is much better done as individual pieces, rather than as a whole flower.
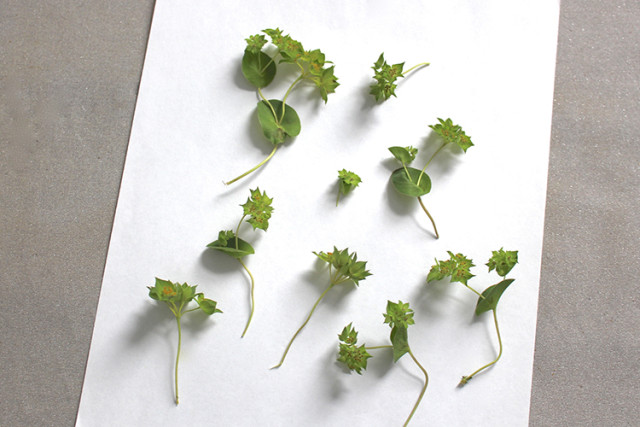
Don’t forget to press some leaves and greenery too!
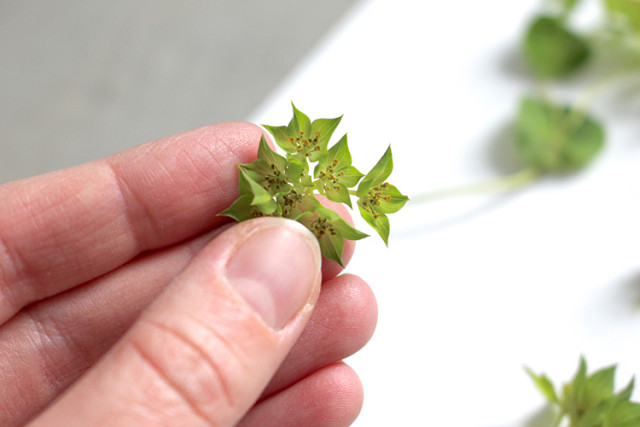
It helps to gently press small flowers like this with your fingers to open up the petals before you start to press them in the book and then the iron.
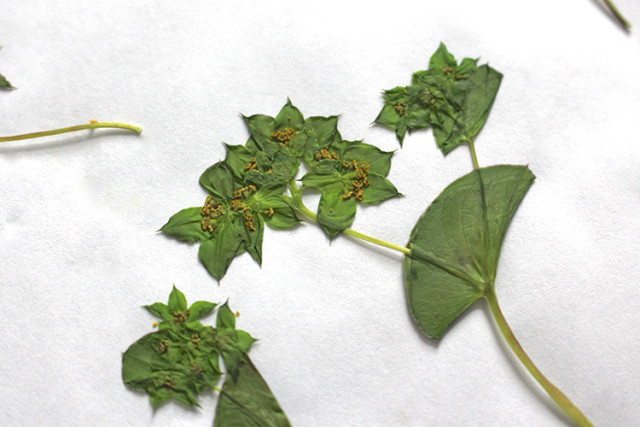
I also found that it helped to take the flowers while they’re still sandwiched between the paper and flip it over to iron the other side as well. This made for a more evenly dried flower.
There are so many fun picture frames over at Wayfair.ca, but I really love the rustic barnwood look. I think it lends itself well to the wildflower motif and fits in at our farmhouse.
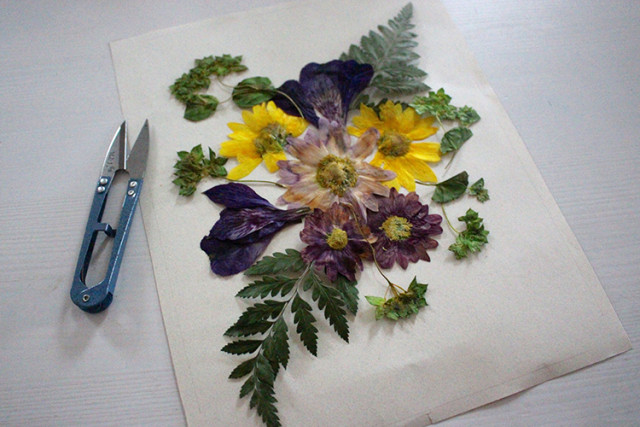
Once I had all the flowers dried, I cut a piece of cardstock to fit the frame and started arranging my pieces. I used tweezers to move delicate parts and a pair of small scissors to trim the stems.
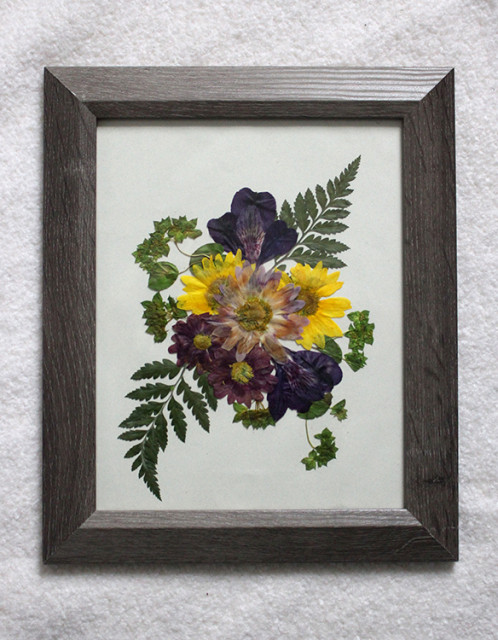
You can glue them in place with white glue, or just carefully sandwich them between the paper and glass like I did. I liked this method, because then I can rearrange them more if I’d like to in the future, or if I want to reuse them.

Seeing the bright colourful blooms on these final dreary days of winter is enough to perk me up until spring makes its triumphant return!

Disclaimer – This post was graciously sponsored by Wayfair. All thoughts and opinions are my own.


What a fun idea! Love the idea of using an iron.