Disclaimer – This post was sponsored by Home Depot Canada. All opinions and thoughts are my own.
After such a cold and wet summer, there was very little free time away from the flower fields to work on outdoor projects about the farmhouse. Thankfully we’ve been having a lovely warm fall, with many beautiful days for us to work on the yard work we’d pushed aside. One thing that had been on our list since we moved in was to create some kind of storage for our garbage and recycling bins. They’ve always sat out by the back door, where they’re not only unsightly but also completely exposed to the wind, rain and snow. If we’d get a big wind storm out here, it wasn’t uncommon to find the bins tossed around the yard.
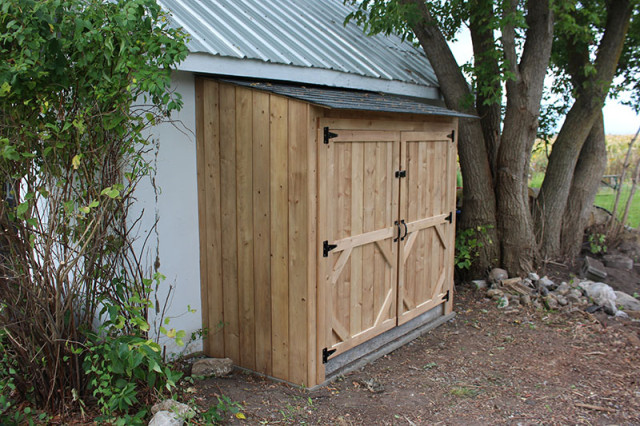
After a little planning and a week of working on it a little bit each evening, we were able to put together this Garbage Bin Lean-To Shed. We had some leftover building materials from when we’d worked on our exterior restoration a couple of years ago, but everything else we were able to find at Home Depot. From wood and shingles to hardware and tools, they had us covered.
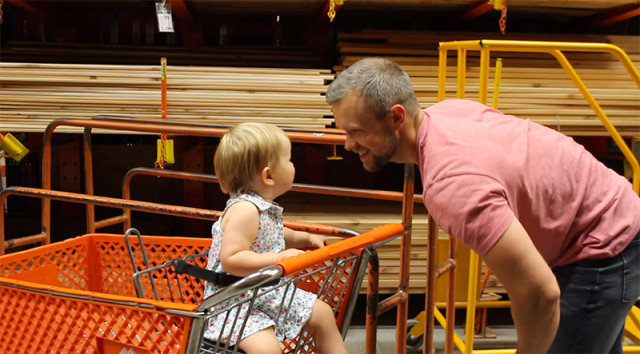
Working on a project like this with a baby isn’t always easy, but thankfully my parents came over to watch her for a few evenings and let us work on shed together. Garrett and I joked that it almost felt like a date night, ha! We put some music on in the backyard, dug out all the supplies and got to work building something together. Now that we’ve moved closer to them, it’s nice to have help on projects like this.
I’ve put together a little video of our project that I hope you’ll enjoy:
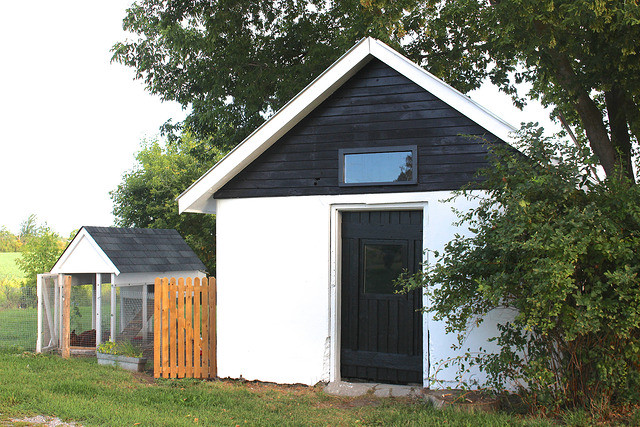
The shed itself is on the right side of the original early 1900’s springhouse, on the opposite side from the chicken coop. It’s tucked in right behind that spirea bush you can see there on the right.
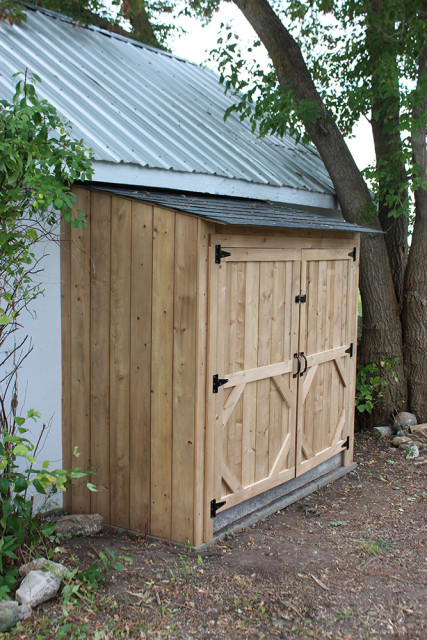
As I mentioned before, we were able to reuse some pieces that we already had around the property, including the base that you can see at the bottom of the shed. It will blend in overtime when the newer wood gets a little weathered.
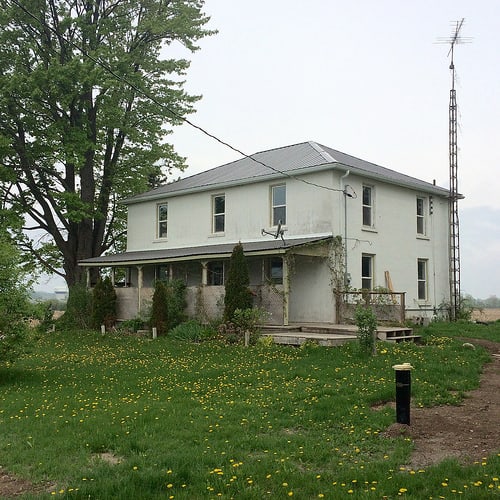
The base of the shed is one of the old platform decks from when we first moved into the farmhouse in 2015. You can see them in the grass on the right side of the porch.
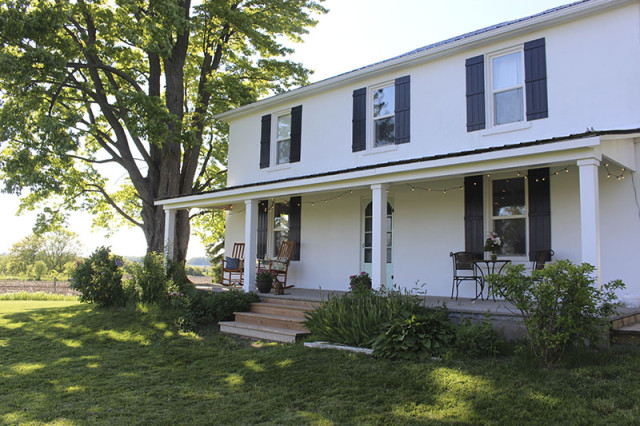
The front yard looks so much better without the platforms, and we were able to salvage them for future projects like this one.
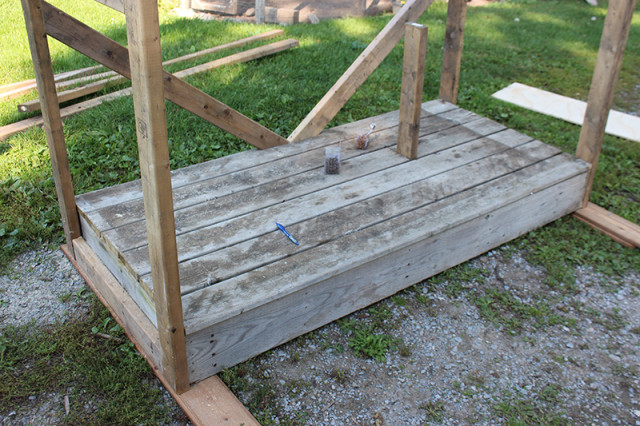
First, we cut down the platform to the size we wanted and started to add 2x4x8 wood boards to create the framework.
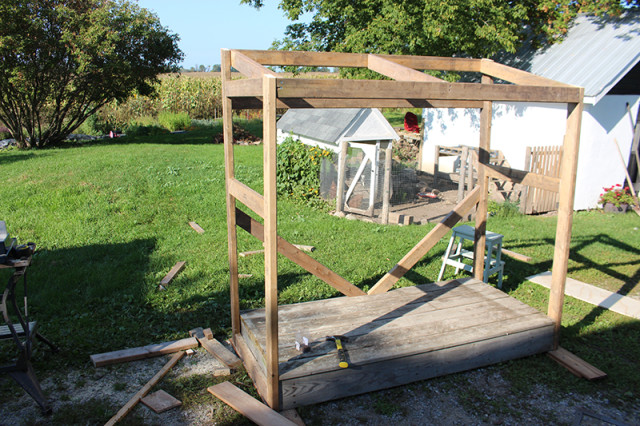
We wanted support on all four corners, across the back and then up on the roof in case it gets heavy snow on it.
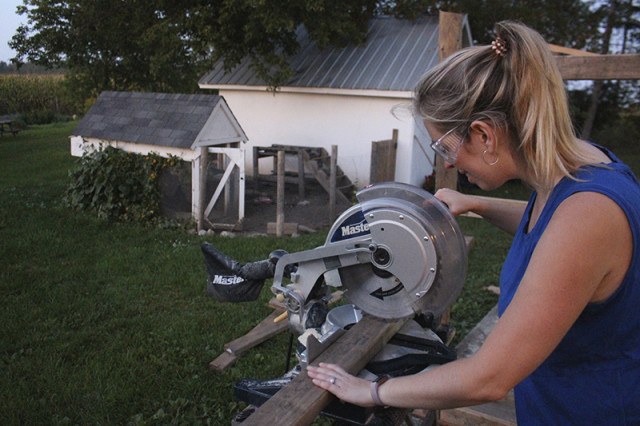
I’m happy to say that I not only cut the majority of the boards for this project, but I also screwed in all the siding and the doors. And I had the sore arms to prove it, ha! It can be intimidating when you first use power tools after a long break, but it only took a few cuts for me to get my groove.
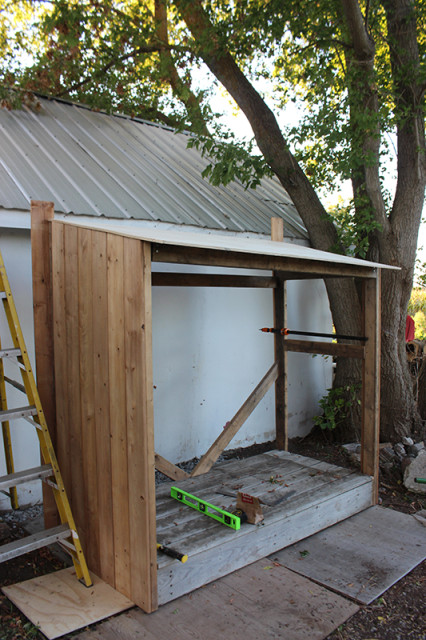
We started adding pressure treated fence boards for siding, but quickly realized we were maybe making it too heavy to wheel over to its final destination. We measured and cut all the rest of the boards, then moved the shed around to the side of the springhouse before continuing.
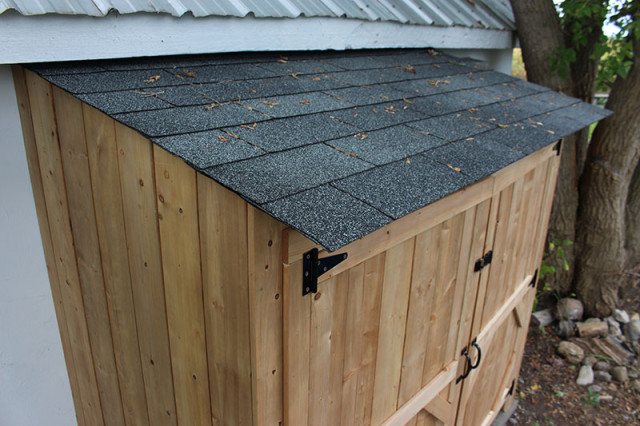
For the roof, we used a piece of 1/2″ plywood we had cut down at Home Depot so that it would fit in the car. We added black shingles for extra protection. My brother helped Garrett with this part…
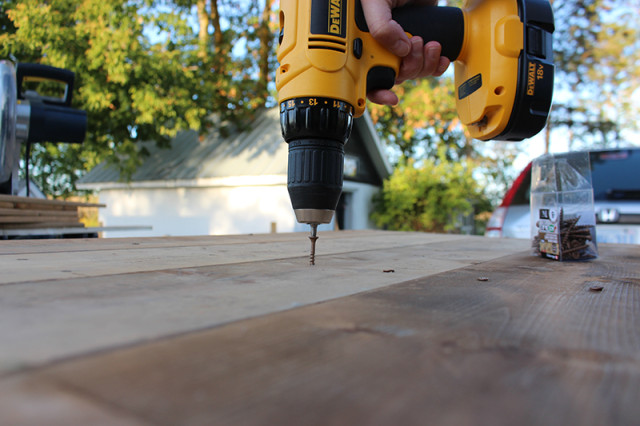
…while my dad helped me with building the doors. My mom was inside making spaghetti dinner with Lucy. Team effort!!
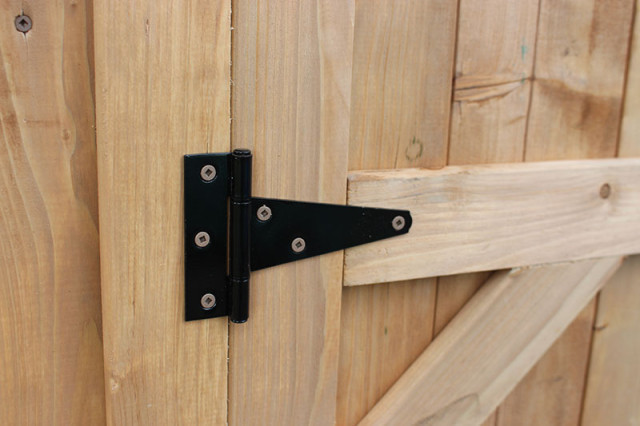
On the doors, we used these t-hinges that we painted black to match the handles. You could also use more decorative ones like this.
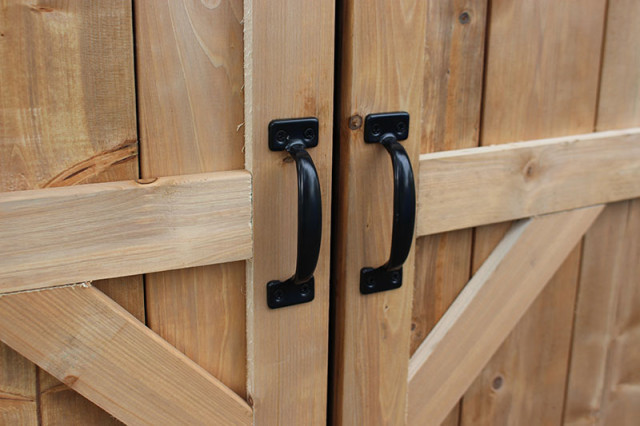
The handles are simple black ones we found in the shed and fence area of Home Depot, and we paired it with a small black lock, to keep the doors from swinging open and to prevent animals from getting in too.

This was a fairly simple project to do together, that could be finished in a weekend or over a few evenings like we did. It’s the perfect time of year to take on an outdoor project before the colder weather hits. I know we’ll be glad we did this when the snow comes around and we’re not digging our garbage bins out of the snow!
I hope you enjoyed seeing this project we’ve been working on. For more ideas and some great how-tos, check out Home Depot.
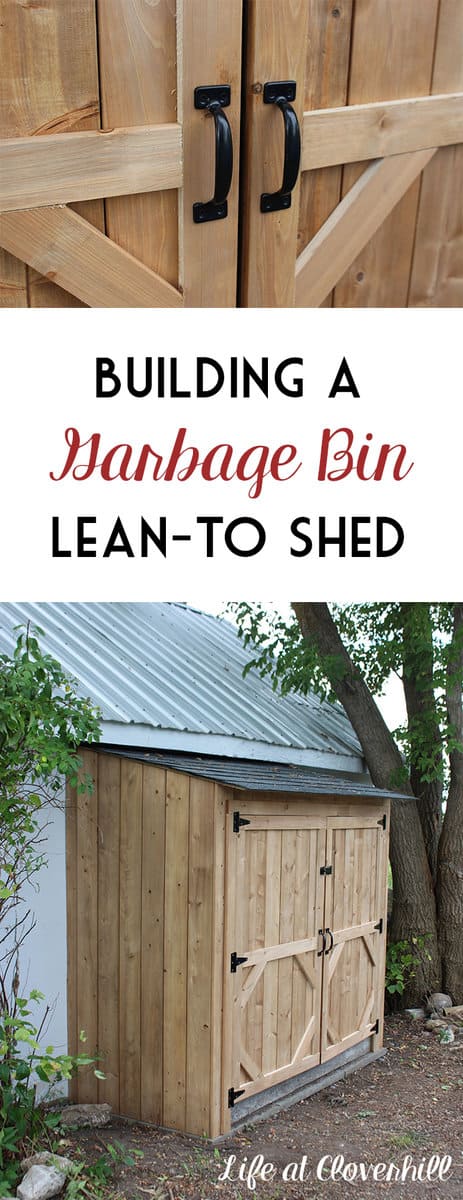

There’s nothing more satisfying than completing your own DIY project. I have to say your shed looks great! job well done guys.