• About
  • Contact
  • Advertise
  • Privacy Policy
  • Copyright & Disclosure
  • Subscribe
    • Bloglovin
    • Facebook
    • Instagram
    • Pinterest
    • YouTube

Life at Cloverhill

  • Main
  • Home & Garden
    • Cloverhill Farmhouse
    • January Declutter Detox
    • Cleaning & Organizing
    • Gardening
    • Our Backyard Chickens
    • Previous Apartments
  • Holidays
    • FREE Online Christmas Planner
    • Holiday Decor
    • Holiday Recipes
    • Holiday Projects
    • Holiday Gift Ideas
    • Holiday Organizing
    • Holiday Activities
  • Recipes
  • Create
    • Printables Vault
    • Everyday Projects
    • Seasonal Projects
  • Family
    • Baby
    • I Do
    • Travel

Christmas Decor Holidays

The Little Christmas Tree That Could

O Tannenbaum was one of my favorite Carols growing up, so it should come as no surprise that I look forward to dressing up the tree every year. Usually I just put a real mix match of ornaments up, but this year I thought I’d stick to a simple red, green and white colour scheme for a change. And to spice things up from the usual tree stand and skirt routine, I opted for a potted tree this year. (You can see all the Christmas cheer I’ve been cooking up in my little apartment here)


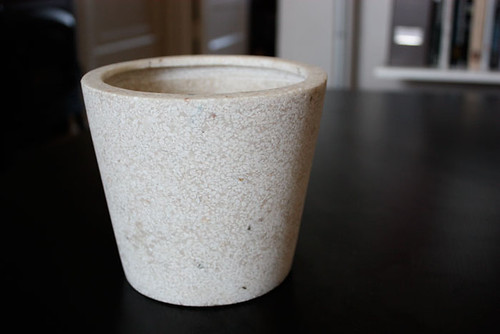
For the base I took this great little stone pot that I picked up at a clearance sale at Bowrings a few years ago for $6. I have two of these and I love using them all year ’round. They look great with fresh Spring tulips popping out, or some plump Fall mums.

The tree is going to need a bit of support once its in the pot, so I took a piece of floristry oasis and carved it to fit inside. I also carved a hole in the top for the tree stump to go in.


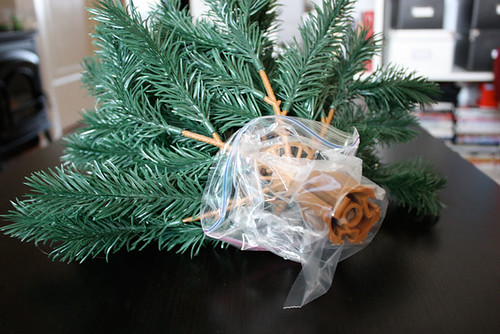
I might want to put the feet on this tree again, so I thought that I’d cover the “stump” of the tree with a ziploc bag to keep it clean.


Then it was just a matter of popping the tree inside. I’ve have this plastic tree since I was a child, which meant that there was about 20 years of petrified tinsel on there that had wound itself around every branch. it was quite the task removing it.


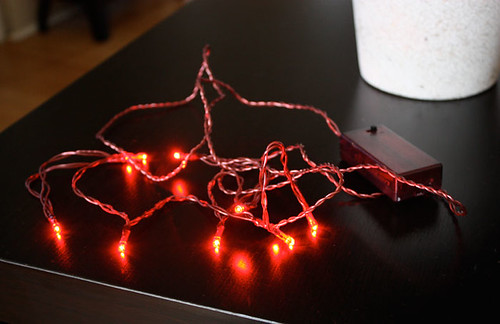
These are great little battery operated red LED lights from those last-minute bins at the end of IKEA. I am always a sucker for those bins. How many sticky roller refills can one person really need?


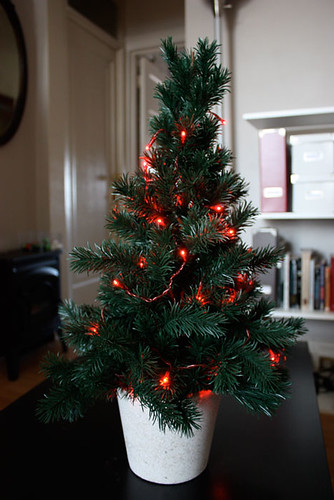
I picked up three sets to cover this tree, and then made a little faux wrapped Christmas present to tuck in all the battery packs behind the tree.


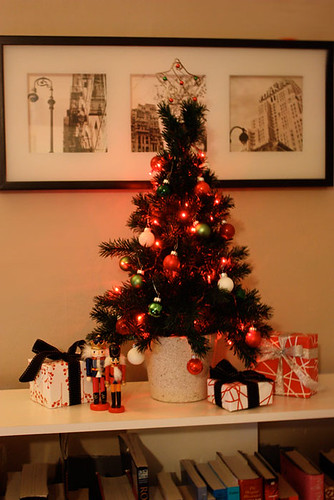
These are some of my favorite decorations – a sweet set of miniature mixed red, green and white Christmas balls. Some are glittery, others are glassy and the best ones are frosted.


I tied some metallic thread to them, hung them all about, added a cute little metal star and voila!  – a cute little Christmas just waiting for some presents to go under it!

Share this:

  • Click to share on Pinterest (Opens in new window) Pinterest
  • Click to share on X (Opens in new window) X
  • Click to share on Facebook (Opens in new window) Facebook
  • Click to email a link to a friend (Opens in new window) Email

Related


« Giveaway Winner!
Sunbeam Dogs »

Comments

  1. Kirsten Sue says

    December 14, 2009 at 4:14 am

    Thanks so much for stopping by my blog! Love that tree. Those ornaments are awesome!

  2. TidyMom says

    December 14, 2009 at 12:43 pm

    VERY cute!! just goes to show, you don’t have to have a HUGE tree to be beautiful!! My mom downsized to an apartment and got a small tree and I think it looks just darling as well!!

    ~TidyMom

Hi, I'm Amanda! Join me as I make my family's 1903 farmhouse into a home. I share renovations, DIY projects, recipes, our flower farm and the joy of living in the Canadian countryside
More About Me

Archives

Categories

Copyright © 2025 · Divine theme by Restored 316

Copyright © 2025 · Divine Theme on Genesis Framework · WordPress · Log in