I love wrapping gifts every year and look forward to bringing out all the festive paper and bows, but its not always the most environmentally friendly option. Making reusable fabric gifts bags is a great way to reduce the amount of garbage and recycling you have to haul out to the curb after the holidays. It also extremely easy for even the most novice of crafters and you can whip up a bunch of them in no time.
To measure how big you want the bag to be, you can lay your gift on top, measure out the rectangle you need including some extra at the top for where you are going to tie it, and add 1/2″ to the width and 1″ to the length for the seam allowances.
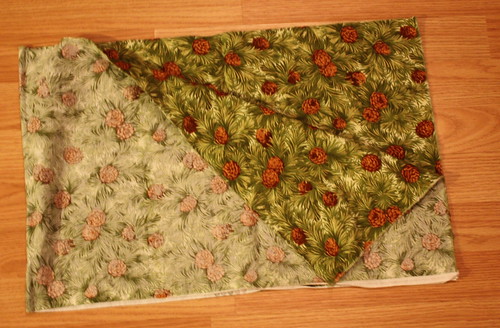
With the good sides facing each other, use a zig zag stitch to stitch around three sides (the sides and bottom). leaving the fourth side open.
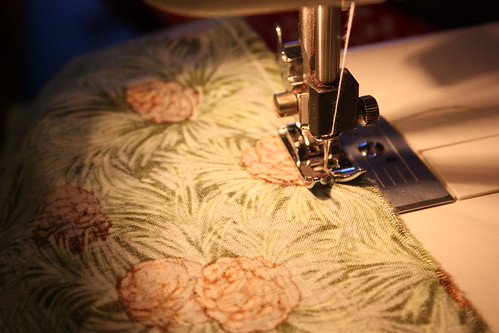
On the open side (the top), fold the edge over 1/4″ and stitch all around to create a hem.
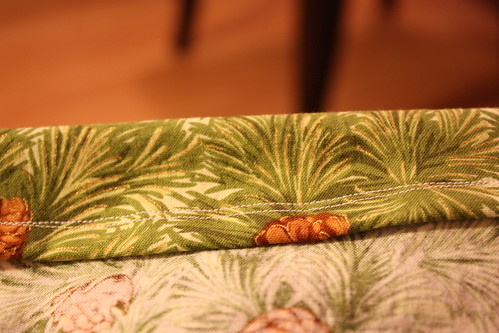
Now fold over the edge again another 1/4″ and hem the edge, sewing close to your original stitches.
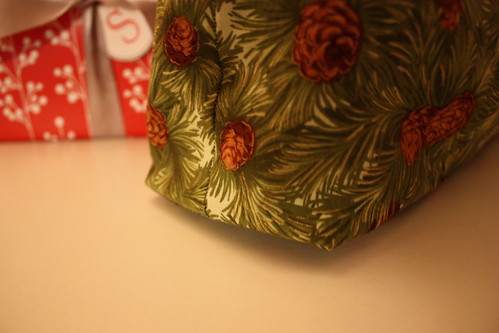
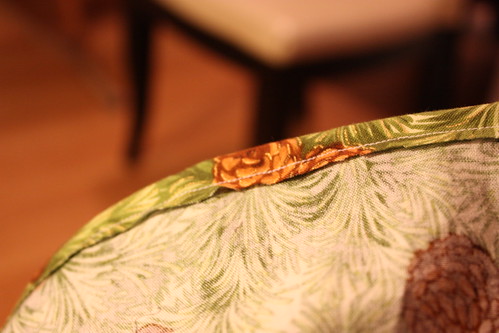
Now you could turn the bag inside out and use it as is, but if you’d like to have squared corners on the bottom, its an easy thing to do that will make the bags stand up on their own better.
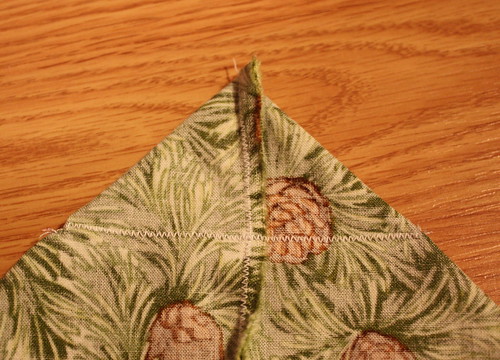
With the bag still inside out, take one of the bottom corners and fold it so that the bottom seam and the side seam are touching. Then stitch straight across the corner a few inches down. It should look like the photo above. Repeat on the other corner, and then you can turn inside out.
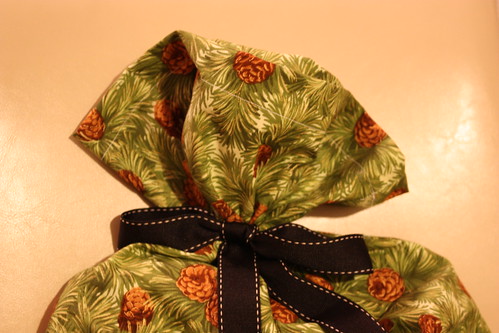
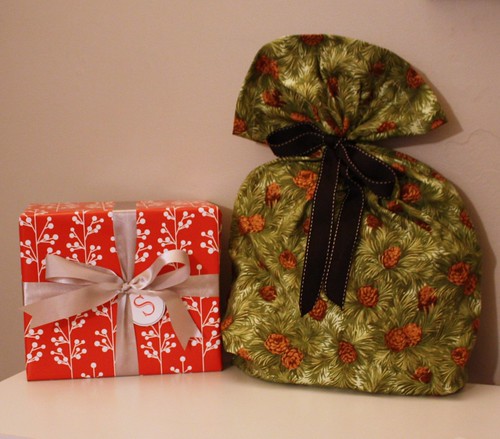
Once its turned inside out you can place the present inside, gather up the top, take some contrasting ribbon and tie a big bow on it. Add a nice tag and you’re good to go.
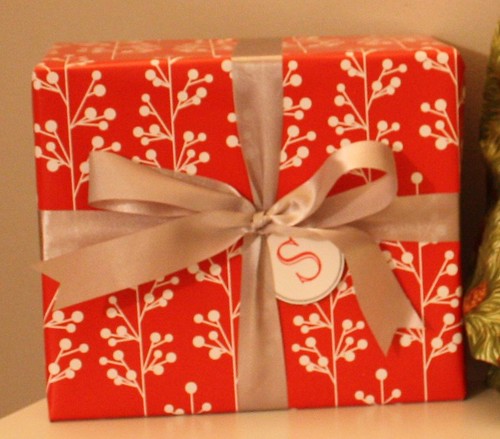
This year I made eco-friendly tags reusing old Christmas cards for some of my presents, and then others I made monogrammed tags using simple font on Photoshop and printing them on card stock. On the above present I wanted to get the perfect red from the wrapping paper, so I scanned a small piece of it and then copied the colour to make the monogrammed letter stand out. I can’t wait for my sister to open this one!
What gift wrapping ideas have you been up to this year?

They look wonderful! A great idea to cut down on paper waste and to use up left over fabric.
I love this idea. I hate wasting lots of paper on wrapping gifts, so I reuse as many gift bags as possible for Christmas each year. The fabric would be even better!