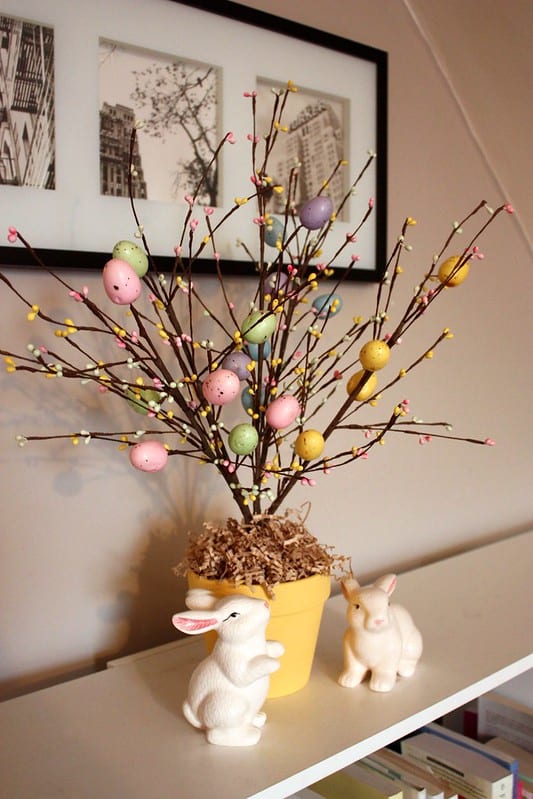
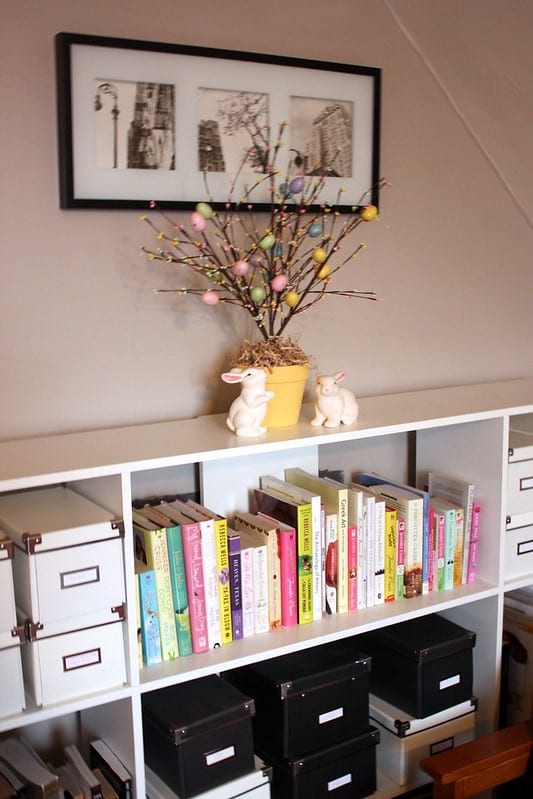
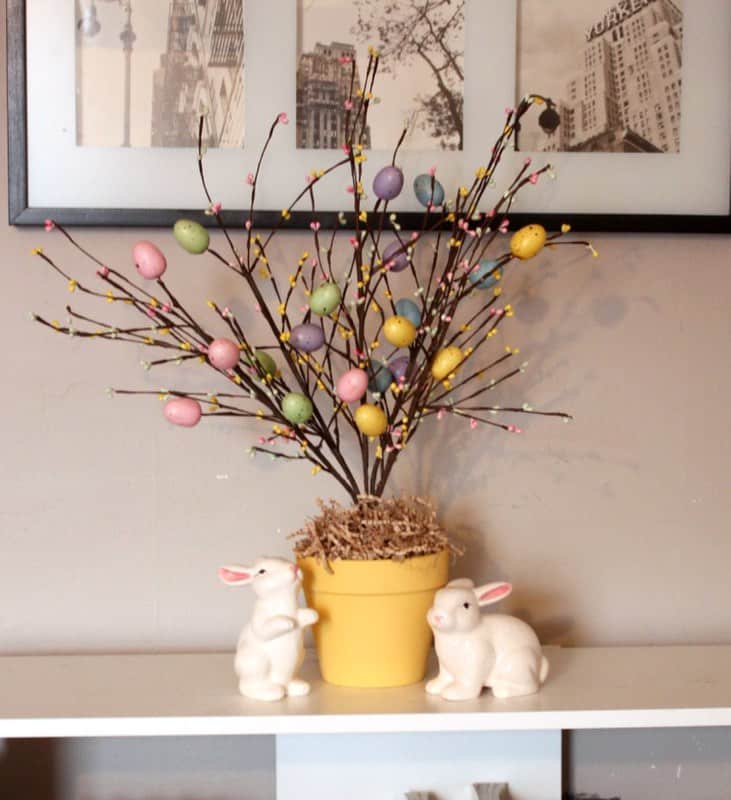
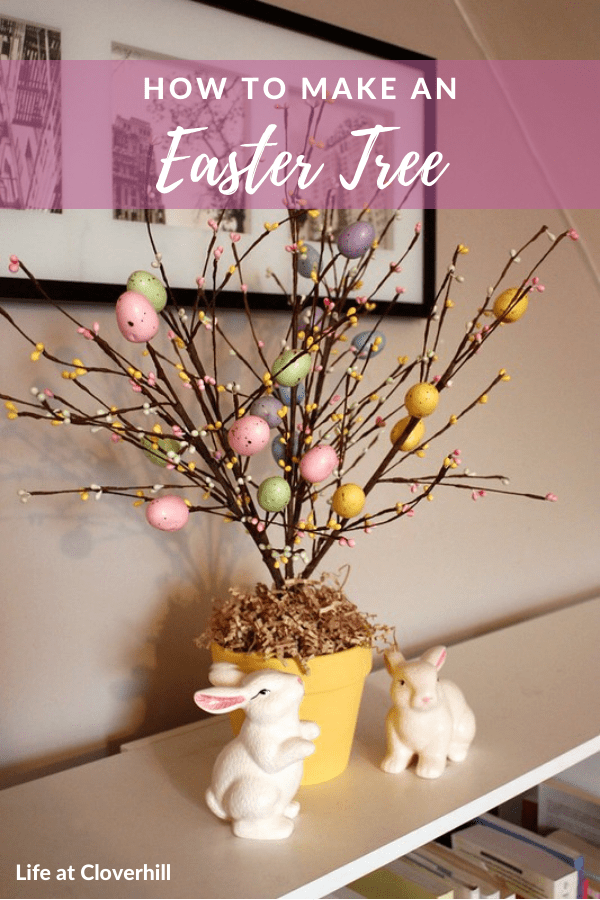
Things are finally starting to feel a little like Spring around here, which means that its time to get some Easter decorations out! This year I decided to make a little Easter Tree to put on the bookshelf in the living room. It seemed like just the ticket for brightening the place up for the new season!
What you’ll need:
- Easter Egg Picks
- Terracotta Pot
- Shellac (optional)
- Acrylic Paint
- Paint Brushes
- Craft Foam
- Moss or Crinkle Paper
I tried to use some things that I already had like the terracotta pot, paint and filler, and in the end the whole project only cost me $7, including the bunnies! Not bad considering how expensive a tree like this would be from a decor store. (I’ve included links to similar products on Amazon, but I was able to find everything at the dollar store).
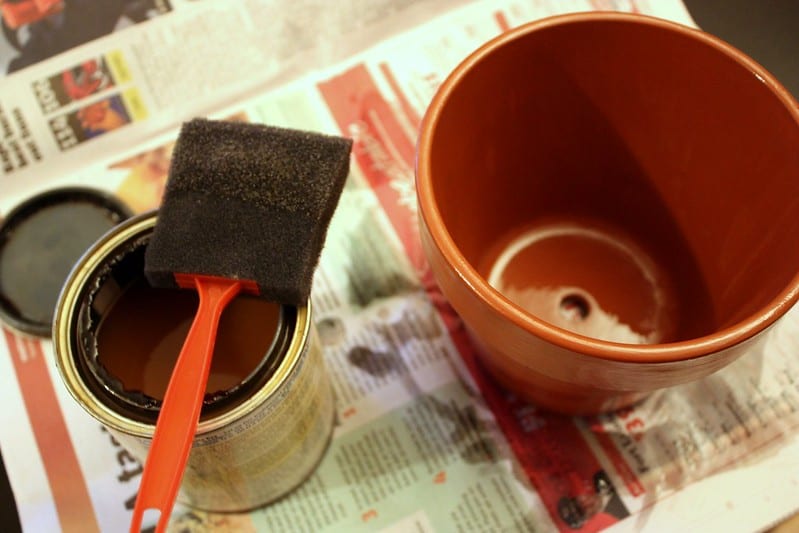
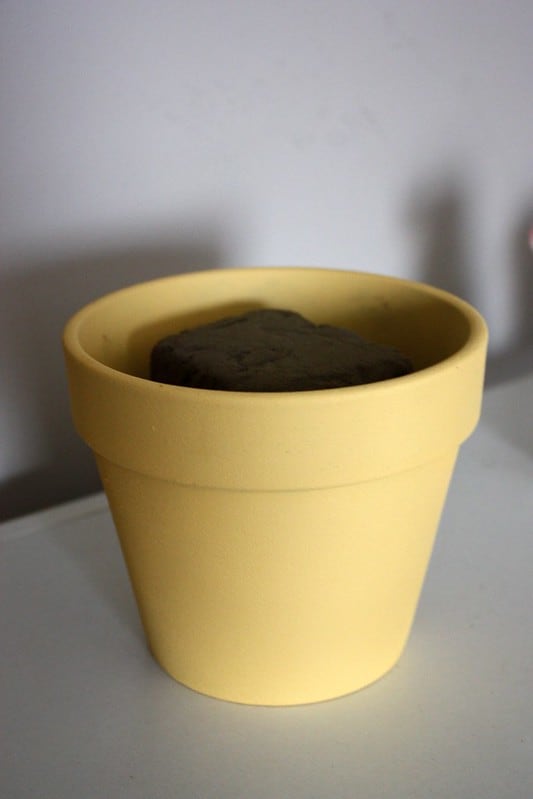
To start off, I applied shellac to the interior and exterior of the pot. Using a foam brush, I made a thin layer, allowed it to dry and then applied another thin layer. Just to be sure that it was no longer sticky, I let it completely dry overnight.
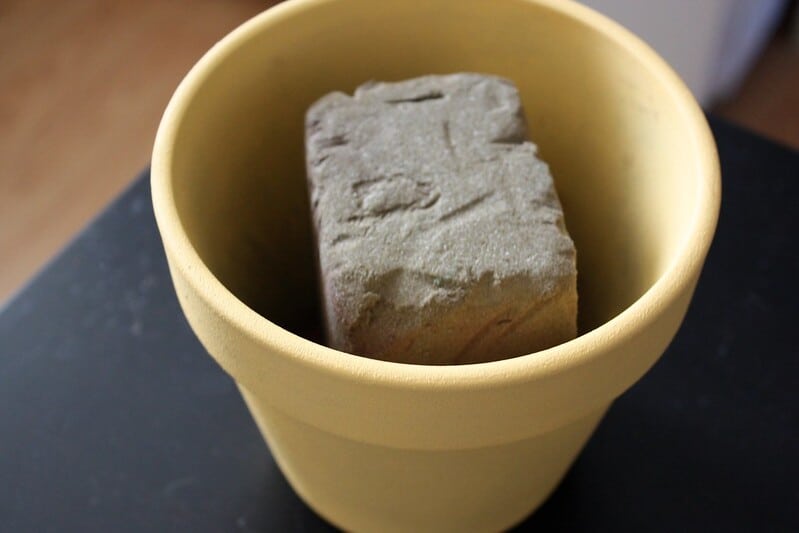
The next morning, I used a small foam roller to apply pale yellow acrylic paint. To prevent any uneven areas, I did several thin layers, allowing drying time between each coating. Once it was completely dry, I cut a piece of craft foam to fit the inside.
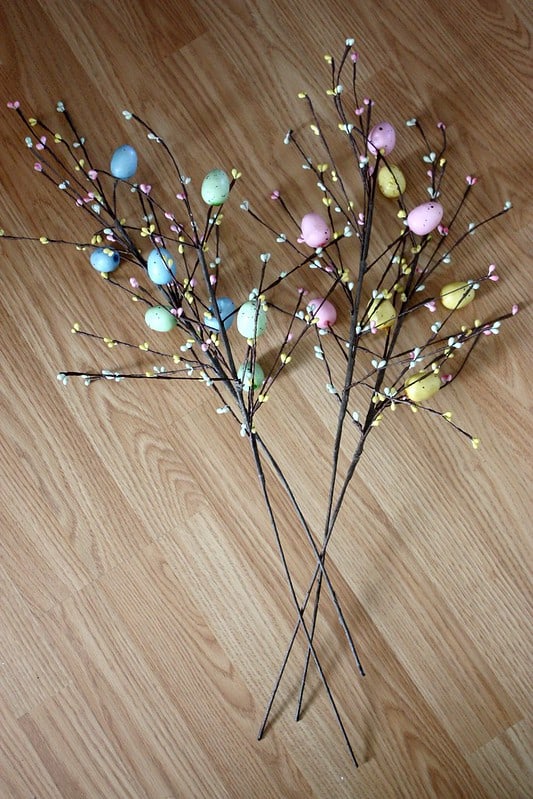
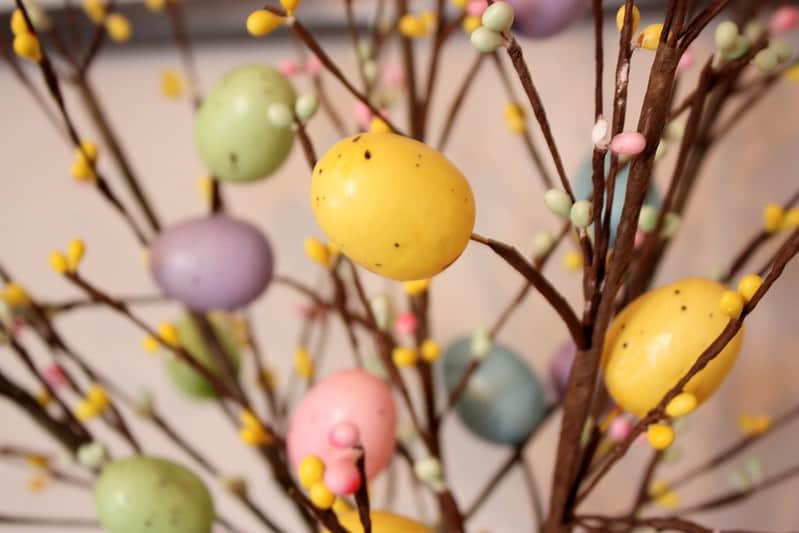
These sticks made the tree so much easier to made. Originally I was going to attach my own plastic eggs to branches I found outside, but when I noticed these at the dollar store (Dollarama, for all you fellow Canadians) I realized that my work was done for me. At $1 a branch, I picked one in every colour – pink, yellow, purple, green and blue.
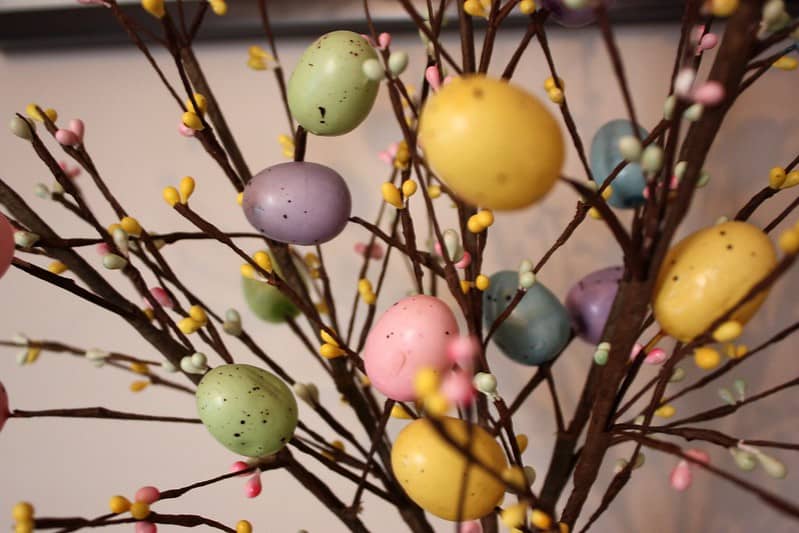
I love the sweet little buds and the speckled details in the eggs. I still can’t believe that these were only a dollar!
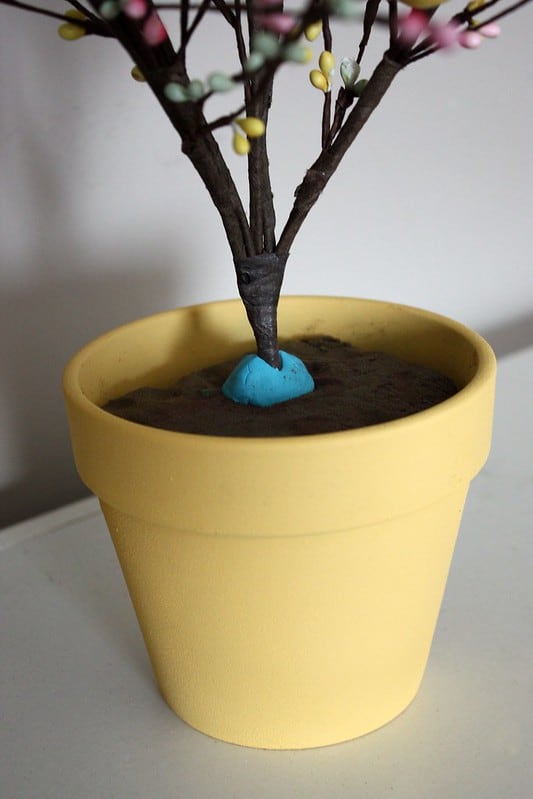
I cut the branches to the desired height, then wrapped them together with some brown florists tape. I didn’t want them to wobble in the foam, so I wrapped some blue poster putty around the base to secure everything.
To hide the foam and the putty, I used some packing grass that I had from a package that was delivered. Its nice to find a way to reuse something like that!
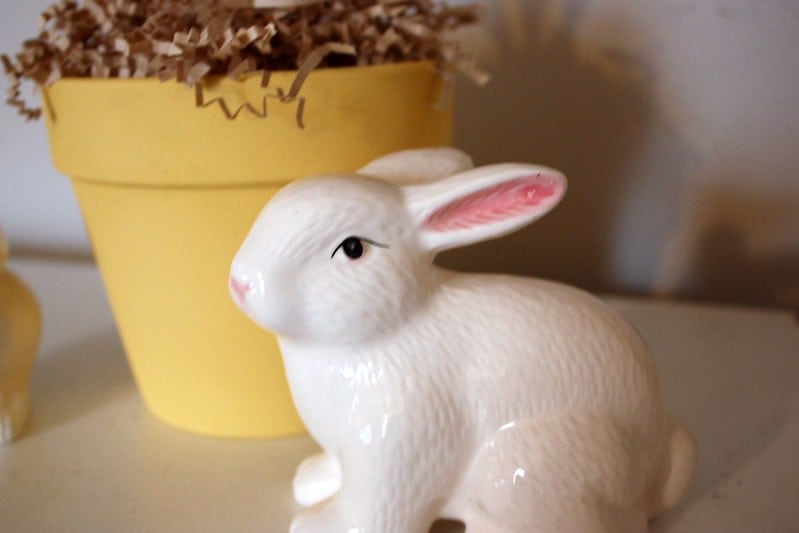
These sweet little bunnies were also a dollar store find. Originally I was going to paint them over with matte paint, but in the end I loved the little hand painted details, like the nose, ears and eyes.
Next time I made something like this, I might take the time to grow some real cat grass to have along the edges, but that takes about two weeks of forethought, and I’m lucky if I have two hours.
To keep with the theme, I also rearranged the books on the shelf to try and match the Spring colours. I usually keep them organize in a rainbow pattern (or even red and pink for Valentine’s Day), but this decor just seemed to call for pastels.
I’ve made a few other little Spring tweaks to the apartment lately and I’ll be sure to post them this week.

so cute! i’m going to dollarama now to see if i can make a twin tree 🙂
Love the Easter tree. You always decorate for holidays in the most creative ways!
i love this! so creative!
xoxo, jamie
jamiemjenkins.blogspot.com
Great work! Love everything Easter. Checkout http://www.eastertrees.com – it’s an Australian company that sells Easter Trees, Decorations, Ornaments, Candles and Arts n Craft