• About
  • Contact
  • Advertise
  • Privacy Policy
  • Copyright & Disclosure
  • Subscribe
    • Bloglovin
    • Facebook
    • Instagram
    • Pinterest
    • YouTube

Life at Cloverhill

  • Main
  • Home & Garden
    • Cloverhill Farmhouse
    • January Declutter Detox
    • Cleaning & Organizing
    • Gardening
    • Our Backyard Chickens
    • Previous Apartments
  • Holidays
    • FREE Online Christmas Planner
    • Holiday Decor
    • Holiday Recipes
    • Holiday Projects
    • Holiday Gift Ideas
    • Holiday Organizing
    • Holiday Activities
  • Recipes
  • Create
    • Printables Vault
    • Everyday Projects
    • Seasonal Projects
  • Family
    • Baby
    • I Do
    • Travel

Craft Tutorial Fitness Health

Yoga Bag Tutorial

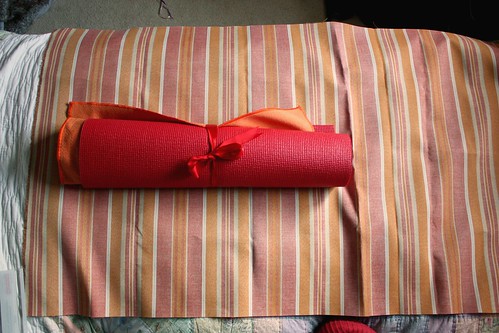
As I mentioned last week, my little sister has headed off to law school and I wanted to send a little something with her. She loves yoga, but has always had to tie up her yoga mat with a ribbon and carry it in her hands.

I’m always up for a fun craft and making a yoga mat for her seemed like a good one.

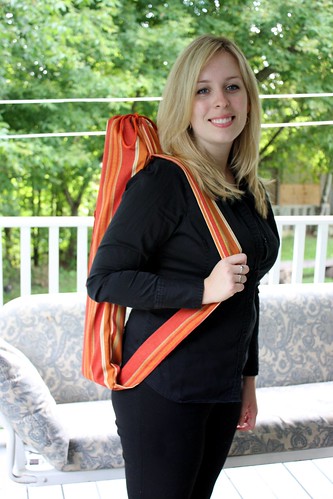
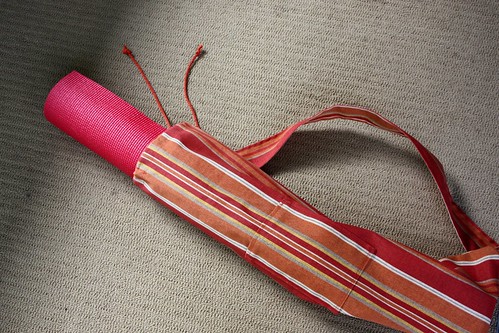
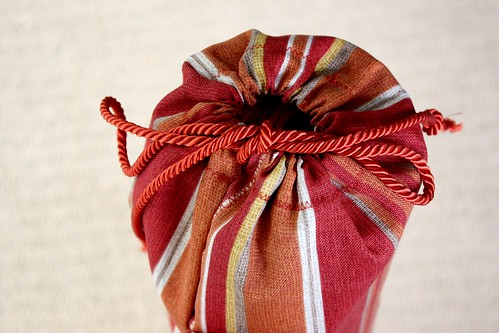
I tested the bag and it turned out to be perfect for lugging everything around.

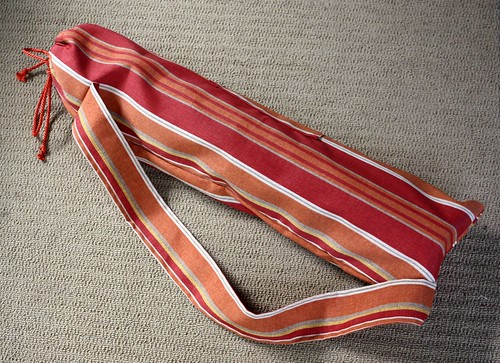
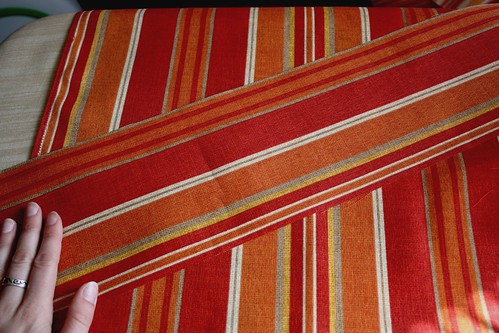
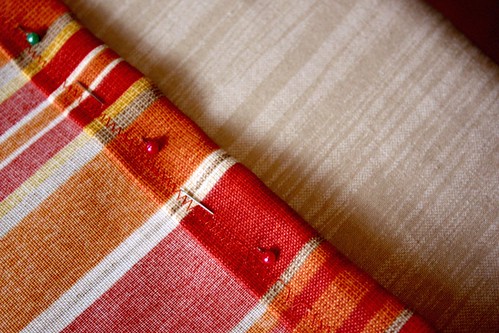
I chose a red and orange stripe heavy weight fabric that went well with her mat.

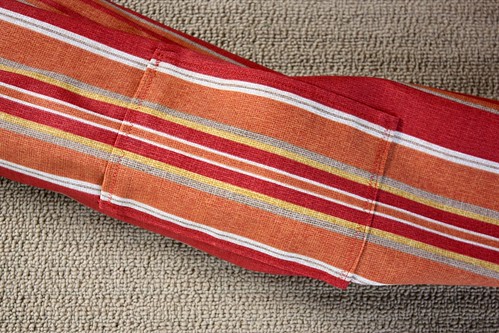
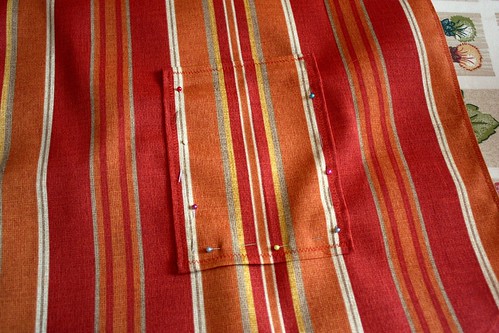
I even added a little pocket for her to stash a gym card and keys.

To make it easy to use, I created a drawstring top using matching cord.
This was a fun and easy sewing craft that I was able to do while watching a movie on a lazy Sunday afternoon. I liked it so much that I’m thinking about making one for myself!

To make your own, you’ll need:

  • 1/2 to 1 yard of medium to heavy weight fabric (depends on the size of your mat and the width of the fabric. Size your mat using the instructions below to find out what dimensions you need)
  • 20″ of cord in a coordinating colour
  • matching thread
  • tape measure
  • scissors
  • straight pins
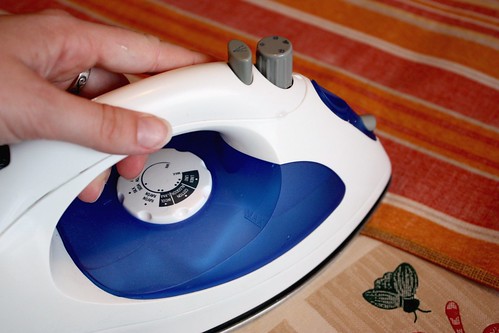
  • iron and ironing board
  • sewing machine

To determine how big you need to make the mat, measure the length of the mat rolled up (25″ for me) and the diameter across the top rolled up (5″). To get the perimeter of the rolled up mat, multiply the diameter with Pi (5″ x 3.14 = 15.7″) The area that I needed to cover with this mat is 25″ by 15.7″
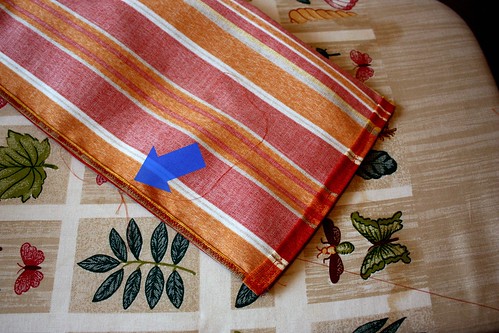
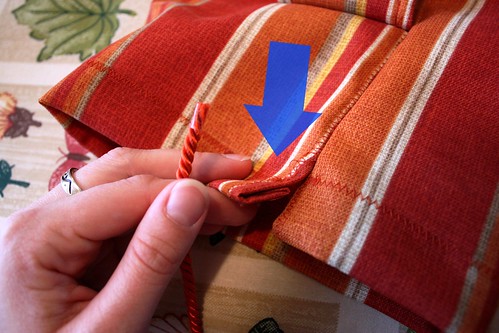
Add 1″ all around for a folded over 1/2″ hem. I also added another 2″ to the length to make the drawstring slot, as well as another 4″ for a little extra room. In the end, my piece of fabric was 31″x18″.

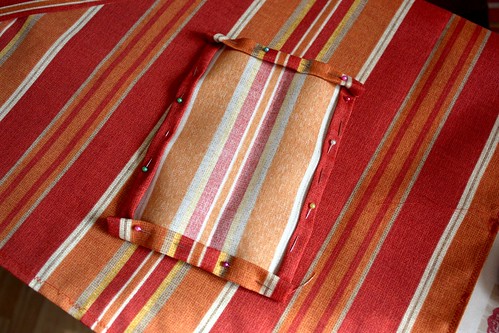
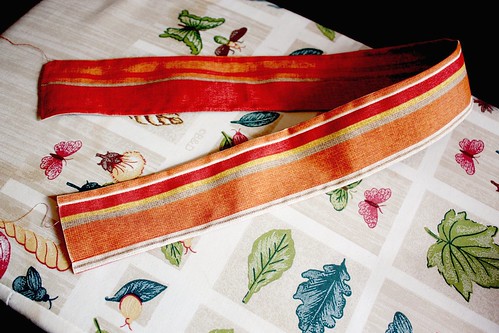
With the remaining fabric, I cut a 36″ x 7″ strip to make into the strap.
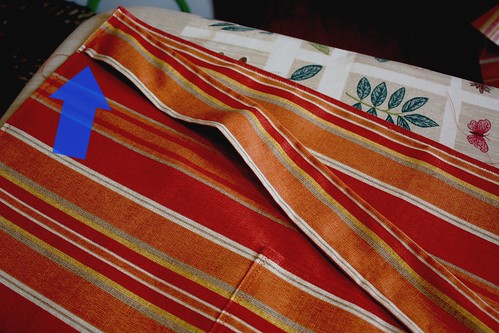
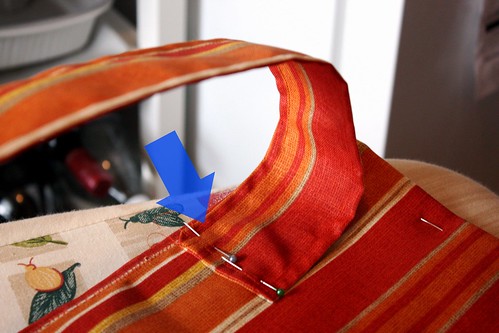
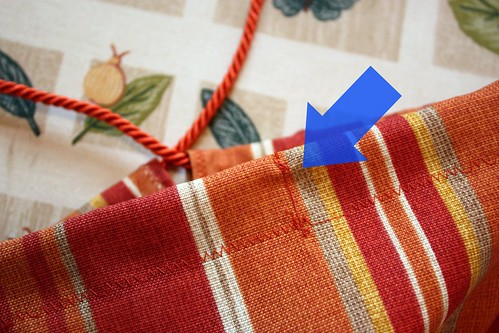
For the pocket, you’ll need to cut a square of fabric for the size of the pocket you would like, plus 1″ all around for a folded over 1/2″ hem.

Fold over the 1/2″ hem twice (to make sure all the frayed edges are tucked in) on all four sides of the main piece and then iron the hems flat.

Pin in place.

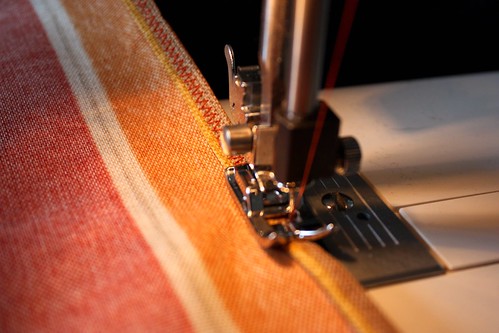
Using a zig zag stitch on your sewing machine, go along all four sides of the main piece.

To make the drawstring slot, fold over the hem 1″ on one of the short sides. Pin in place and then stitch across, making sure to leave both ends of the slot open to eventually push the drawstring through.

To make the pocket, take the piece of fabric you cut and double fold over the hem on all four sides. Pin in place and then zig zag stitch all around.

Pin the finished pocket in the place you would like it and then stitch along the sides and bottom of the pocket, leaving the top open.

To make the strap, fold the strip in half lengthwise with the good side facing inwards. Stitch along the length and one short edge and then turn the whole thing inside out to have the good side facing outwards again. To make a nice clean look, iron the whole strap flat, including tucking in the raw edge of the other short end. Using a basic stitch on the machine, stitch 1/2″ in on all the edges.

Pin one edge of the strap just underneath the top right hand corner of the drawstring opening on the main piece. Stitch in place.

Pin the other end of the strap farther down the main piece and stitch in place. Its probably a good idea to test it out on your shoulder first to see if you like the placement.

Now its time to close up the bag. Fold the bag lengthwise, with the good side facing in. Stitch all the way around on the bottom and side to close it up. Make sure to leave the drawstring hole open near the top.

You can see here where I stopped the stitch before it reached the drawstring opening. Now you can feed the drawstring through by pinning a safety pin on one end and then feeding it through with your hands.

Once you have the whole drawstring through, center it in the bag and then run a stitch through the opposite side from the opening. This will prevent the drawstring from accidentally being pulled all the way through.

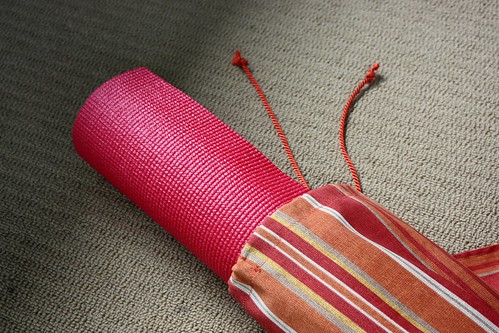
Now all you need to do is pack up your yoga bag and head out for your favourite class!

Share this:

  • Click to share on Pinterest (Opens in new window) Pinterest
  • Click to share on X (Opens in new window) X
  • Click to share on Facebook (Opens in new window) Facebook
  • Click to email a link to a friend (Opens in new window) Email

Related


« Find the Pug
Pureed Carrot Lentil Soup »

Comments

  1. Becki says

    November 8, 2013 at 3:31 am

    Love this! I’ll definately be trying this one out soon! Thanks! 🙂 x

  2. Urvashi says

    February 13, 2014 at 3:20 am

    Hi Amanda Nice Yoga bag.

  3. Cheryl Q says

    June 8, 2014 at 7:58 pm

    Thanks for the great instructions! I just made one! My mat is a bit bigger than normal, so I like that this bag is easy to customize.

    • Amanda - Small Home Big Start says

      June 11, 2014 at 10:10 am

      I’m glad that you were able to customize the bag to fit your yoga mat. Send me a pic of the finished bag, I’d love to see it:)

  4. Heather Gardiner says

    July 31, 2014 at 9:50 am

    Great tutorial. I’m going to attempt one this weekend! I might add a few more pockets as I need a bag for a hiking and yoga program I signed up for and have to carry keys etc as well.
    Thanks!

    • Amanda - Small Home Big Start says

      August 1, 2014 at 12:08 pm

      It’s so easy to add on as many pockets as you need – or even make the bag a little wider and longer to add in some yoga blocks. I hope you have an awesome time at your hiking and yoga program – send me a picture of your finished bag!

  5. Jen says

    August 29, 2014 at 11:15 pm

    Great tutorial. I’m trying it out now. Unfortunately I didn’t read it very detailed all the way through, just skimmed through it in the fabric store and looked at the materials list. Got only one 1/2 yard of fabric, as it says. After cutting my 31×18 piece, there’s not enough left over to make a strap.

    • Amanda - Small Home Big Start says

      September 12, 2014 at 11:44 am

      Thanks for letting me know about this, Jen. I think the fabric I used was wider than normal because I still had extra to cut the strap. I’m sorry that you didn’t have enough! I’ve made an adjustment to the directions.

Hi, I'm Amanda! Join me as I make my family's 1903 farmhouse into a home. I share renovations, DIY projects, recipes, our flower farm and the joy of living in the Canadian countryside
More About Me

Archives

Categories

Copyright © 2025 · Divine theme by Restored 316

Copyright © 2025 · Divine Theme on Genesis Framework · WordPress · Log in