Whiskey is an expert napper and he will find just about anywhere to do it. He’s had a little bed since I first got him, but it was starting to fall apart. I felt like my little buddy deserved a better spot to sleep, but most dog beds are ridiculously expensive. I decided to give it a whirl myself and see if I could make something super plush, that still went with the decor of the apartment.
I was able to make this little twill donut bed for under $20, including a small polar fleece blanket for extra warmth during the colder months.
I picked up two colours of thick twill and coordinating polar fleece for the blanket.
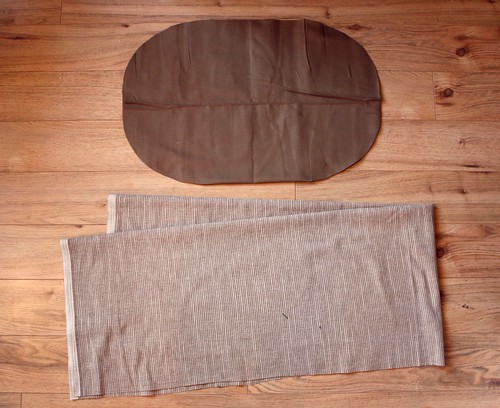
For the base, I cut out two oval pieces that were bigger than the size of Whiskey curled up, including a 1/2″ seam allowance. For the plush sides, I measured the outside of the entire oval (60″) and then cut that length of the side material. I wanted the sides to be 12″ high, so I doubled that and cut them to 24″ wide. In the end, the side piece was 60″ x 24″.
With the good sides facing out, I stitched around the entire oval, leaving a 3 inch hole for filling.
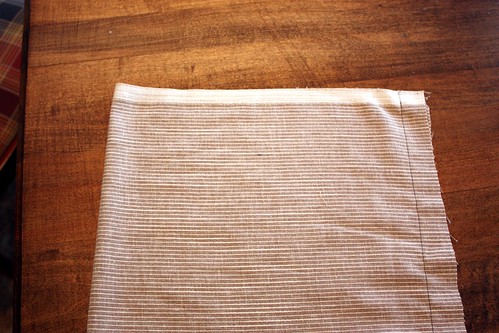
Fold the side material lengthwise, with the good side out, and stitch along the length to make a tube.
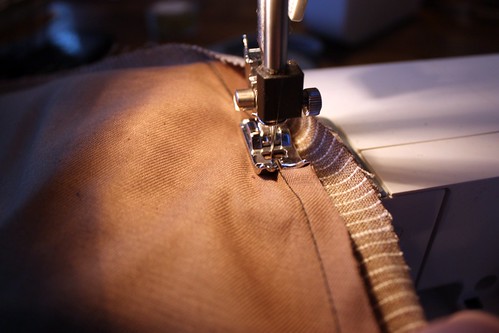
This part was a little tricky, but I basically pinned the two ends of the tubes together inside out and stitched them together until I could go no further with the machine, which left a perfect hole for stuffing the tube.
This is what it looked like when I pulled it back to right side out.
Now stitch the tube around the edges of the oval, going over the 1/2″ seam allowance stitches on both fabrics. Keep in mind that when you start to stuff the bed, all the raw edges will be tucked in under the donut sides, so you don’t have to worry about them being exposed.
Keep the bed inverted with the sides hanging below the bottom oval and stuff the inside of the oval. I took the stuffing from inside two old pillows and used most of one to stuff the bottom of the bed and then the rest to do the sides. Stuff the sides and then stitch up the open holes on both pieces. Invert the bed so that the oval is pushed down under the sides of the tube, making a donut.
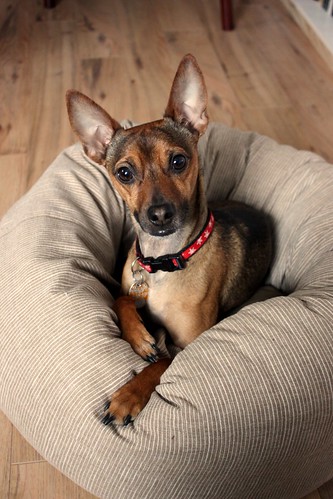
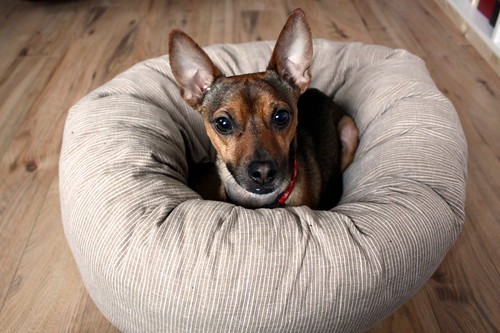
The second I put it down on the floor, Whiskey hopped right in. He knew it was for him.
Doesn’t he look cozy and comfy? He loves to rest his head on the sides.
At night I like to tuck him in under a blanket because he gets so cold and he loves to burrow under things. To make the polar fleece blanket, I just cut out a square slightly bigger than the bed. One of the great things about polar fleece is that you don’t need to hem it, so there is no sewing required.
Come back tomorrow to see me take on hanging up those bathroom shelves. I’m so excited to finally have storage in the bathroom!










Wow! Whiskey looks so cute in his new little bed. Great job Amanda!!
I love this! I love DIY Dog projects, thanks for the step by step instructions. Whiskey is a great model 😉
Thanks Maya! We think he’s pretty cute 🙂
This is terrific Maya! I have an old blanket and thought it would make a great dog bed. My Lolly loves to sleep on an old soft foot cushion which is stuffed with beanbag beads. It’s too small for her. now so I can’t wait to start and I think I will try using beanbag beads.