
The Challenge continues! And I’m very excited about this project. I’ve been waiting to have these shelves up for months and now that they are here, I can’t get enough.
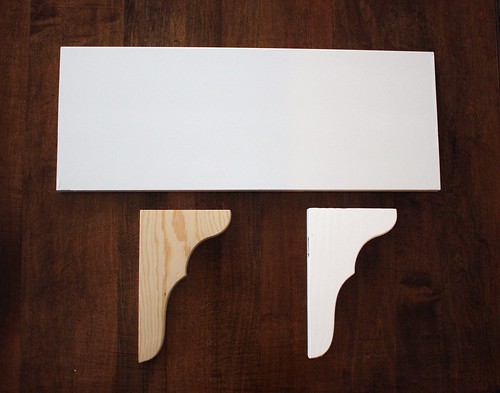
A few weeks ago I prepared the pieces of the shelves, using already white laminated wood that I had cut at the hardware store and painting the ends white. I also painted the small brackets with white paint.
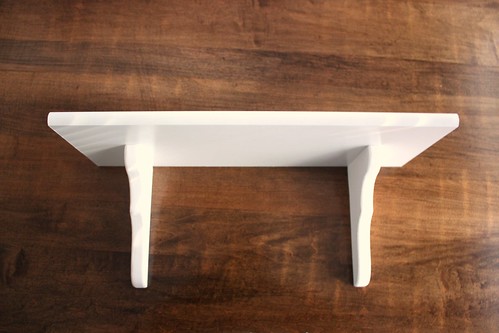
To put the pieces together, Garrett helped me drill holes in the top of the board and in the brackets 1-1/2″ from the back edge. We used this to guide the screws into place and prevent the wood from splitting.
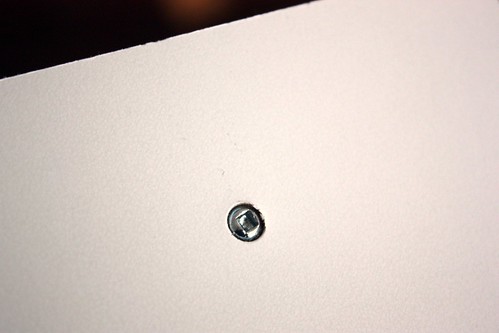
We drilled the holes a little bit wider on the top of the board with a large drill bit to help hide the screws. I used a little paint to fill in the hole and hide the screw.

To hang up the shelves, we measured where to place the screws for the hooks and then used an anchor to secure it into the wall. We used a level to make sure that everything fit right.

Here are the shelves up. We measured from the top of the toilet to the highest shelf height we wanted, and divided it by the number of shelves. That way they were all evenly spaced.

As soon as those shelves were up, you know I had them full with some decorations.
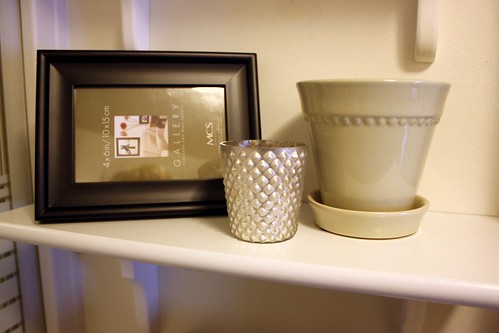
This frame will soon have a photo and that pot will have a plant, but that will come later in the 10 Tasks in 10 Days Challenge. The faux mercury glass candle holder is a little something I picked up at an After Christmas sale for $1.50.

You can see our new bathroom towel colours (forest green and khaki) in the hand towel basket. I love how the natural colours go well with the rich brown floor. I’m still looking for a little bin or box to hold toilet paper and extra supplies on the top shelf, but other than that, I love it!
Tomorrow on 10 Tasks in 10 Days I’m taking on organizing all my craft supplies. When did I buy all this fabric and felt?!?!?

Everything looks great! You do have a flair for decorating. The pups bed is so sweet and looks warm! Enjoy the day,Mel
Thanks Mel! Its been so rewarding finally getting the apartment to look nice, instead of having boxes and piles everywhere. Whiskey is loving his bed – its become his little cucoon when the apartment is chilly.