
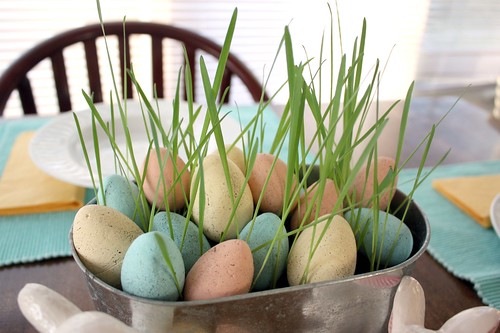
Fresh grass and sweet little robin’s eggs are lovely reminders that spring is here and there is new life growing outside. Goodbye ugly brown yards and sparse trees – hello foliage! I wanted these elements to be the focus of my Easter centerpiece this year and I found a way to make it for under $10 using things that I found at my local craft, hardware and dollar stores.
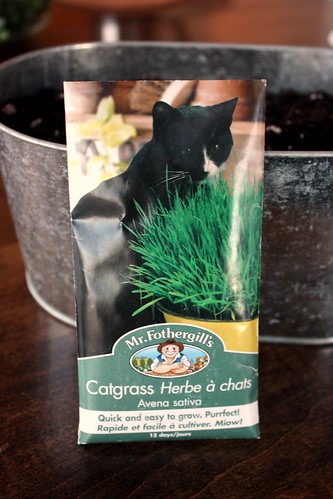
I found this cat grass for $2 at the local hardware store and decided to give it a try. I wanted something a little more lush and sturdy than what you would get with plain grass and this seemed to be the next step up. Both the salesperson and the checkout lady asked me if I had a cat at home who liked it. Nope, but I do have a dog who thinks he’s a cat sometimes when he lays on top of chairbacks. That counts, right?

Using an old galvanized tub I had lying around (probably also from the dollar store years ago), I filled the bottom with gravel rocks to provide some drainage for the grass. I actually swiped it from a gravel pathway at our apartment, but I promise I’ll return it after Easter!
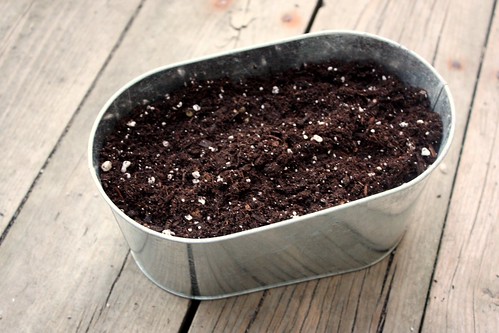
Using a little leftover potting mix I had from last year, I filled the rest of the pot, leaving about an inch of space at the top. Then I generously sprinkled grass seed over the top and topped it with a light coat of more soil. Just enough to cover it. Then for the next few days I lightly watered it every day until one day it looked like this…
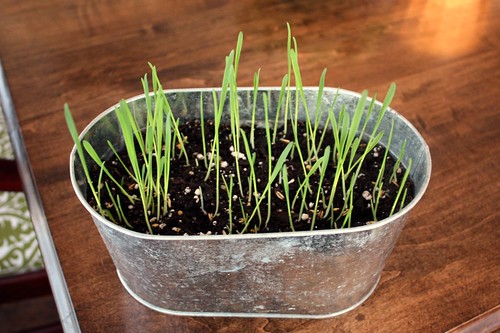
Bam! We have grass! This is where it was after 5 days, and I’m sure it will grow more in the week leading up to Easter. It may even need a trim by then. I do think I could have used more seed though because the grass is still looking a little sparse.

Such a cute idea! Did it only take a few days? I want to do this this Easter 2012, but I’m wondering if it will be ready.
Thank for stopping by, Leilani!
If you started growing it today you’d have it in time for Easter. It only took about 5 days to have some nice grass for the eggs to go in. I would recommend being pretty generous with the grass seeds because I think that would have made it look more lush sooner. Also give it plenty of sunlight and some water every morning and you’ll have sprouts in no time.
Good luck! 🙂