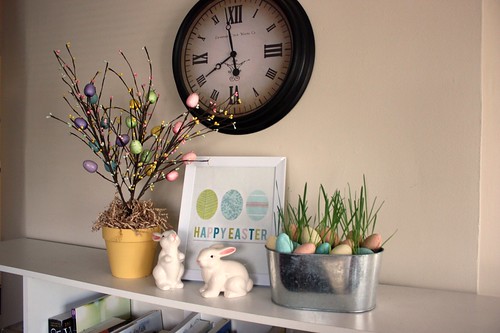
Yesterday I posted about Growing Cat Grass for my Easter Centrepiece which I filled with sweet little Robin’s Eggs and now I’m going to share how I made them. They’re not only inexpensive to make, but they can also be used in a variety of Easter projects.

I first got the idea for making these eggs when I saw them at Pottery Barn last year, but there is no way I could justify paying $18 for 12 little blue eggs. I decided to find a cheaper way to make them this year, using things I could find at my local craft and dollar stores.
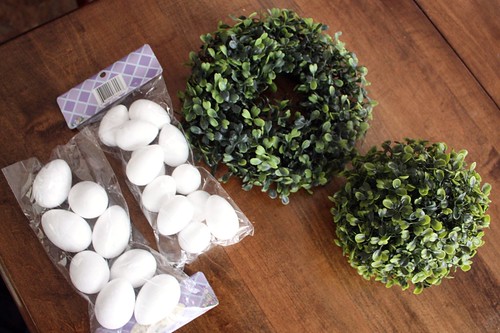
I found some white styrofoam eggs for $1 for a bag of eggs (12 small or 8 large) at the dollar store and grabbed one pack of each.(I showed these back at the beginning of the month when I bought this faux greenery for the bathroom).

I headed over to Michael’s and picked up 5 colours of acrylic paint for about $1 each. I picked Robin’s Egg Blue, Light Yellow, Pale Pink Rose, Butter Yellow and Dove Gray. I ended up only using the first 3 and mixed the other two colours, but I’m sure I’ll find a use for them in another project.
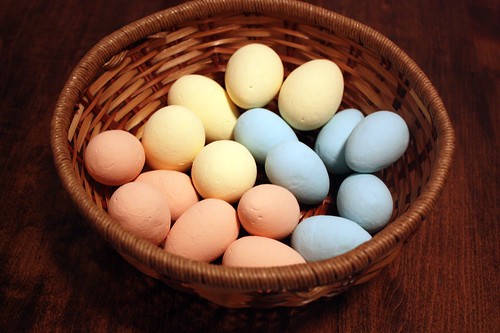
To paint each egg, I laid them out on tin foil and painted one side with a small foam brush, let it try and flipped it over to do the other side. I picked tin foil because if the eggs accidentally rolled over onto the painted side they wouldn’t stick to the surface like they would on newspaper.
I ended up doing about 3-4 coats for each egg to remove any crevices in the styrofoam. Since I wanted to allow drying time between coats, I just set up all the eggs on the dining room table in rows on the foil, painted a coat, wrapped the foam brush in saran wrap and then came back in an hour to flip them and paint again.
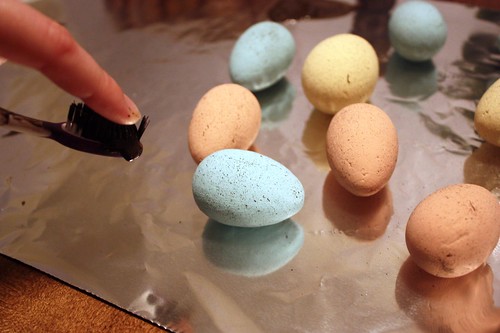
After the eggs were fully dry, I used a toothbrush to speckle the eggs with Chocolate Brown acrylic paint I had from another project. I used a cheap 50 cent toothbrush I found at the dollar store. No way I’m using one of the good ones for this!
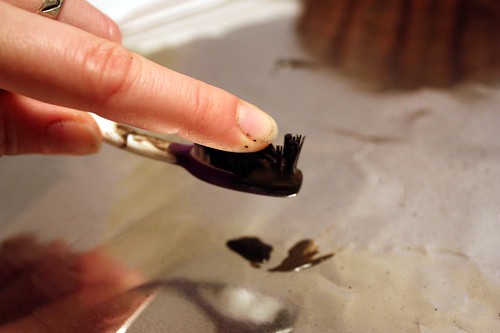
To make a speckle pattern, just dip your toothbrush in brown paint and then run your finger along the bristles from front to back. The paint will spray forwards and hit the eggs. The closer you are to the egg, the more speckles you get. I played around with it on some scrap paper first to see what kind of pattern I liked.
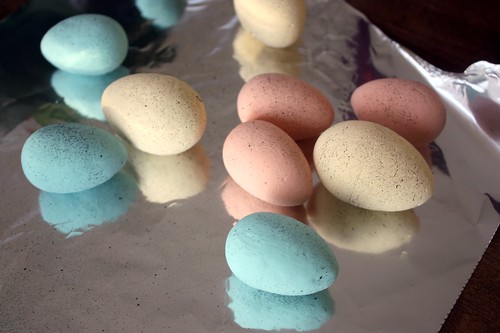
After all the eggs were speckled, I let them dry for about an hour and then they were ready to go! You could also do this with wooden or plastic eggs too, whatever you can find.
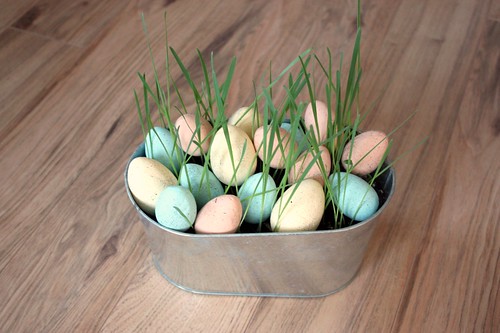

As much as I loved the eggs as a table centrepiece, I’m really loving this look on the bookshelf too. I paired it with my Easter Tree from last year and a great printable I found online.
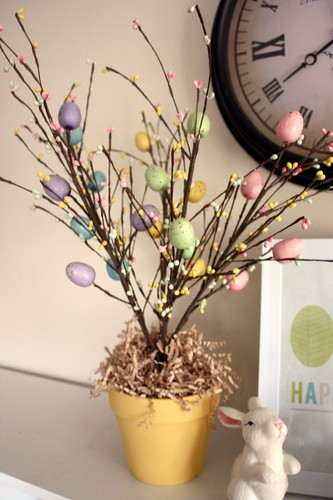
I still love this Easter Tree and I love even more how easy it was to just pull it out of storage and pop the branches back into the foam
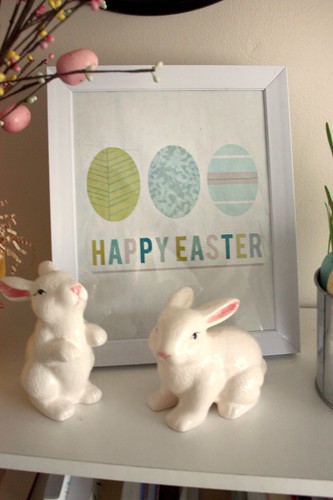
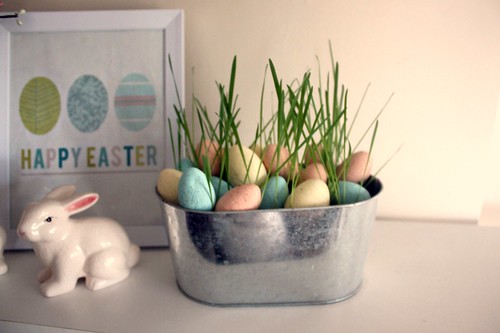
I think I may add a bow onto the bucket as well, to break up the metal planter a bit. Maybe something in a nice soft blue or green?
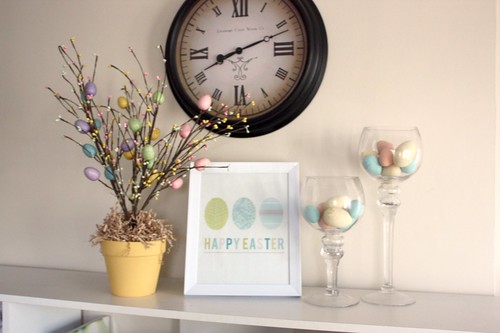
Another way to display these eggs is by using them as vase filler in these giant glass holders we were given at our housewarming. (Don’t they look like the “Big Joe” from Cougar Town? And yes I did try drinking wine from them before I used them.)

I’m actually loving this look now too, so maybe I need to paint more eggs so that I can have both the vases on the bookcase and the centerpiece on the table.
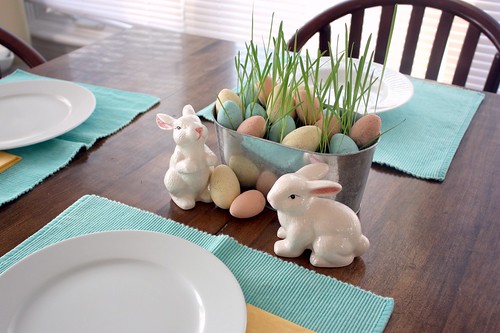
I still love the fresh and sunny look of this simple centerpiece. I can’t believe how much cheaper it was to make it on my own then to buy the eggs online.
Robin’s Egg & Cat Grass Centerpiece Cost Breakdown:
Styrofoam Eggs $2 (2 packages)
Acrylic Paint $3
Foam Brushes $2
Cat Grass $2
Metal Planter Already Had
Gravel Already Had
Potting Soil Already Had
TOTAL: $9
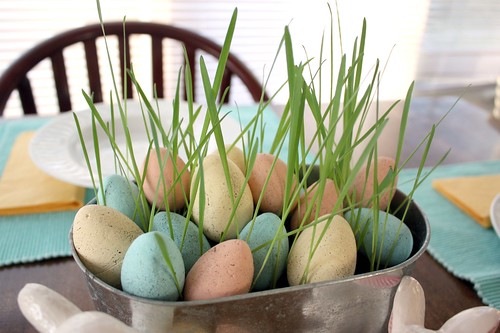
Not bad for $9 right? Another great thing is that most of this is reusable. The eggs with be saved for next year’s Easter project, while the metal planter will be prepped for out patio herb garden this summer. The top soil and grass with be placed in the yard to bring nutrients back into the garden. Even the cat grass seeds can be saved for another year, because I only used about 1/3 of the packet. I love it when a project can be recycled for other uses!

In the end, I made 20 eggs for $7 which is much cheaper than the 12 for $18 at Pottery Barn. Plus I now have all the supplies to make more eggs, so they next time I do it I’ll only have to spend a couple of dollars on new eggs, making this even cheaper. In fact, I think I’m going to go pick up some more right now to paint them in time for Easter and maybe use the as vase filler in a larger vase!

I love your eggs and the cat grass! Such a cute arrangement! Please come over and link up at my party going on now, Sunday Blog Love! PS – I’m also having a giveaway that I decided to extend until Sunday so come on over!
Your Easter decor is adorable-following from beneath my heart-stop by for a visit!
I love it! The colors are so cute! Great job. New Follower! You can visit me at http://raisingdieter.blogspot.com/
Shay
Thanks for stopping by! I’m glad you like it 🙂
Super cute! The egss came out great ~ I love the toothbrush technique. TFS!
I found you through Crafty Scrapy Happy today. I hope you get a chance to stop by my blog and leave a comment, too.
~ Megin of VMG206
http://www.vmg206.blogspot.com
I love this! What a great idea! I’m your newest follower and fellow Canadian 😉
Jamie ~ somuchbetterwithage.com
Thanks for stopping by! Just checked out your blog and I love the before and after for your living room. Looks fantastic!
You are officially the easter egg queen! Love these. I think I will try them tomorrow. I like your little Easter display too… I just finished my spring/easter faux “mantel” yesterday but now I need to add a few little eggs around the house. I have the same ceramic bunny (though I spray painted mine solid white). They are so cute:)
Thanks for sharing your fab egg ideas!
Krista
These are great! I found some eggs for cheap last year at JoAnn’s because I too couldn’t justify the price at PB! 🙂 Do you remember where you got your bunnies – I’ve been looking for those too! 🙂 Thanks!
The bunnies were from a local dollar store. I love Krista’s idea of spray painting them solid white!