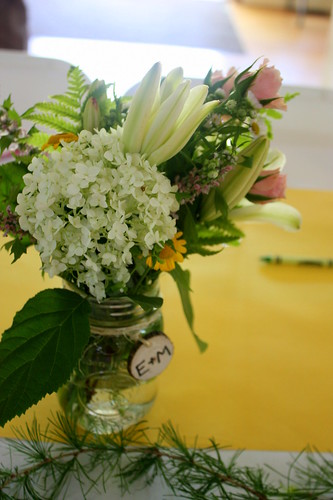
Last weekend, my mother and I had the pleasure of doing the table centerpieces for my friends’ Eve and Mat’s wedding. It was our gift to them and we had so much fun doing it.
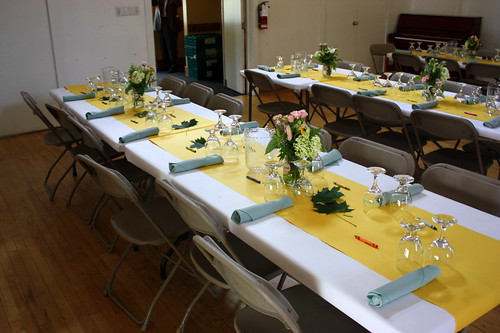
The tables sat 12 people, so we wanted to do 2 arrangements per table, and keep them lower so that people could see over them to talk.
The couple are huge outdoor enthusiasts, so they wanted a wildflower/garden inspired look, using as much from the wild as we could. Almost like they’d gone for a hike together and just picked up some flowers along the way and put them in a jar.
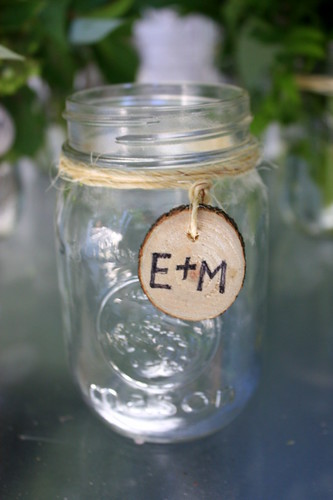
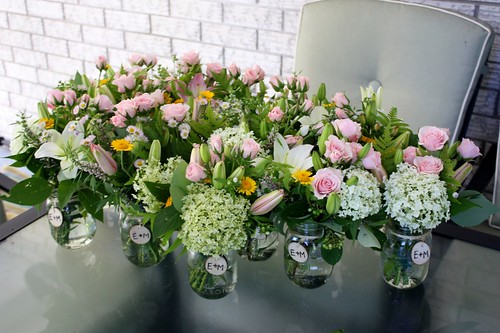
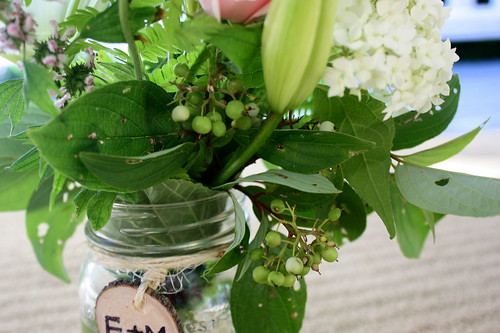
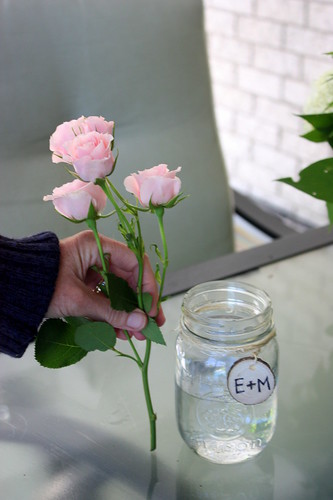
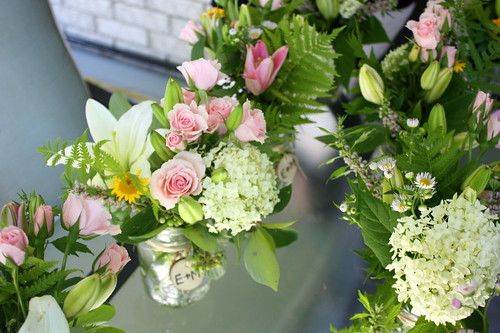
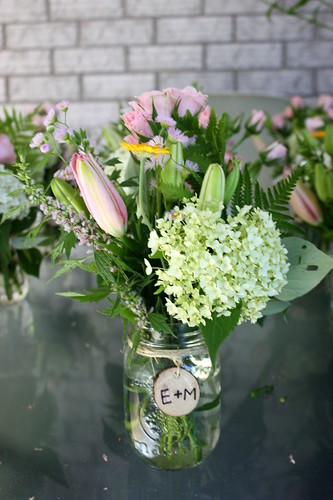
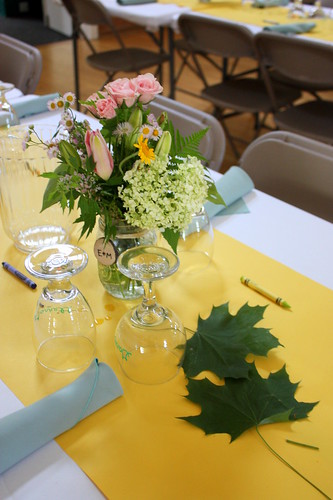
It all started with these mason jars. I found them at Walmart for $6.50 for a dozen and they were the perfect size for a small arrangement. I set the lids aside and then glued twine around the neck of the jar, tying the wooden tag on as well. To make the wooden tag, my brother cut slices out of a branch and then drilled a hole in them. I sanded them down and then wrote the couple’s initials with a Sharpie.
In total, we were able to make 14 table arrangements and a guest book table arrangement for under $35…and now I’m going to show you how you can do it too. These are great centerpieces are perfect for not just weddings, but baby showers, bridal showers and get-togethers.
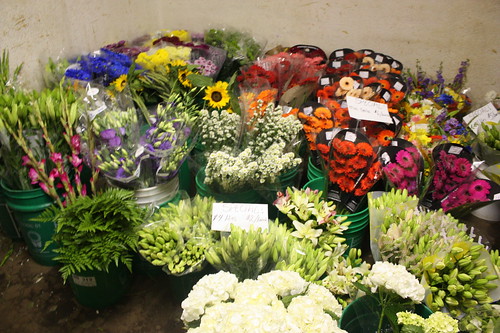
First, we headed to a local flower supplier on the Ontario Greenbelt. We wanted to get as many local flowers as we could. You could also go to your local florist or even the floral section of your grocery store and look for things that fit in with a garden theme.
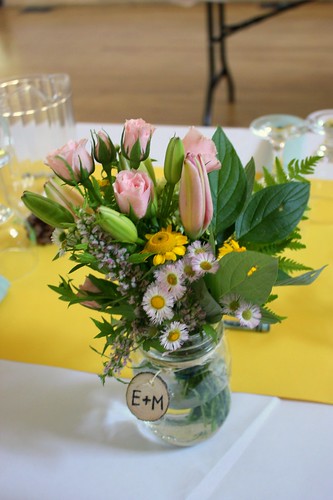
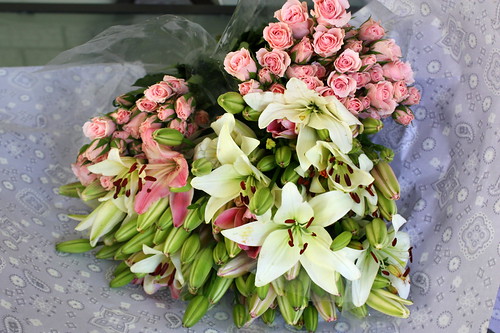
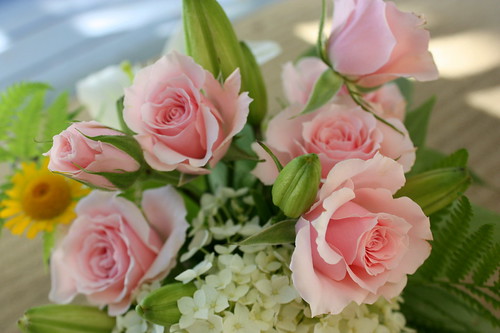
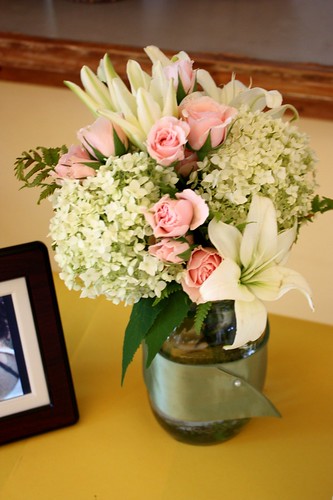
In the end, the only imported flowers we had to use were these lovely and delicate pale pink roses. We got 2 huge bundles for $24. They looked like they would have come straight out of the garden, which was perfect for our theme.
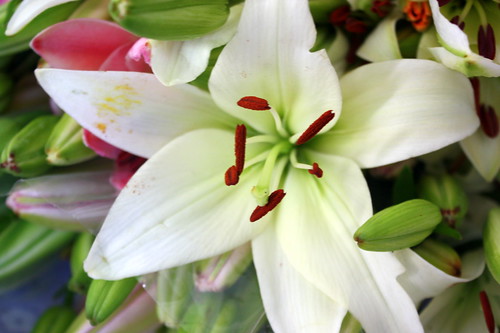
The florists gave us 3 bundles of these beautiful white lilies for free! He grows them himself in his backyard and he was having a problem getting rid of them because they grew too short, but that was perfect for us with the mason jars. We carefully plucked off all those little pollen tubes before we started. Be careful because they can stain clothing and other flowers.
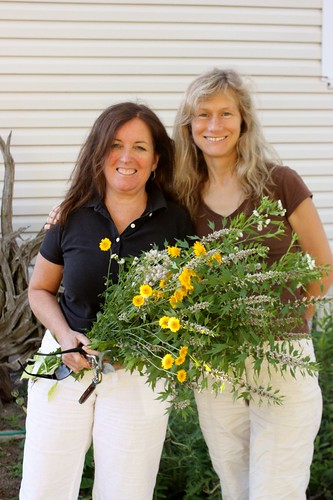
Here is my mom with all the flowers we picked up from him. Look at how MASSIVE that hanging basket is!
Next, we headed over to my mom’s neighbour to cut some wild flowers from her yard as well. It was so sweet of her to let us come over and cut so much!
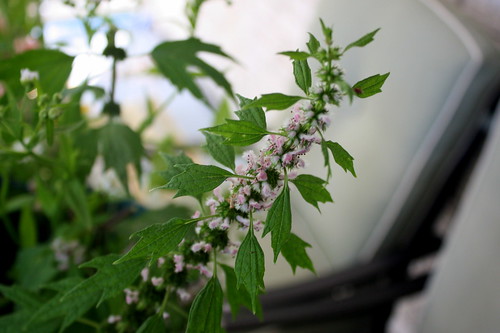
We came back with some of these bright yellow flowers (same colour as the table runner!) and some smaller feather-like daisies that had already closed up for the night (but they came back the next morning).
We also used some dogwood branches from my parents’ backyard. The berries were a nice touch.
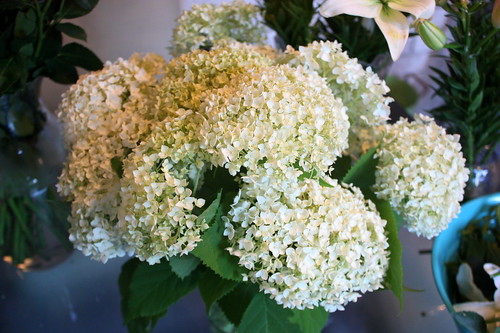
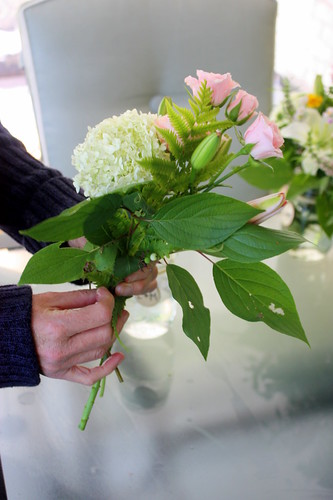
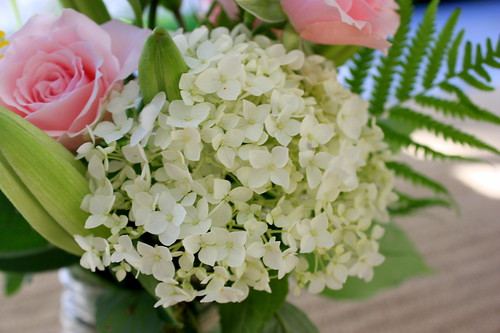
Last minute, we headed over to our next door neighbour’s to cut some of her beautiful hydrangea blooms. They were the perfect addition to the arrangement, as they gave it some body.
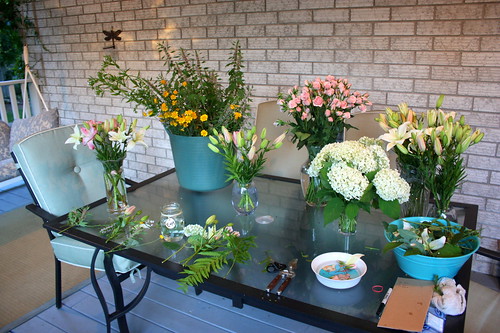
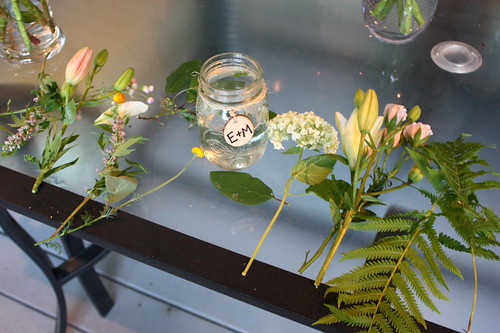
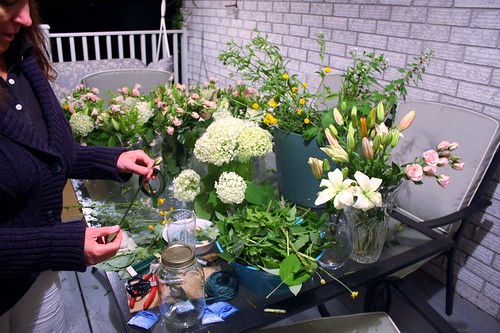
Finally, we got everything all laid out in large vases so that we could see what we had to work with. We knew we wanted to make 14 identical arrangements, so we counted all the stems before we started so that we knew roughly how many of each flower we could put in the arrangements.
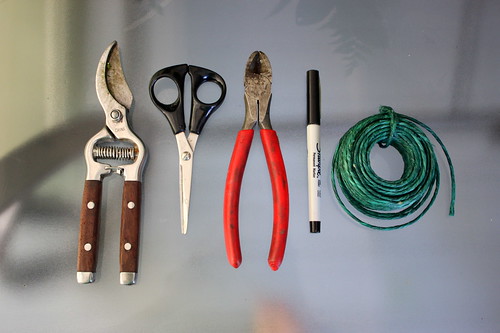
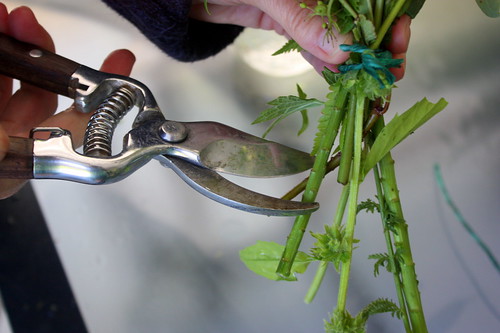
For tools, you’ll need: clippers for larger branches, scissors for smaller branches, wire cutters, Sharpie for any corrections to the wooden tags and green covered wire (bought at Michael’s)
Make sure that you give yourself plenty of room to work in. Have a bin nearby (on the right) for clippings so that you can clean up as you good. A little bowl of water is nice for setting in any flowerheads that snap off (they can be used for hair pieces!) and a damp towel is helpful for anything you need to clean up.
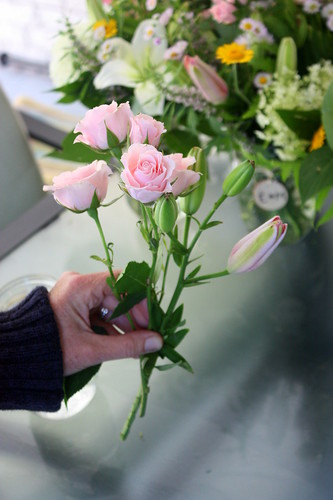
To start, take your vase or jar and stand your tallest flower up against it. The rule of thumb is for the top of the arrangement to be 1.5 times higher than the vase. We chose our little roses to be the tall flower. This was too tall, so we had to cut it down a bit.
You can also go by the size of the other arrangements once you have a couple of them done.
From there, you start adding the flowers, thinking about 3 “corners” of the rose, to give you a unsymmetrical arrangement. You generally want to have things in 3s, 5s or 7s, as they are more appealing to the eye than even numbers. These lilies were the first addition on one side.
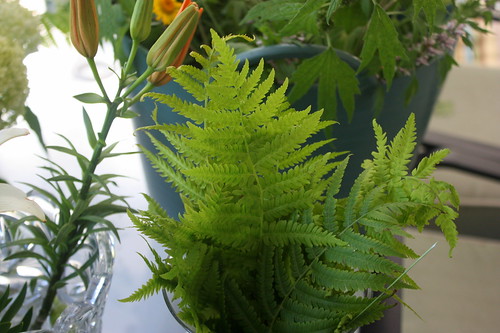
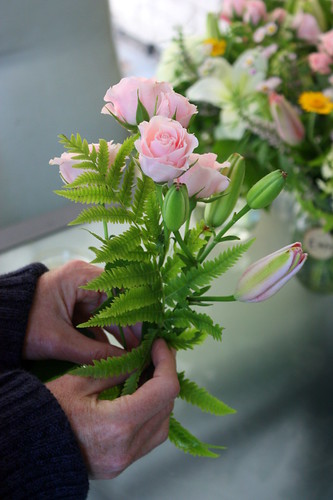
Then we added some ferns into the middle for some greenery. Don’t worry about cutting everything to the perfect height just yet, as we’ll do that at the end.
Start to add in greenery where you’d like it. Maybe a dogwood branch with berries tucked in under some of the lilies.
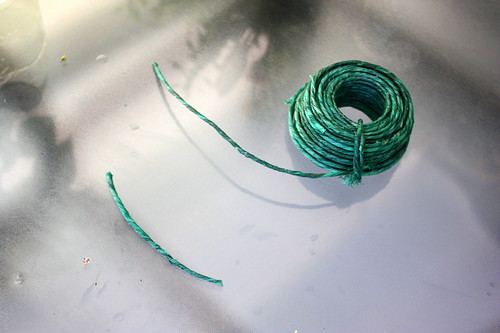
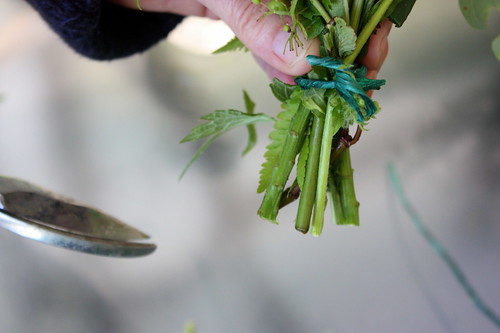
Take the green-wrapped wire and snip a piece about 3″ long – just enough to wrap around the flower stems and tie.
To bind the flowers, wrap the wire around the stems and then twist the two ends together.
Using your pre-cut rose stem as a guide, cut the other stems. Strip any remaining stems of leaves, as they will rot in the water.
Fill the jar with room temperature water and set the bouquet inside. Being very gentle, slowly fluff the arrangement up in case any of your flowers got smushed together while you were making it.
We were going for a wild look, so some of our leaves were a bit nibbled on from when we got them from the garden. We left some on for a bit of charm, but if you’d like to snip them you can do so with the clippers or scissors.
If your arrangement starts to twist on you or falls apart as you’re making it (happens to me ALOT!), set everything down and try again. It can take a couple of times to get it just the way that you like it, but it’s worth it.
We stayed up late working on the arrangements the night before the wedding, but we got almost all of them done (just 2 left for the morning!)
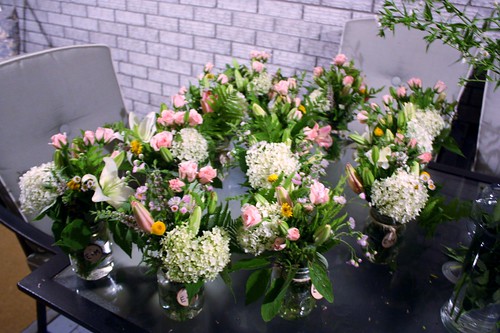
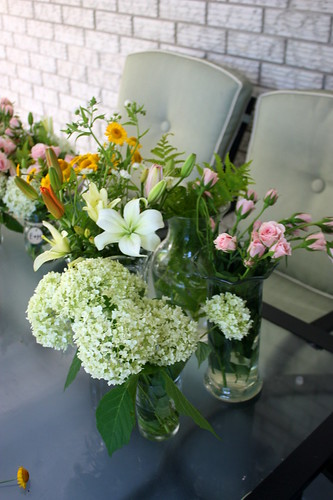
Here they all were laid out on the porch table. Thankfully it was a mild night, so they were safe from too much cold or too much heat. All the little flowers closed right up for bed!
The next morning they opened back up again and everything looked much fuller. Sometimes they just need a little time overnight to open up some more! If we’d had more time, it would have been nice for all the lilies to have opened up as well, but at least they will have done so for the guests who took home the centerpieces at the end of the night.
I was really happy with how these turned out and I couldn’t have done it without my mom. She has taught me so much about floristry, crafting and how to make things beautiful.
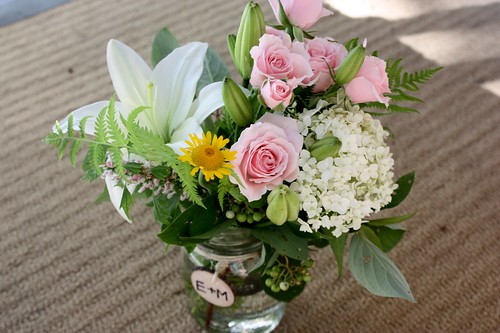
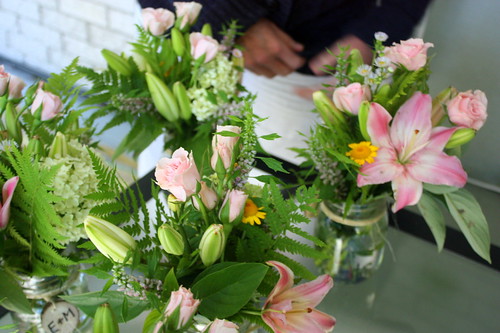
The finished product! Now they just need to make it to the island and then they’ll be spruced up a little bit and have some of the holes filled in.
After all the centerpieces were done, we still had some flowers leftover.
We used some of them to make another arrangement for the guestbook table. In the event of a bouquet mishap, this arrangement was actually set up to be a stand-in – the stems were wrapped together with waterproof florist tape and the sash around the jar was a piece of the bride’s sash, which could be wrapped around the stems. Thankfully, in the end we didn’t need to use it.
To take all the flowers over to the island, I carefully stood them up on their ends inside a large cooler with about 2 inches of water in the bottom. The jars were emptied of their water and placed back in their case to make it easier to carry them.
Garrett was in charge of carefully carrying the cooler from the car…to the apartment…to the car again…to the water taxi…and then finally into the hall’s kitchen. But they all made it! Phew!
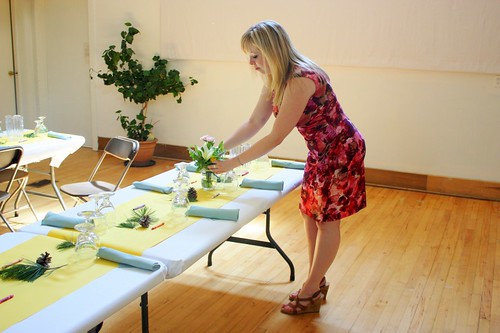
When we got to venue, we placed water in all the vases and started carefully moving the bundles of flowers from the cooler into each jar. I fluffed them up a bit and then started taking them out to the tables.
Using some extra small flowers that I had brought, I started going around and filling in any little holes, while still trying to keep it looking very wild and natural.
In the end they looked great and I think the happy couple was pleased with them. Some lucky guests got to take them home at the end of the night. I made sure that they grabbed a jar lid on their way out so that they could reuse them again. Gotta love it when something can be re-purposed again and again – the glory of mason jars!
– – –
Linked up to:
Southern Lovely
Milk and Cuddles
A Glimpse Inside
Serenity Now
Chic on a Shoestring Decorating



















Wow, I had no idea how much work went into this. Thanks so much to you and your Mom for doing this, it really brought some life into the tables!
We were happy to do it for such an awesome couple 🙂
The arrangements are beautiful! Love the more natural look. And, the mason jars were the perfect touch.
These arrangements are just like mine when I did my wedding! Except I ordered a wildflower pack from Bloomsbythebox.com so I had snap dragons and spray roses with fillers and greens! It turned out so well! I love the dainty mason jar look! You did a great job, great inspiration for the DIY bride.
I’d never heard of that website, but it sounds awesome. Thanks for sharing 🙂
This comment has been removed by a blog administrator.
“Very simple and unstructured, but still fun and beautiful”—so true! The design is uncomplicated, yet it looks vibrant and refreshing. You really have a knack for flower arrangement. Oh, look at those soft pink roses; they are truly beautiful. Anyway, thanks for sharing this DIY wedding flower arrangement tutorial. Cheers!
What size mason jars did you use?
Pint size mason jars.
This is exactly what I’m thinking of doing for my friend’s bridal shower! So pretty. Do you remember about how much time it took for you to put all of the bouquets together? With no flower-arranging experience, I’m afraid it’s going to take me literally all night… 😉
Hey Kathy! Sorry for the late response, I’ve been getting settled back at home since our honeymoon.
Making your own bouquets (or centerpieces) can be a very labour intensive project if you’ve never done it before. I recommend having someone else to help you do it just because it’s easier with an extra set of hands/eyes. With my mom and I working on it, we spent the whole evening doing it and I think it took us about 15 minutes for each arrangement. My biggest tip is to prep all your materials before you start, getting the containers ready and trimming all the unwanted leaves from the flowers. And give yourself a large area to work in. If you have any more questions, give me a shout!
This is an awesome tutorial! I have a bride who wants a very similar centerpiece so I’m going to give this a try for fun. Thanks for posting!
I love your use of mason jars as a vase. I think that is a very creative idea instead of a conventional vase. I really wish I had a talent for arranging flowers. I always think it looks easy but my arrangements never turn out looking very good. http://elizabethwraydesign.com/index.html