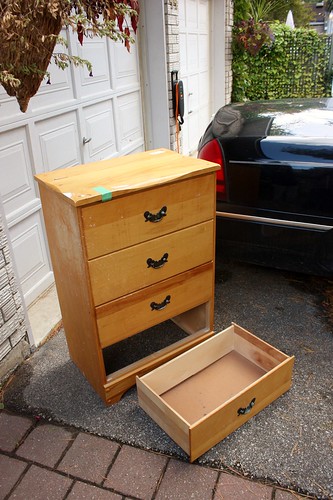
Some of you may remember when earlier this fall, I convinced Garrett to carry home a dresser I found on the side of the road in the middle of this night. Yes, he is amazing and goes along with all my crazy ideas (or at least pretends too). But how could I resist a FREE hardwood dresser that just needed a little TLC?
After sitting in our living room for the past few weeks, in various states of repair, it is finally finished! (except for drawer pulls)
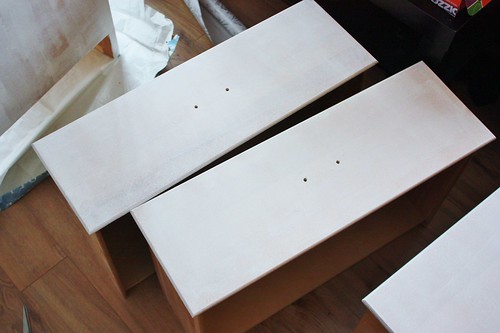
When we first took it home, we let it dry for a few days (it was raining outside when we picked it up. After removing all the hardware, I sanded everything just enough to remove some of the sheen, and provide a clean surface for the primer and paint to adhere too. After it was all sanded, I wiped everything down with a damp cloth, dried it off and then let it sit for a few hours until I was sure everything was dry.

I didn’t want to get paint on any of the interior of the dresser, so I taped off the inner edge of each opening, including any track hardware.
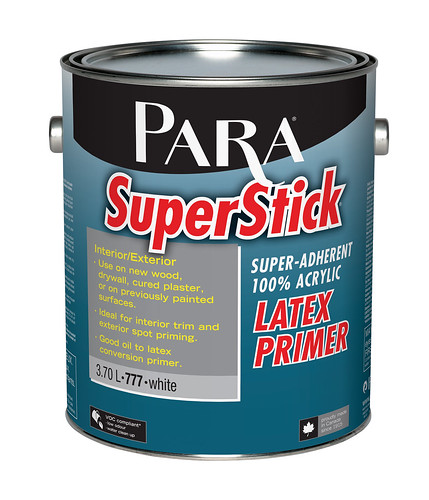
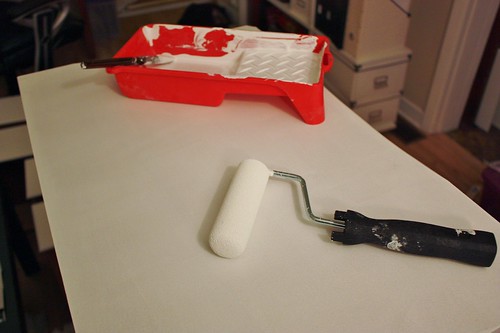
For primer, I went with the Para SuperStick Acrylic Latex Primer, as recommended by our local hardware store.
I did one thick coat of the primer over everything using a small brush for edging and a small roller for the larger areas.

After the primer had dried overnight, I started with my first thin coat of Para Optima Latex Paint in Melamine Finish. This was recommended for painting any type of well-used wooden surface, like kitchen cabinets, bathroom drawers and dressers like ours.
I ended up doing two super thin coats over the entire dresser using the small brush and small foam roller, over the course of two weeknights, removing the taped edges on the final night. Then I let everything dry for a day before I started going in and doing any touch ups that were needed.
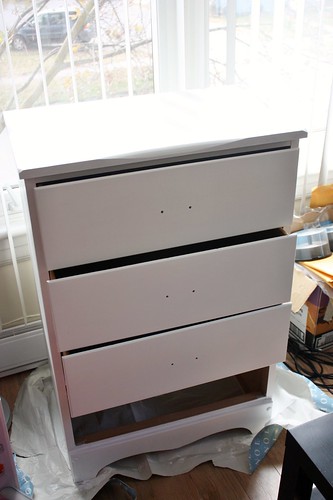
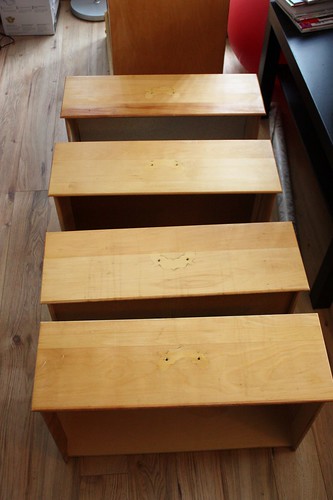
After everything had sat on it’s own for three more days of drying (our living room floor was a maze of drying drawers!), I finally put everything together to see how it would look. The only drawer that wouldn’t go in was the bottom one.
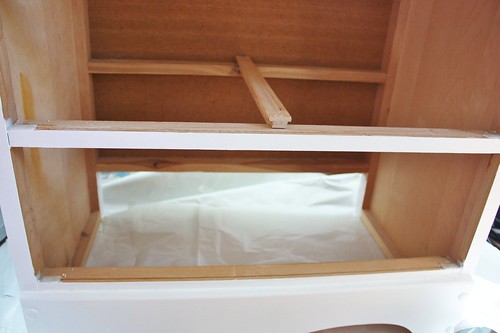
The problem was that the wooden tracking under the drawer had been broken or removed at some point.
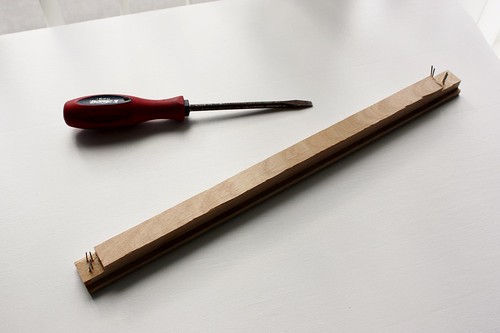
I pulled off one of the existing drawer tracks and took it to my dad to see what he could do.
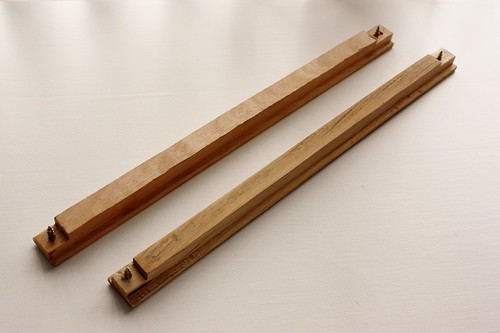
A week later I went back to have dinner with my folks and look what I found….a whole new track! It perfectly matched the original on the right. He made it using a piece of hard wood from his scrap pile and some made saw skills.

He even pre-drilled the holes for me (including screws!) and sent me home with the correct drill bit for drilling pilot holes! Thanks Dad! 🙂
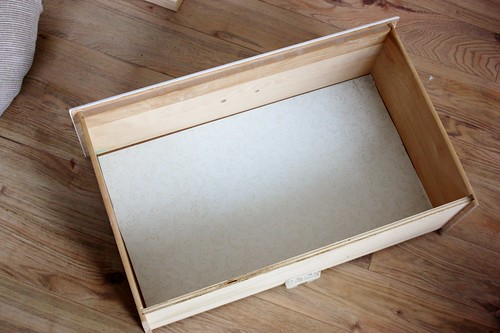
Next up was cleaning up the insides of the drawers. Some of the drawers had this nasty old contact paper inside, which I had hoped to remove and clean up.

When I started to pull the contact paper off, I soon realized that the original adhesive was stuck to the bottom of the drawer and much too strong to remove. I would be better to find a way to cover it up.

I found this cute new more modern contact paper and started covering the bottoms of all the drawers. Not only does it cover up the beat up and scratched bottoms of the drawers, but I also like the idea of being able to replace this if we ever need too.
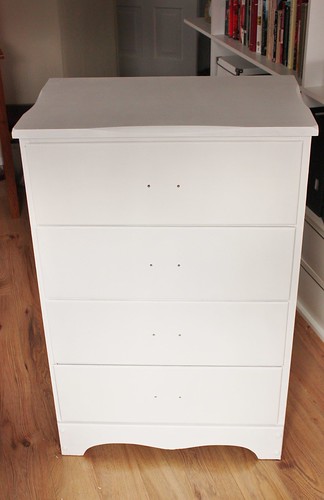
And here is the final project! Well, almost the final project. I still need to find some new drawer pulls.
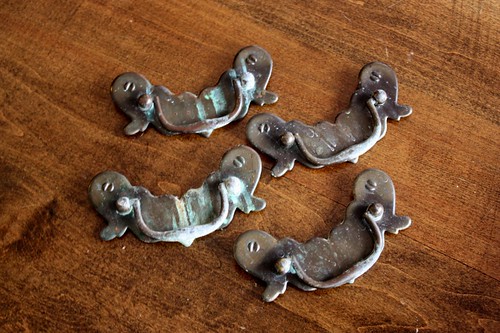
The original ones are not quite my style and are pretty tarnished. The hold up has been finding drawer pulls that fit the 2.5″ between the existing holes. Modern pulls come in 3″ and 4″ sizes, so I’m forced to look at other options for this. Anyone know where to get odd sized drawer pulls? (***UPDATE: We finally found new drawer pulls!)

For now the dresser is parked in the corner of our bedroom, awaiting pulls, but still actively in use. I’m giving it another 2 weeks here to full cure before I get started on decorating the top of it. I don’t want to leave any marks on my beautiful new dresser!
Maybe a new lamp and some artwork behind it? A little tray for our favourite perfumes and colognes?

Just found your post through milk and cuddles linky party.
I love these kind of makeover projects and you have done a splendid job! 🙂
http://believeninspire.wordpress.com
Great job on making her pretty! Some of the best finds are free. Thank you for sharing. Would love it if you would share this at my Make it Pretty Monday party at The Dedicated House. http://thededicatedhouse.blogspot.com/2012/11/make-it-pretty-monday-week-22.html Hope to see you at the bash! Toodles, Kathryn @TheDedicatedHouse
I found you through the milk and cuddles linky party! I have been needing to paint a dresser that I got in a garage sell for a while now… but, after a BAD painting experience I’m a little hesitant. It is the curing part that gets me!
Great job!
Beautiful! I just finished my kitchen table. Sanded everything and used top of the line primer and the most expensive oil based paint – all recommended by the hardware store for a kitchen table redo. And though it cured for a month in our spare room, now that it’s back in use, it’s already nicked! Will you use poly to protect your dresser top? I’m so sad over these small dings after putting in so much effort! Thanks for any help! Sarah @dwellonjoy.com
This comment has been removed by a blog administrator.