• About
  • Contact
  • Advertise
  • Privacy Policy
  • Copyright & Disclosure
  • Subscribe
    • Bloglovin
    • Facebook
    • Instagram
    • Pinterest
    • YouTube

Life at Cloverhill

  • Main
  • Home & Garden
    • Cloverhill Farmhouse
    • January Declutter Detox
    • Cleaning & Organizing
    • Gardening
    • Our Backyard Chickens
    • Previous Apartments
  • Holidays
    • FREE Online Christmas Planner
    • Holiday Decor
    • Holiday Recipes
    • Holiday Projects
    • Holiday Gift Ideas
    • Holiday Organizing
    • Holiday Activities
  • Recipes
  • Create
    • Printables Vault
    • Everyday Projects
    • Seasonal Projects
  • Family
    • Baby
    • I Do
    • Travel

Christmas Craft Tutorial Holidays

Sparkly Clothespin Snowflakes

It’s amazing how easily household items can be transformed into something beautiful and festive. It goes to show you that you don’t have to spend a fortune on decorations to create the look you’re going for. These Sparkly Clothespin Snowflakes use everyday clothespins, craft paint and glitter.

 
clothespin-snowflake

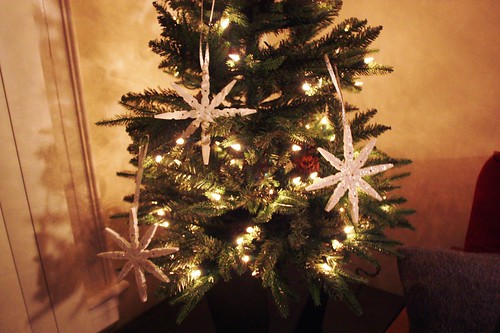
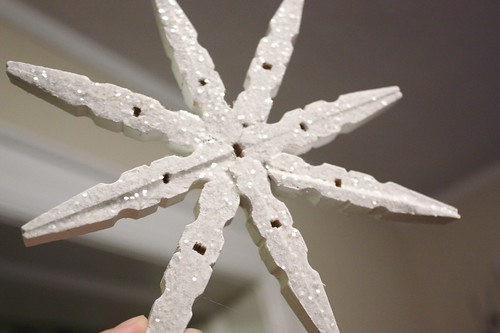
We haven’t decorated our tree yet, but I used it to test out how the clothespin snowflakes’ glitter sparkled with the twinkle lights.

 
clothespin-snowflake
 I loved how they caught the light and bounced it all over the room.
 
clothespin-snowflake

Not only are they inexpensive, but they are also easy to make. You can even have kids help you with painting them and adding glitter.
 

What you’ll need to make Sparkly Clothespin Snowflakes

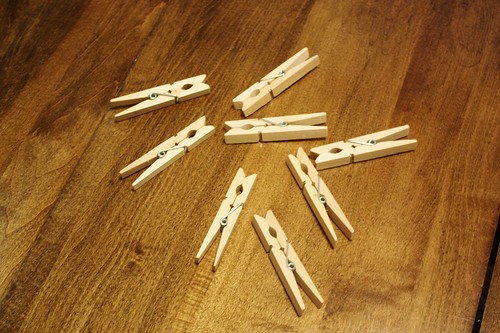
  • Wooden Clothespins (8 for each snowflake)
  • Craft Glue
  • Hot Glue Gun with Glue
  • White Acrylic Craft Paint
  • White Glitter
  • Silver Ribbon


For each snowflake, you’ll need 8 wooden clothespins. I was able to find a 50 pack for $1.98, which would make 6 snowflakes.


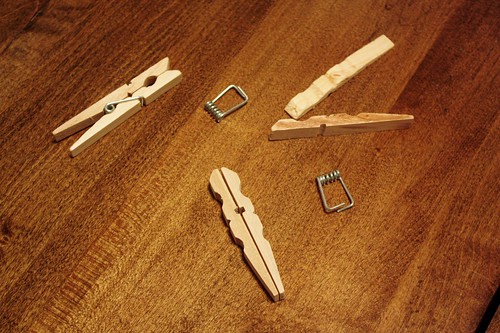
Take each clothespin and pull it apart, removing the metal spring. Take the two wooden pieces of the clothespin and put them back-to-back, like the bottom clothespin in the picture above.


Glue the two pieces together with craft glue, and then let them dry.


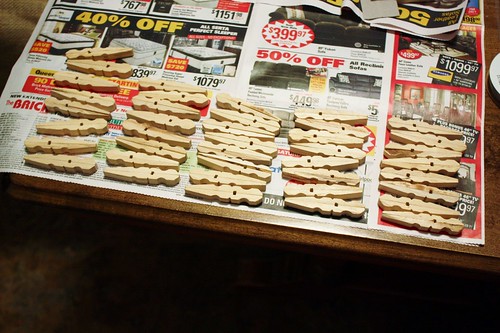
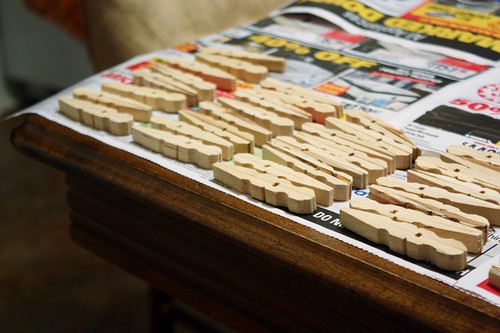
If you want to, you can also sand them a bit after they have dried, to make them smoother.


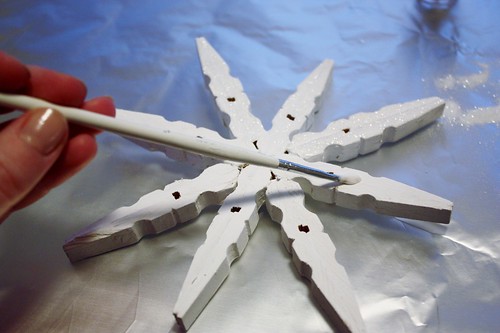
To put the snowflakes together, take 4 of the glued clothespins and glue them together in a plus sign using a hot glue gun.


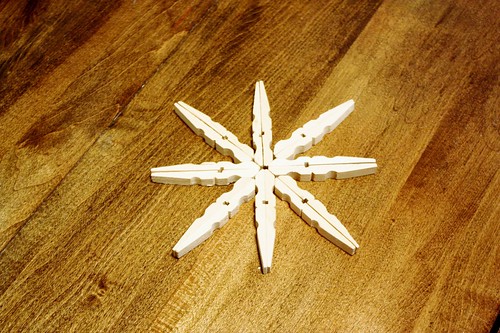
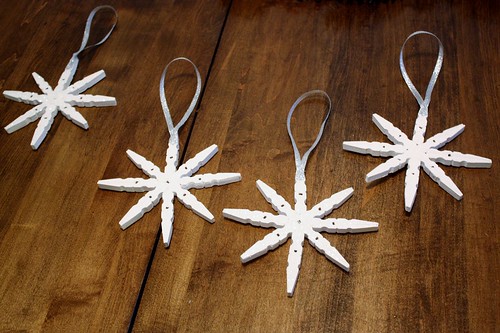
Then added the four remaining clothespins to the spaces between the glued clothespins. Glue in place with hot glue.


Paint the snowflakes using white acrylic paint and let dry.


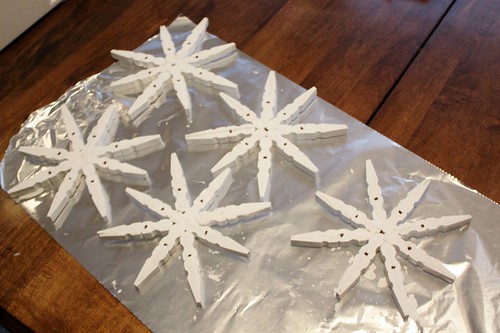
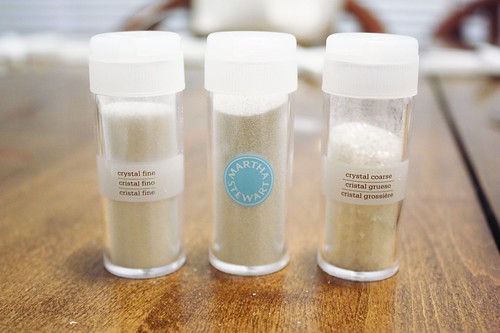
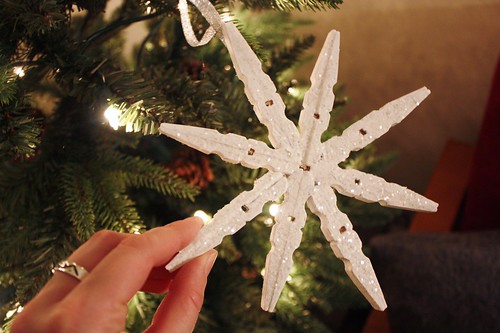
For glitter, I went with Martha Stewart’s crystal fine and crystal coarse white glitters. They were a little more expensive than regular glitter, but the effect they created was perfect, and I only needed to use a little bit.

clothespin-snowflake
Using a small paint brush, apply craft glue to the front of the snowflake.


clothespin-snowflake
Sprinkle the glitter all over the glued areas, make sure to thoroughly cover them.


clothespin-snowflake

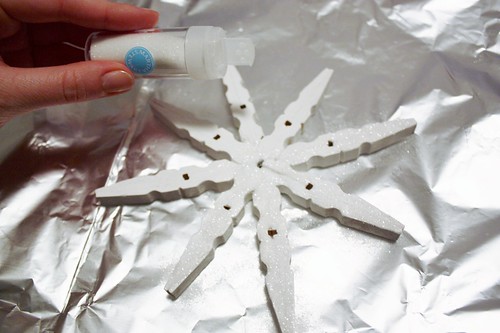
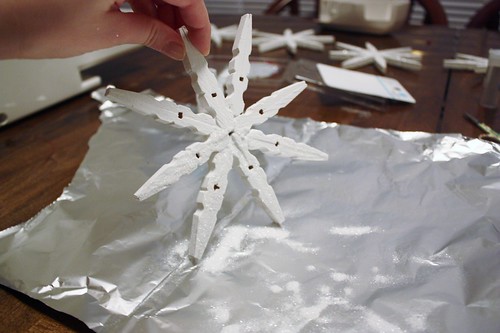
Tilt the snowflake and tap off any excess glitter. I was able to pour this back into the containers afterwards, so there wasn’t much glitter wasted. Allow the glue to dry and then flip the snowflake over and complete the process on the other side.


clothespin-snowflake
I ended up doing half of the snowflakes with the fine glitter and half with the coarse glitter. I love how they catch the light.


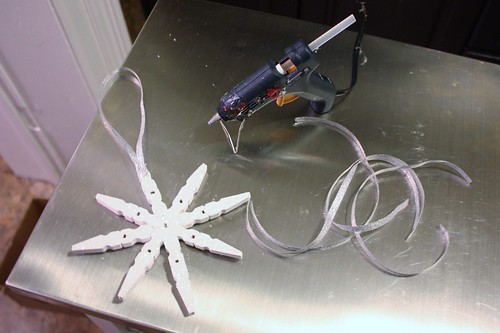
After the glitter and glue has dried, take pieces of silver ribbon and make into a loop. Hot glue onto the top of the snowflakes.


clothespin-snowflake
Let the hot glue dry and then they’re ready to hang up!


clothespin-snowflake

MORE HANDMADE CHRISTMAS ORNAMENTS

  • mini-yarn-ornaments-feature
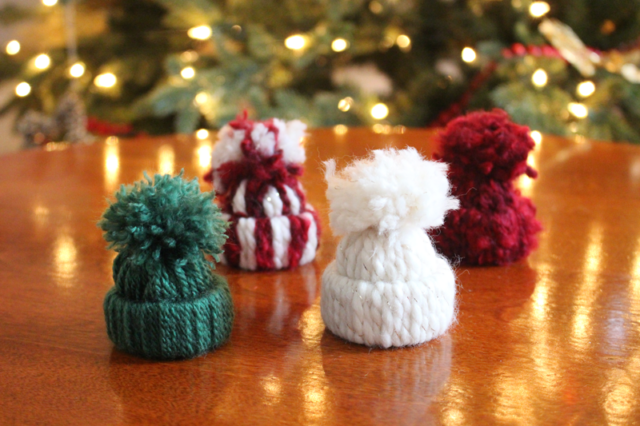
    Mini Yarn Hat Christmas Ornaments
  • dried-orange-slice-ornaments
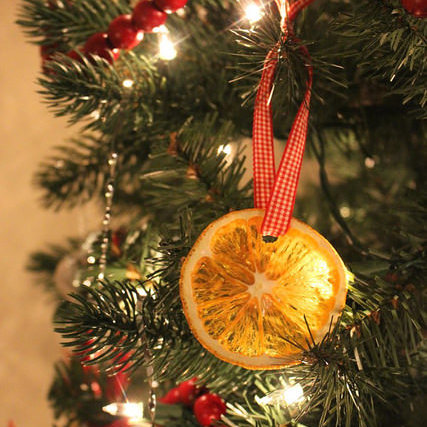
    Dried Orange Slice Ornaments
  • gingerbread-man-ornaments
    Gingerbread Man Ornaments
  • simple-felt-ornaments
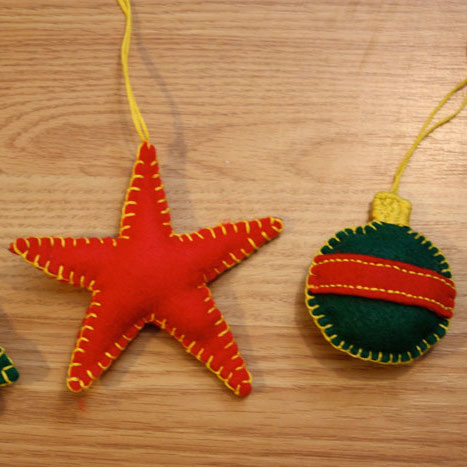
    Simple Felt Ornaments
  • christmas-gender-reveal-ornament
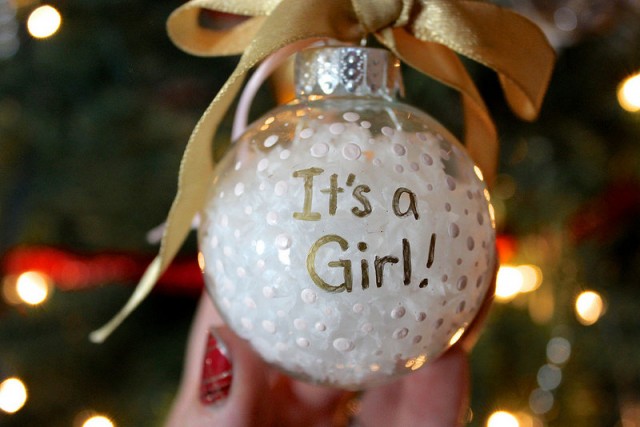
    Christmas Ornament Gender Reveal
  • handstitched-babys-first-christmas
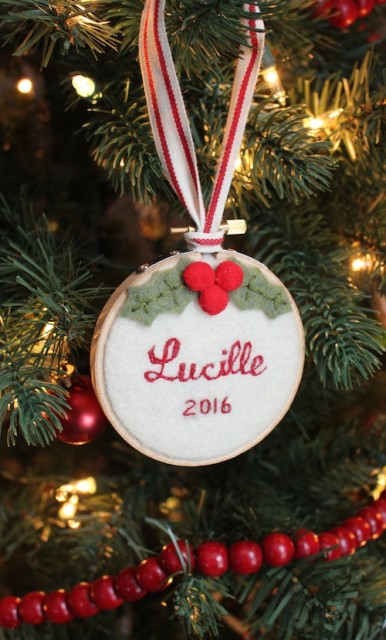
    Hand Stitched Baby’s First Christmas Ornament
  • santa-cheeks-christmas-ornament
    Squeeze Santa’s Cheeks Ornament

Share this:

  • Click to share on Pinterest (Opens in new window) Pinterest
  • Click to share on X (Opens in new window) X
  • Click to share on Facebook (Opens in new window) Facebook
  • Click to email a link to a friend (Opens in new window) Email

Related


« Advent Calendar Cookie Jar {Sewn Paper Pouches}
Peppermint White Chocolate Cake »

Comments

  1. Tutus & Tea Parties says

    November 27, 2012 at 3:03 pm

    I love that you used clothespins! These look awesome! I have to make some and maybe even use them on gifts this year. So easy, but beautiful!

    Thanks for participating in our swap. Hope you sign up for next year too. 🙂

  2. Andrea @ Decorating Cents says

    December 4, 2012 at 9:48 pm

    Very cute. I’m got tons of clothespins laying around. My daughter would love this.

  3. Our Pinteresting Family says

    December 7, 2012 at 3:32 am

    Those are so creative and beautiful. Great work!

  4. Dewdrop Gardens says

    December 8, 2012 at 12:33 am

    How adorable! I love these snowflakes, I’m going to pin this so I can make these with the grand-kids.
    Saw you linking at Inspiration Friday.
    Debbie 🙂

  5. Becky Cairns says

    December 2, 2014 at 2:42 pm

    Totally inspiring to make such wonderful sparkly start ornaments from clothes pegs. I have reposted on my blog as part of a round up of Top Ten Christmas Clothes peg crafts. Becky http://www.pebbleandscribble.com

Hi, I'm Amanda! Join me as I make my family's 1903 farmhouse into a home. I share renovations, DIY projects, recipes, our flower farm and the joy of living in the Canadian countryside
More About Me

Archives

Categories

Copyright © 2025 · Divine theme by Restored 316

Copyright © 2025 · Divine Theme on Genesis Framework · WordPress · Log in