I love brownies. They are the perfect chewy and chocolatey treat. I love them homemade, from the box mix, from a bakery, in any form (as long as they don’t have nuts. Don’t want to die or anything).
But I have to admit that I had never ever ever tried a “brownie bite”. I kept hearing about them and seeing them, but it is really hard to find them anywhere nut-free. So I decided to make some of my own…

And then I went crazy…and added peppermint, covered them in chocolate and sprinkled crushed candy canes on top. I would have tied a bow around them too if I could have.
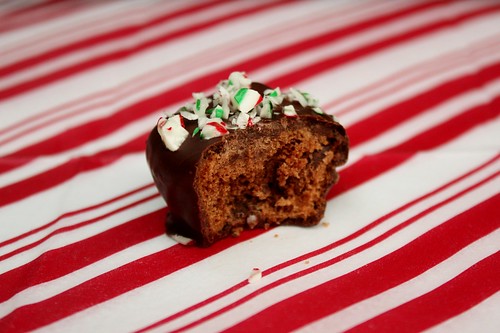

That is when I realized that they only thing better than a brownie is a brownie all dressed up for the holidays.
What you’ll need:
Brownie Bites:
- 2/3 cup shortening
- 1-1/2 cup packed brown sugar
- 1 tbsp water
- 1 tbsp vanilla extract
- 1/4 tsp peppermint extract
- 2 eggs
- 1-1/2 cup flour
- 1/3 cup + 1-2 tbsp cocoa
- 1/2 tsp salt
- 1/4 tsp baking soda
- 2 cups mint chocolate chips
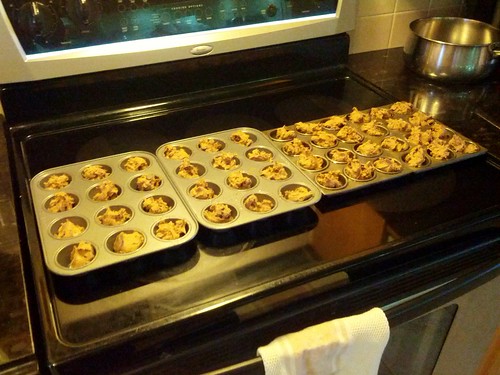
I baked the brownie bites at my parents’ house to take advantage of their stand mixer and oven, so please disregard the cell phone pics for the baking shots (I forgot my digital SLR at home. Oops. Blogger Fail.)
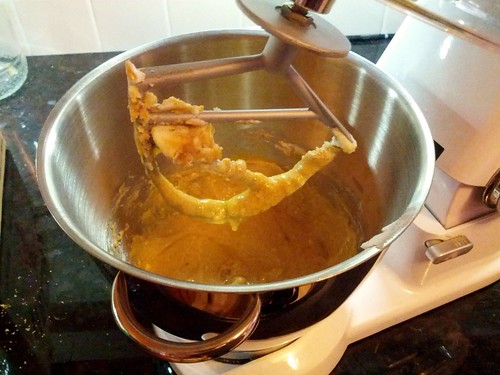
In a large mixing bowl, cream together shortening, sugar, water, vanilla and peppermint extract. Beat in the eggs.
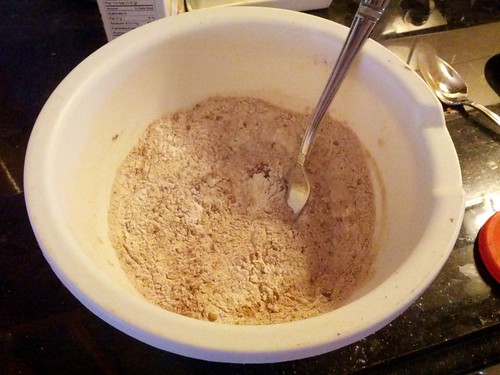
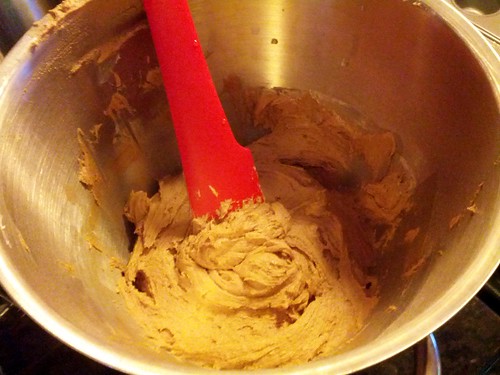
Gradually add dry mixture into creamed mixture, until just blended. Stir in chocolate chips. (My brownie batter came out a little light because I was low on cocoa, but it still tasted great.)

Leave bites in the pan for 10 minutes until they firm up a bit and then transfer for a rack to cool.
Chocolate Coating:
- 1-1/2 cup dark chocolate chips
- 1 tbsp shortening
- 1/4 tsp peppermint extract
- 2 peppermint candy canes, crushed


Melt chocolate in a microwave safe bowl for 30 second intervals until chocolate is melted. Stir in shortening and peppermint extract. Dip the brownie bite into the chocolate.
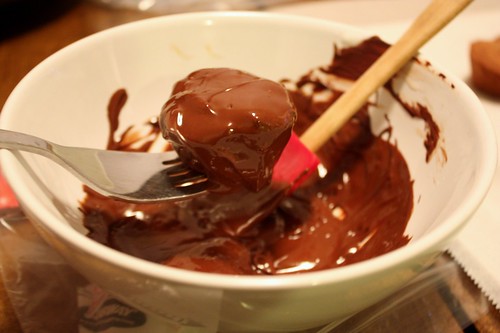
Use a spatula or spoon to scoop the melted chocolate over the brownie bite. Remove with a fork and lightly tap against the side of the bowl to remove any excess chocolate. Run the fork tines along the edge of the bowl to remove the excess on the bottom.

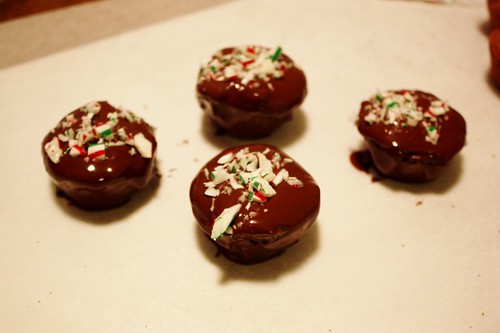
Place the dipped bite back on the parchment paper and sprinkle with crushed candy canes.
Makes 48 brownie bites, although not all of them made it to the chocolate coating process. I couldn’t resist a little sampling beforehand.

They look scrumptious. I’m pinning them for later! 🙂
Ooh! These look great. I am a big fan of brownies myself. Link up anytime to I Made It! Monday at Ninth Street Notions.
Thanks for letting me know about you link party. I’ll have to check it out!
These look delicious. I found your recipe next to my project at It’s Overflowing. 🙂 Megan
Thanks for stopping by, Megan! Just checked out your ice cream favours – great idea. Love the wreath too 🙂