I’ve been on a big Easter egg decorating kick. I’ve never been a fan of dyed eggs, mainly because the dye gets everywhere and I feel like it is a waste of a good egg, but decorating styrofoam eggs or plastic eggs is still plenty of fun and it has the added bonus that you can use them again the next year.
For this year’s Easter decor, I am going to use the Painted Robin’s Eggs last year, as well as the Twine Wrapped Eggs from earlier this week, but my brain kept churning ideas for other ways you can decorate an egg.
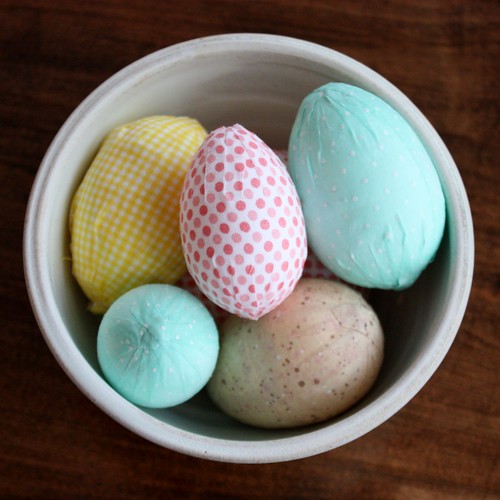

What you’ll need:
- Cotton Fabric (fabric scraps work great!)
- Mod Podge – Matte Finish
- Styrofoam Eggs or Plastic Eggs
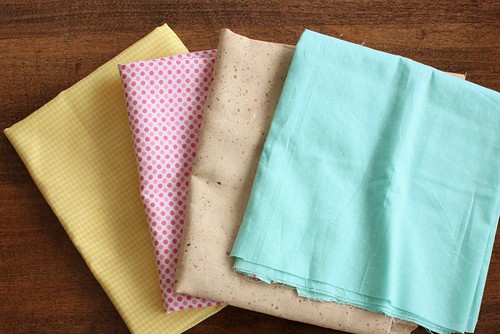
I picked up some fresh spring fabrics for this project – yellow gingham, pink polka dots, soft brown speckles (like an egg!) and turquoise with a subtle white polka dot. Each egg didn’t take much fabric, so you could easily do it with fabric scraps if you have any on hand.

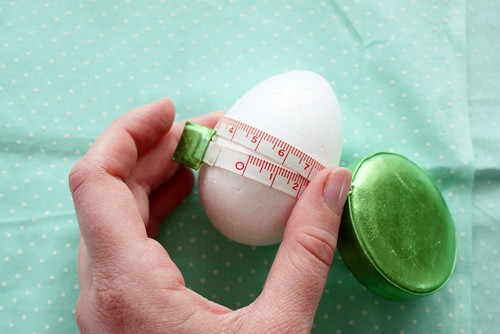
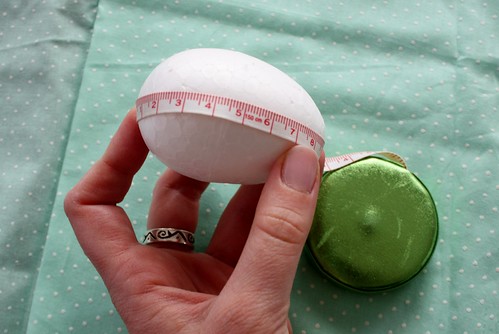
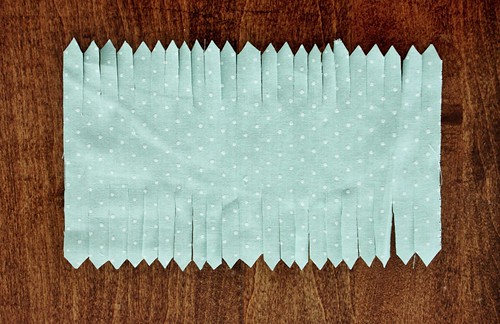
Use these measurements to cut a rectangle of fabric. Using scissors, cut slits along the entire length, making sure leave about 1/2″ to 1″ left in the middle, depending on the size. Cut the end of each strip of fabric into a point.
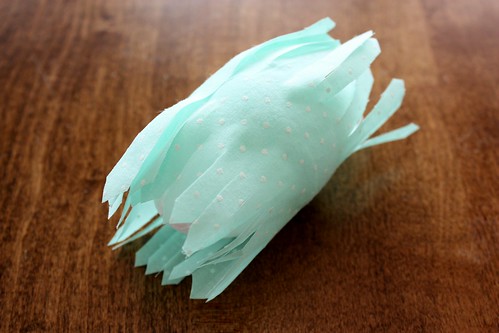
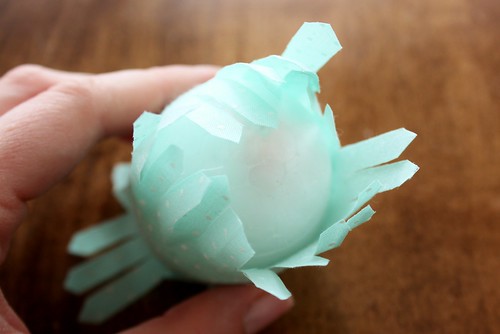
Add glue to the bottom of the egg, and begin to push down each strip of fabric on that side. Add more glue as needed. Repeat on the top of the egg.
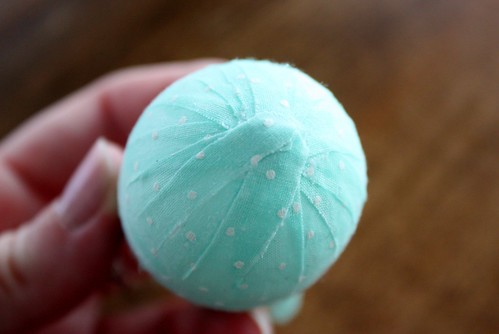
I added a bit more mod podge on top of the ends of fabric to keep them glue down. To prevent too much fabric from building up, you can trim some of the strips of fabric as you go around, so that you are not overlapping as much.
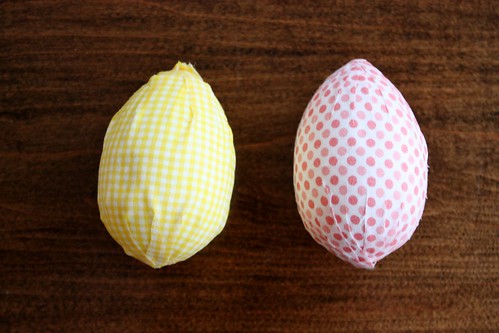
On this yellow egg, I made the mistake of not cutting the slits close enough to the center and they began to pucker as I pulled the ends down. On the pink egg, I cut the slits closer to the middle, with only about 1/2″ of uncut fabric in the middle. I also made sure to trim any extra fabric on the last few strips of fabric I put down on each end, and this helped prevent too much build up on the ends.

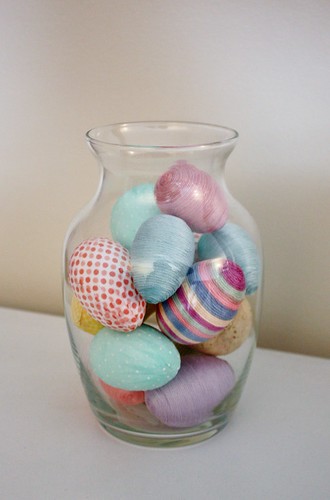
I still haven’t finished my Easter decor yet, but for now I have all the Fabric Eggs and Colourful Twine Wrapped Eggs in a glass vase on the mantel.

You can also add them to a Cat Grass Centerpiece like this one I made last year, using the Robin’s Eggs.

Cute! I am going to try these!
These are so cute! I was actually planning to gussy up some plastic eggs this weekend for some simple decor and I spotted this at Serenity Now. I have PLENTY of fabric scraps to use. Maybe I’ll try modge podging them using strips like paper mache? You are getting my wheels turning.
Great idea!~
Great idea, I wanted to cover some eggs with fabric (or maybe pretty napkins like I used to make a bunting for our faux “mantel”)… but I couldn’t figure out how to deal with the shape. Now I know. Thanks for the tutorial! And hello from B.C. 🙂
Krista
Those turned out really cute! I love the tip on cutting all those little strips on the ends ~ that looks like it really helps it all lay down.
I found you today at That DIY Party’s Linky. I hope you can stop by my blog and leave a comment, too!
~ Megin of Vmg206
http://www.vmg206.blogpsot.com
This is a great idea & all the different colors& patterns look so pretty! I am definitely going to try this…with 4 children running around these eggs are unbreakable and I love it! Thanks for sharing:)
Thanks so much for linking to Make the Scene Monday @ Alderberry Hill. You are being featured later today!
I hope you are having a wonderful weekend, and join me this evening for Make the Scene Monday #67!