I have a really hard time with headbands – plastic ones hurt my big ol’ head (leading to a day of headaches) and elastic ones slide right off. But I love the look of headbands! What’s a girl to do?
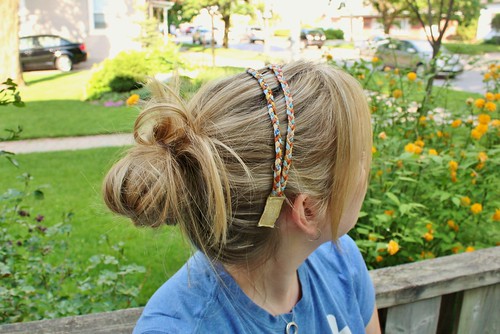 Make a clip-in headband!
Fun to wear and incredibly comfortable. All you need is some scrap fabric and a few snap clips.
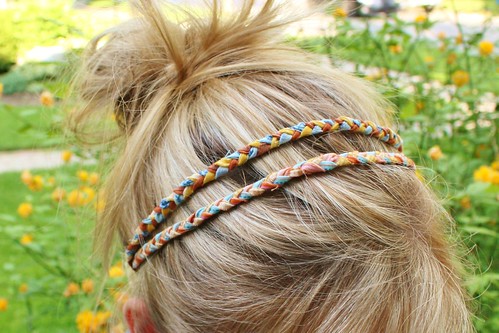 More often than not, my hair ends up in a messy bun on summer evenings, when it’s too hot to have my hair down. This little braided headband is a great way to make it look a little more fun – perfect for visits to the farmers market, music in the park and backyard barbecues.
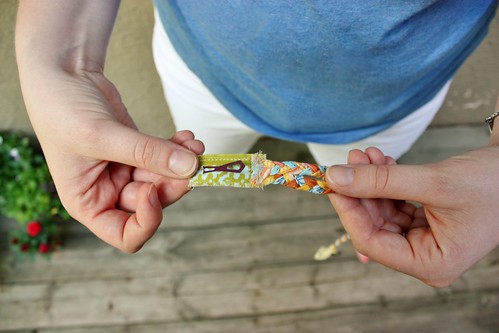 It is super easy to put in place – first, pop open the clips on both sides of the headband.
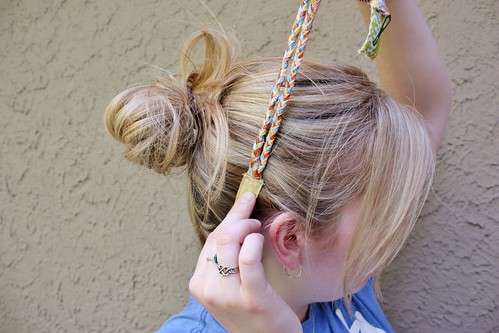 Hold the centre of the headband near the top of your head, using your other hand to slip the headband in behind your ear – as close to your scalp as you can. Press down to close the clip shut. You should hear a slight “snap” noise.
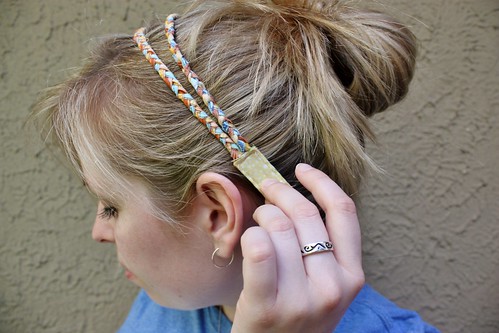 Repeat the process on the other side of your head. Ta-da! You’re done! Your headache free headband is in place!
This is a fun little project that took me less than 30 minutes to make. I’m going to whip up a bunch more in bright colours for the summer.
What you’ll need:
– 6 strips of fabric (18″ long) – 3 for each braid, add more if you want more braids
– 2 safety pins
– 2 small hair snap clips
– fabric scraps to cover clips
– sewing machine and coordinating thread
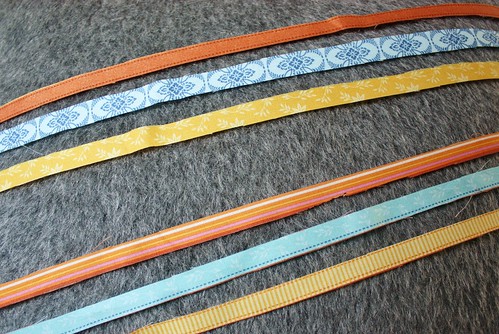 I picked out some fun orange, yellow and blue patterned fabric scraps from my sewing bin. This is a great way to use up fabric selvage as well!
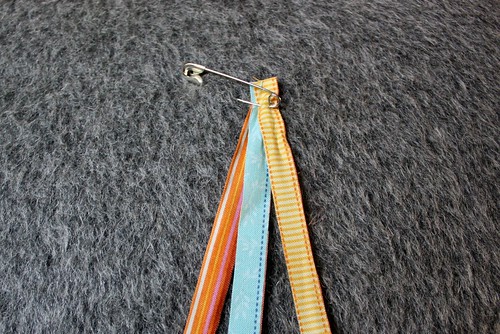 Gather three strips of fabric and pin them together. I pinned them to a pillow to make it easier to braid.
 Braid together.
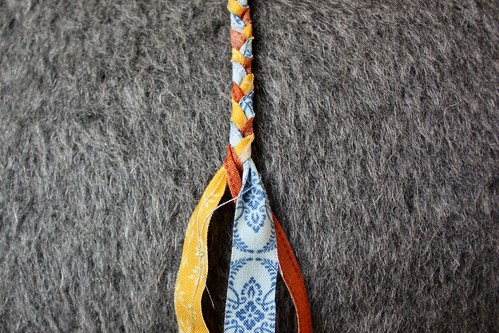 Repeat with the remaining three strips of fabric.
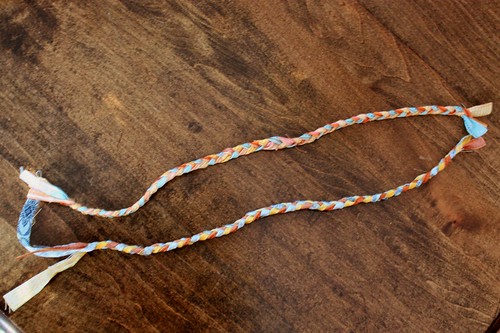 My braids came out to about 14″ when they were done. Measure them against your head to see that they will sit where you’d like them too. To really look like a headband, aim to have the ends tuck in right behind your ears.
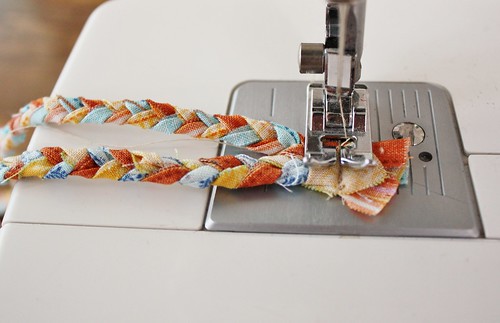 Match the ends of your braid together and stitch them together with a straight stitch. Repeat with the other side of the braids.
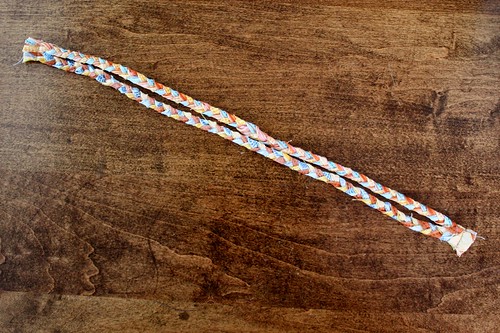 Snip any excess fabric from the ends of your braids.
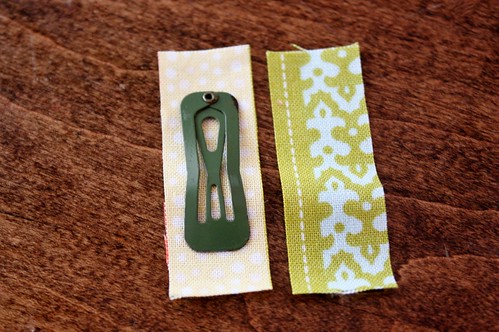 To hide the snap clip, make a little fabric cover for it. Cut two small rectangles of scrap fabric, with about a 1/4″ of seam allowance along the sides. With the wrong sides facing in, stitch along the two long sides of the rectangles.
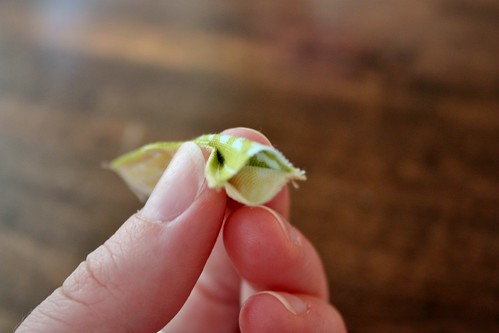 This should give you a little sleeve. Pinch the sleeve together to make it into a tube.
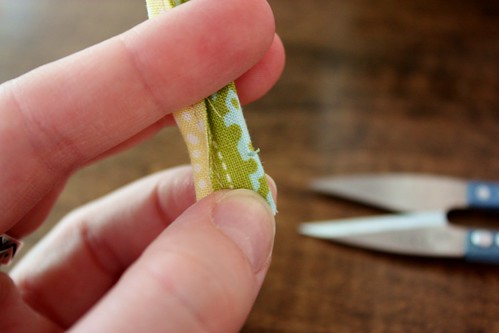 Fold the tube in half and make a small cut on the back side of the tube, just big enough for the bottom part of the snap clip to fit through.
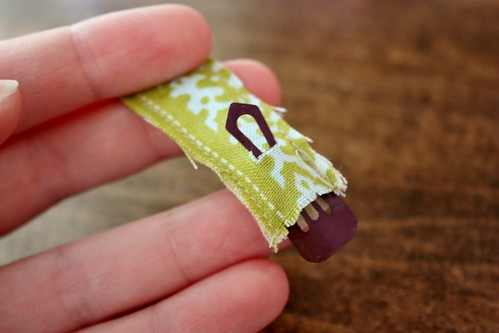 Flatten out your tube again. With the snap clip open, slide it into the tube, pushing the bottom piece through.
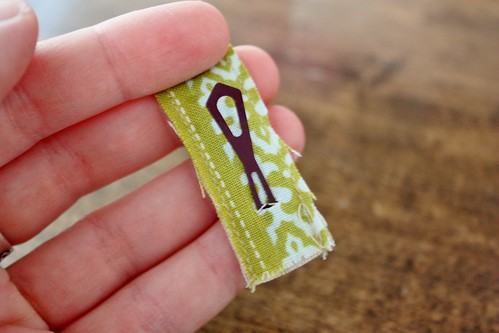 Push the clip in all the way and snap closed. This will hold it in place while you sew.
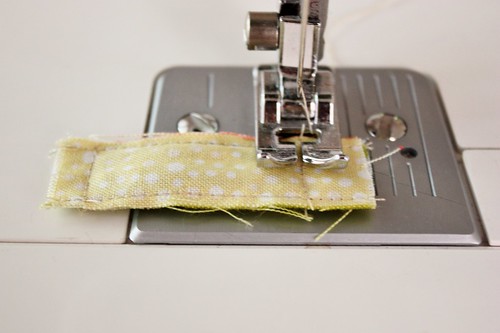 Straight stitch across the bottom and top of the sleeve, getting as close as you can to the clip.
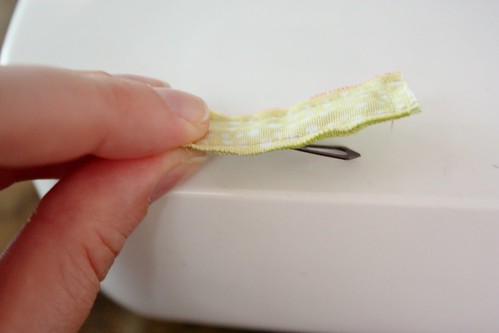 Now you have a fabric covered snap clip! Repeat with your remaining snap clip.
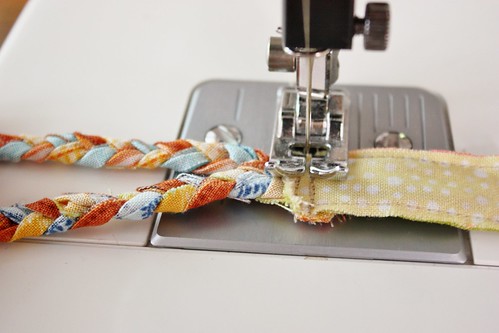 Line up the straight stitch of the braids with the straight stitch on the bottom part of the fabric covered snap clip.
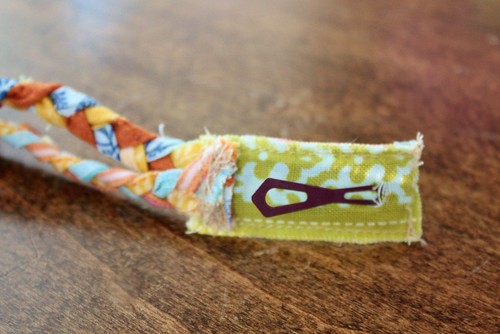 You want the opening of the snap clip to be facing the braids – this way it will stay securely in your hair when you clip it in. If you have it the other way, it will just slide off over time.
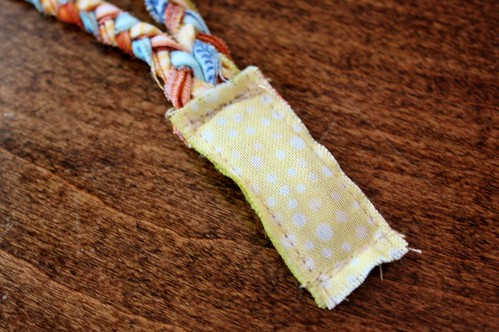 Attach the other snap clip to the other end of the braids, making sure to have the opening facing the braids.
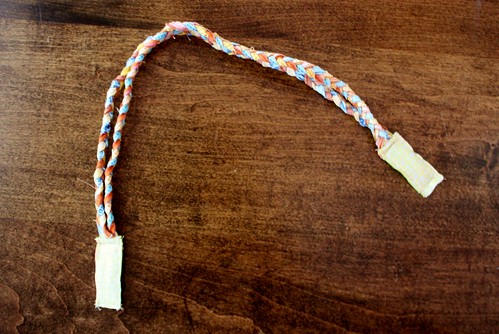 Once it’s all sewed together, you’ll have a fun, soft, rustic style headbands – with no headaches or slips!!
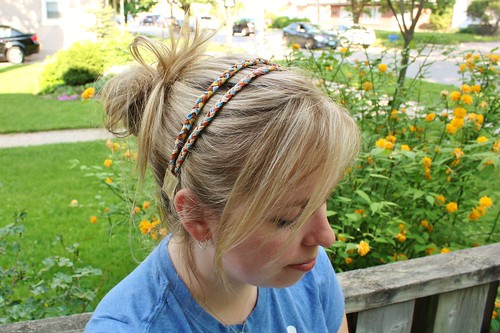 Throw your hair up into a messy bun, snap your new headband in and you’re good to go!
 You can wear it with you hair down too, although it isn’t really strong enough to “hold back hair” – it’s all for decoration. It looks great in a half-up do too!
Your braided headband is so cute! What a great idea to hide a clip in the fabric. I made a few braided headbands but they would always slip off, even if they tied on. I’ll have to try this. Its such a cute look!
Thanks! I just got so tired of headbands slipping off or giving me headaches. I haven’t had any problems using this one!
That is without a doubt the simplest great looking headband !
I make just breads to size normally but I am also gonna start making these if you don’t mind.I run a tiny communal project for recycled items in Nicaragua and I would love if you were to give me authorisation to make and maybe also teach locals to make them.Either way I am making some for myself ! thank you so much for sharing.
Thanks Sylvia! I’m glad that you like it so much!
I LOVE this idea. I have the same problem with headaches and elastic headbands. I might also try to modify a store-bought elastic headband by moving a section and adding clips to see if I can get a slightly more polished, less DIY look. Super, super excited. Thank you for sharing!
I love the idea of a polished version! Send me a pic if you do it!