I’ve always been a big fan of vintage wooden signs. Original ones are the best, but I’ve seen some amazing reproductions as well. I decided to take the plunge and make my own. If it didn’t turn out, I could just sand it down and start again, right?
 It turned out to be much easier than I thought and my first attempt was better than I expected. We’d been looking for a way to add some artwork or more colour to our tiny bathroom and an old sign seemed like the perfect solution.
 The real purpose of the sign was to hide this ugly metal circle that sits on the wall. It became really noticeable when we added in the Bathroom Hooks.
 The new sign hides it, while adding a little more texture to our all white bathroom.
 I gave it a distressed look, as if it had been sitting around for years.
 Rather than just saying “bathroom”, I went with a little nod to one of my favourite oldies by Bobby Darin.
What you’ll need:
- Solid Wood, cut to size.
- Wood Stain
- Sandpaper
- Printed Text
- Acrylic Paint
- Clear Acrylic Spray
- Picture Hooks
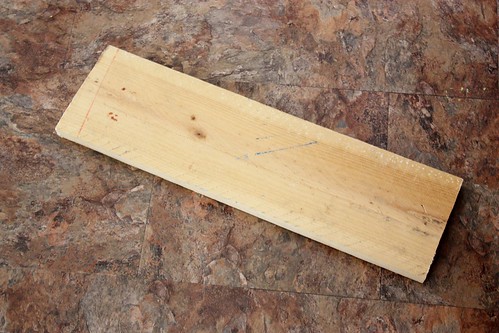 Last fall, I found this perfect piece of scrap wood on the side of the road. I didn’t know what I wanted to do with it at the time, so I tossed it in the front hall closet. Six months later I was struck with the idea to make the sign and remembered about that piece of wood. One quick check and it was the exact size of the piece I would need to make a bathroom sign. It seems like this little piece of wood was destined to be something else.
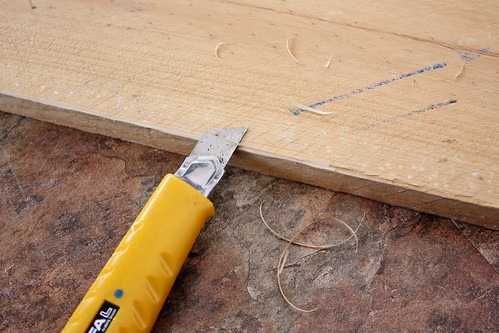 To roughen up the edges a little more, I took a utility knife and sliced the edges off the entire board.
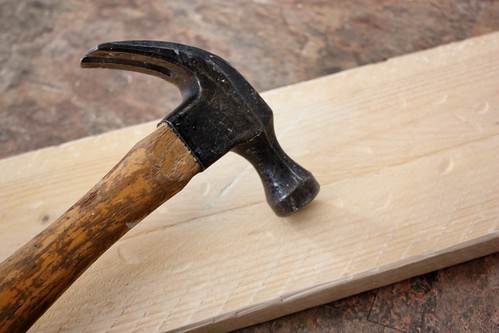 Using a hammer, I beat up the top and sides of the wood a little bit, similar to what I did when I made the Necklace Hooks. It adds texture and makes it look a little more worn.
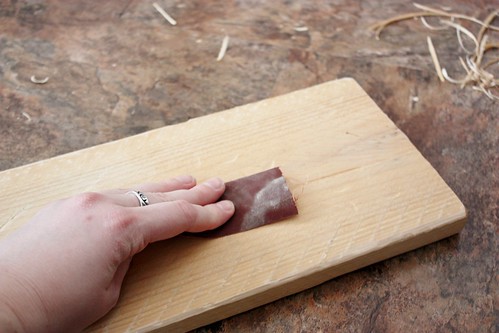 Finally, I sanded all the rough edges down and gave the whole board a light sanding.
 To give the wood a darker colour, I used Minwax’s Wood Finish in Jacobean. It is the same stain that I used when I refinished the Dining Room Table.
 I love how it brings out the rich tones in the wood and gives all the distressing some contrast.
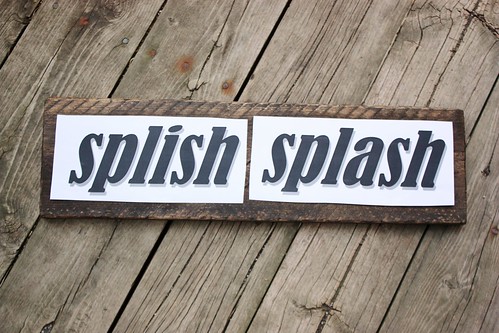 To create the text, I typed “splish splash” into Microsoft Word and found a font that I liked. You can create the shadow under the “font” tab. Play around with it a bit until you get the right angle for your shadow.
 After I was sure that the text was the right size, I flipped over the paper and began to shade the entire back with a pencil. Do you remember doing leaf rubbings as a kid? Well we’re going to use that same method to transfer the text to the wood.
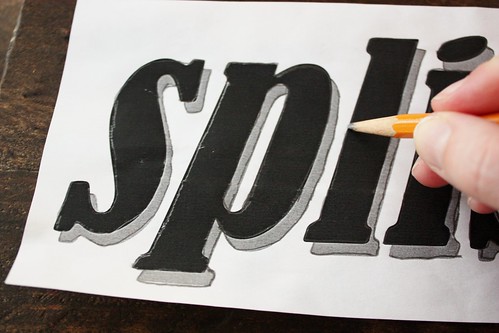 Place the paper right side up and position it where you’d like the text to go. Tape it down with some painters tape to keep it in place and start to trace the edges of the font.
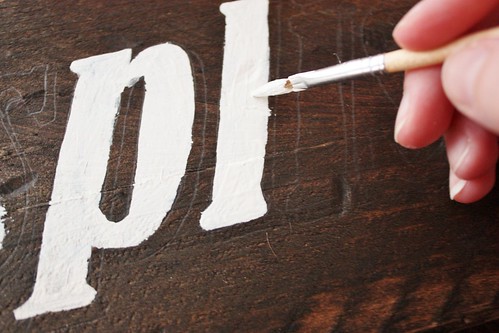 Using a small paint brush, paint in your letters. I went with a vanilla white acrylic for the main letters.
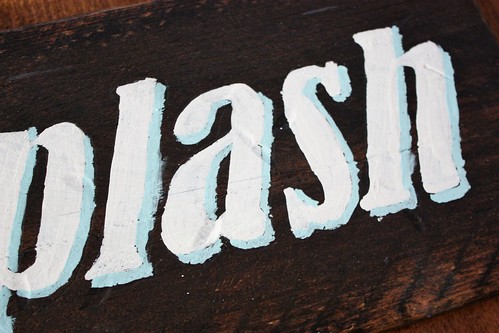 For the shadows, I chose a soft blue acrylic paint, and just painted in the lines roughly. I wasn’t too concerned with it being perfect because it was still going to get a little more distressing.
 Let the paint completely dry. I let it sit overnight, just to be sure.
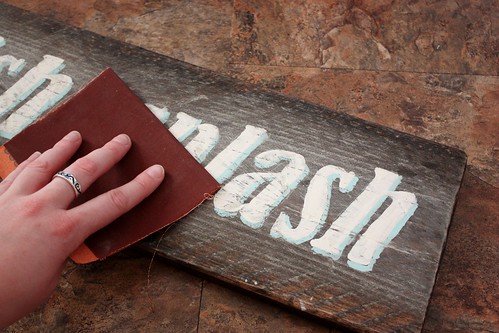 Take a piece of fine sandpaper and lightly sand the entire surface to remove some of the paint. This will create a distressed look, like its been worn off over time.
 Due to the chalky nature of acrylic paint, the sanding creates a slight film all over the wood. Use a damp cloth to rub off some of the excess.
 Once most of the chalkiness was cleaned up, the distressed letters really start to pop!
 With the sign hanging up in the bathroom, I was concerned about what moisture will do to the wood. I sprayed on a couple of thin coats of this Krylon Satin Finish clear acrylic spray. Its the same spray that I used when I preserved dried acorns last fall.
 All done! Now we just need a way to hang it up.
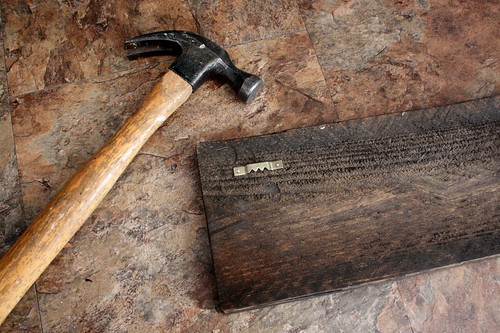 I attached two picture frame hooks to the back and then hammered a couple of nails into the wall.
 I am so happy with the results. It adds a nice little touch to our itty bitty washroom.I smile every time I see it in the mirror while brushing my teeth. By hanging it on hooks, rather than nailing it into the wall, we can take it with us when we move someday.
 It ties in nicely with the wood tones in the wood basket on the bathroom shelves as well. All these little touches really add up to making an otherwise dull bathroom feel cozy.
Ohh, I love this! Great job! I always wondered how to get the letters on something….the pencil trick is genius. You’re right, it takes me back the days of school time pencil rubbings. 🙂
This is so cool! I love the stain color and all your distressing. I totally want one for my house!
There are so many possibilties for this skill. I love how it is very much like the type of signs you see in high end gift shops. Beach this Way – Welcome to the Lake – Canoe Lake – Bars Open – the options are endless.
I love it. Creative, and I love the very clear tutorial on how you did it! Thanks for sharing this! It gives me an idea for a piece of plywood that’s just been sitting in our garage!
It looks great Amanda! I plan to make a big sign like this really soon to hang over our newly chalk painted TV stand… thanks for the tutorial:)
Krista @thehappyhousie
Found you through YHL. Love these signs–they have so much personality! 🙂
I love this! It looks great!
love it!
//justynn
I love the color in the shadow detail! I just made a laundry sign and it perks me up every time I go in that tiny room to do that GIGANTIC chore. I hope your little sign makes you happy in your little room, too!
http://graceandjoygirl.com/2013/05/01/so-fresh-so-clean-a-laundry-room-sign/
Just checked out your sign – love it! Awesome lyrics (and hilarious that your kids now know it from bathtime)
Nice sign. I have seen something similar done using carbon paper to trace the wording onto the word, Another way is to use vinyl lettering, have a look at http://www.livelaughlove.co.za for vinyl lettering ideas.
It is always interesting to see how different people make these wooden signs. Great job!