
I decided on some soft, hand painted linen tea towels. They have the luxurious feel of linen with a basic painted line design, but they add a lovely touch to the kitchen. She was absolutely thrilled when she got them. If you’re looking for a fun summer craft, give this a try! It was simple to make and the results are great.

What you’ll need:
- Linen or Cotton Tea Towel
- Fabric Medium (I used Martha Stewart’s Fabric Medium)
- Acrylic Paints
- Paint Brushes
- Butchers Paper or Plastic Table Cloth (to protect your work surface)
- Painters Tape or Frog Tape
- Ruler or Quilting Ruler
- Apple (for inspiration…or a snack)
The fabric medium is what will keep the paint thin, soft and washable. At first I was concerned that you maybe needed the Martha Stewart line of acrylic paints to achieve good results with the fabric medium, but it worked fine with the generic paint acrylics I had on hand.

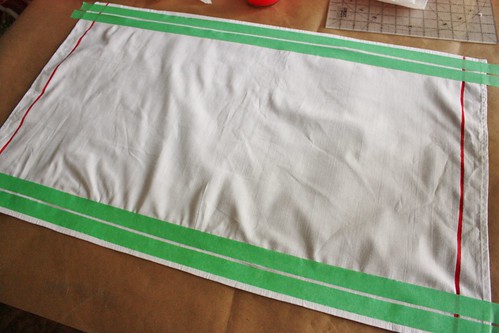
Start by making one set of lines (either vertical or horizontal). Use a ruler as a guide for how far you want your lines from the sides.


To mix up the fabric paint, I combined 2 parts acrylic paint with 1 part fabric medium, stirring really well to make sure it was combined. Dip the brush in the paint and then dab some of the excess off on a piece of paper towel or rag. Lightly brush the paint onto the fabric in even strokes.
Carefully remove the tape while the paint is still wet then allow to dry for 5 minutes before you tape down the lines in the other direction.
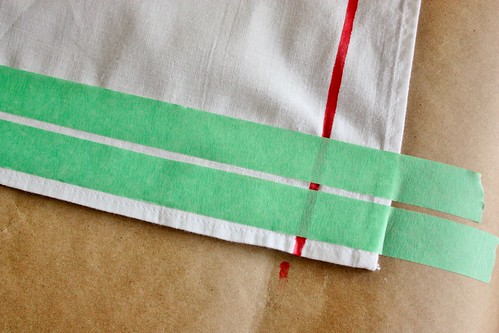
Make sure that the tape is pressed down firmly along the tea towel and onto the butchers paper. Paint this line the same as you did the one in the other direction.
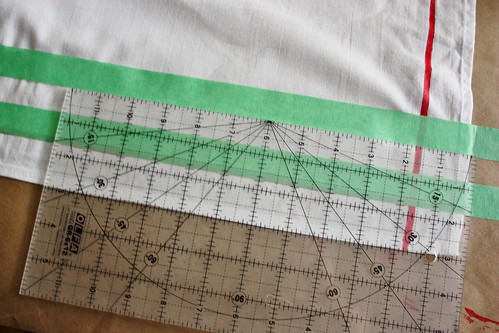
To make another set of thicker lines, complete the process again, making the space between the painters tape larger. It was helpful to lay my quilting ruler down on the fabric and use it as a guide of where to press the tape down. You can do this with a regular ruler as well.

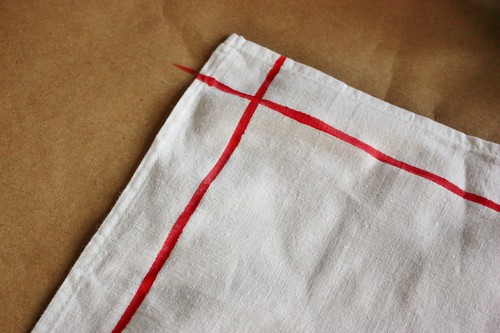
Once you’ve painted both the horizontal and vertical lines, you’ll have a fun vintage tea towel like this one. Don’t worry if you have a couple of spots where the paint leaked past the painters tape – it adds to the charm!

I decided to paint a little apple design on the left corner – inspired by my snack and also a little reminder of our hometown, Thornbury, which is in Ontario’s largest apple growing region.
I made a simple hand-drawn design on a piece of cardstock and then slipped it under the tea towel where I wanted it. The pattern was visible through the fabric and I just hand-painted the design with a fine paint brush, using small strokes.
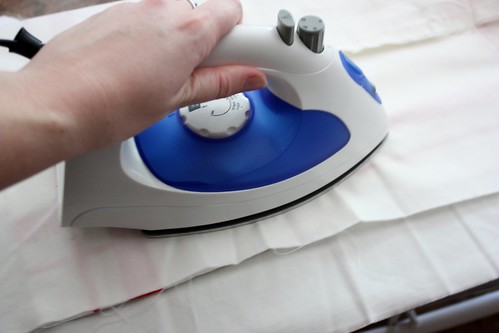
Allow the painted tea towel to air dry for 24 hours and then seal the paint with an iron. I put the painted tea towel between two pieces of scrap white cotton, to keep the iron from making contact with the paint.


After I made the first one, I couldn’t stop. It was so much fun to do a little afternoon painting, and the results were so rewarding. They really did look vintage!


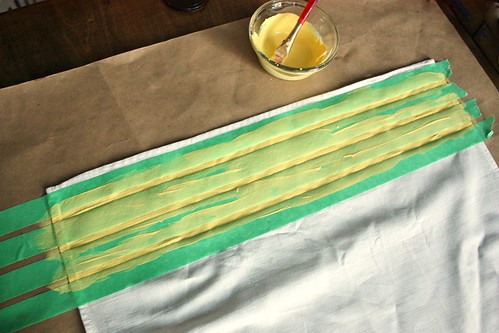 I made one last tea towel with a set of three thicker yellow lines as well.They come out so pretty, are surprisingly easy to make and are a great gift idea. You could use the same technique to make striped curtains, tablecloths, fabric napkins, pillows or even kids’ t-shirts.
How does the paint (with fabric medium) hold up in the wash? 🙂 This is just so pretty! (Visiting from A Glimpse Inside)
So far it has help up well. I’m not concerned about it looking a little aged over time because I’m going for a vintage look, but if it was a pattern that you wanted to preserve, I would recommend washing on a delicate wash.
Awesome job. I am working on a trunk. I want to put stripes on the tweed and think your method will work.
Thanks for sharing.
This idea is so cute! I just discovered the awesomeness that are flour sack towels, and I was looking for a way to add a personal touch. I found it! My kitchen also has a vintage vibe with a pop of red throughout, so this is literally perfect. Thanks so much for sharing your idea and great tutorial!