I was helping my friend Amy makes some freezer meals for her family a week ago and I was so excited when she said we were going to make perogies. Learning how to make homemade perogies has been something I’ve wanted to do for a long time. It’s important to me that I learn about Garrett’s Polish heritage and pass that down to our family someday, just as I want to pass on my family’s traditions too.

His grandmother makes the best perogies and I hope that I can learn her technique someday. For now, I’m happy to practice with this great recipe from Amy. They are so easy to make. It does take a little time to fill all the perogies, but once you get the hang of it, it goes by fast.
After my first bite of the homemade perogies that Amy and I made, I’ll never eat store-bought again! They are perfectly doughy on the inside and crispy on the outside. It’s a real toss up between which flavour I like best – cheesy-potato or cheeseburger. Now I’m excited to experiment with more flavour combinations.
Homemade Perogies
Scroll to the bottom for the full printable recipe
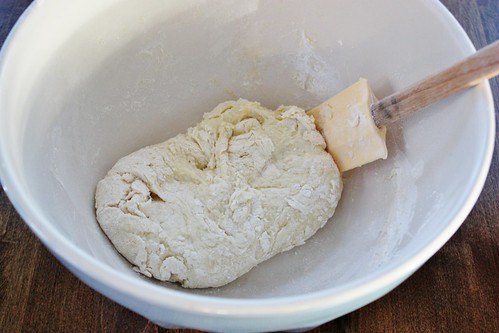
Mix all the dough ingredients together. Add enough flour to make the dough workable, but not too sticky.

Place the dough onto a floured surface.
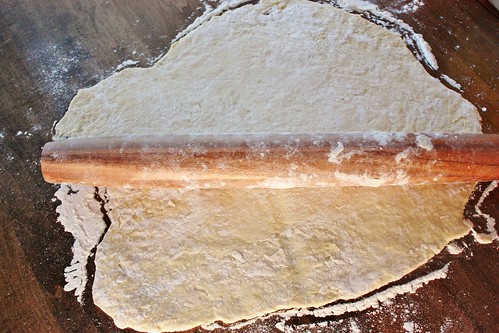
With a floured rolling pin, roll out the dough.
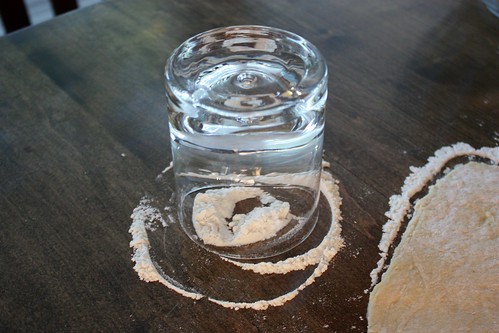
Flour the edges of a drinking glass.
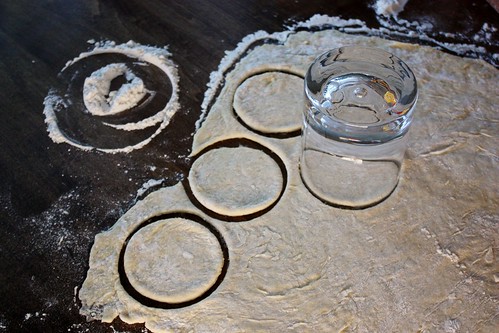
Use the glass to cut the dough into circles. You can re-roll the dough scraps to make more circles.

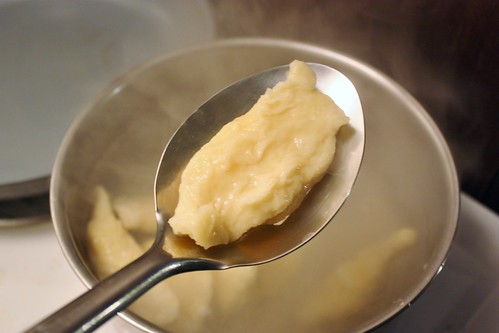
You can use whatever filling you like. For cheesy-potato perogies, boil 2 medium potatoes until fork tender.
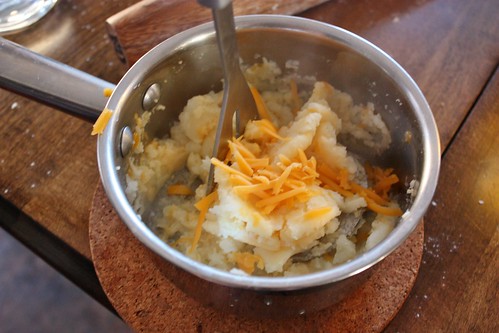
Mash with grated cheese.
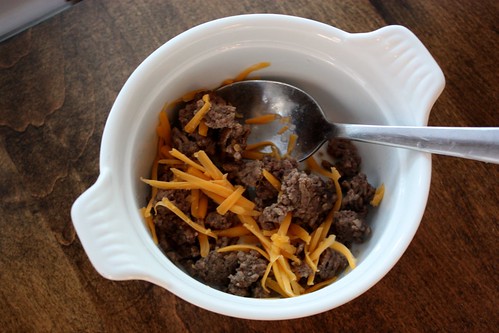
You can also make cheeseburger perogies with some browned ground beef and grated cheese.
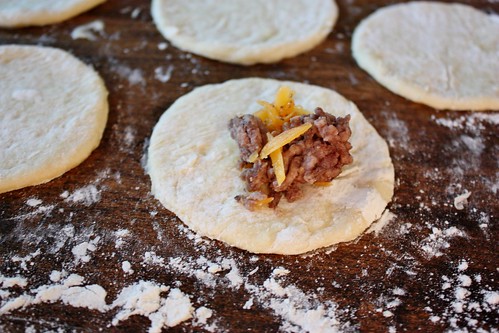
Add a tablespoon of filling to the center of each circle.

Fold the dough over the filling.
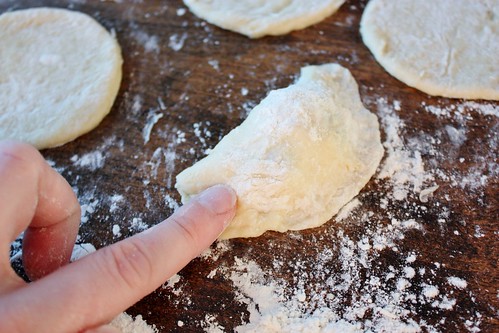
Using your finger, press down the edges to seal the perogi.
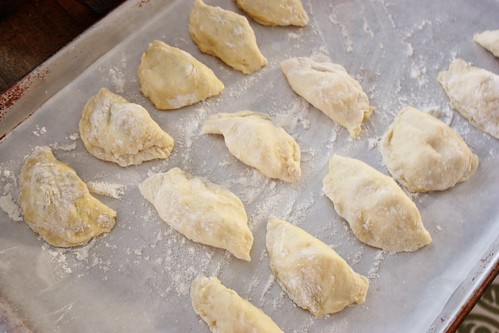
Place the finished perogies on a baking sheet lined with waxed paper and lightly floured.

Bring a large pot of water to a boil. Add the perogies to the boiling water in batches and wait until they float to the top.
When they float to the top, scoop them up with a slotted spoon.
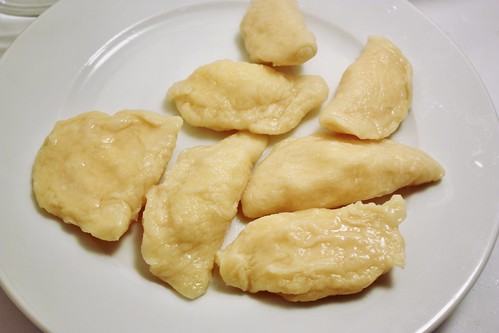
Set the boiled perogies aside while you could the rest in batches. You can freeze them now if you don’t plan to cook them right away.
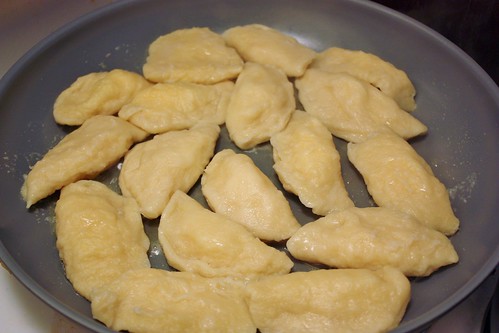
If you’re ready to serve them, place them in a single layer in a large frying pan on medium heat with some melted butter.
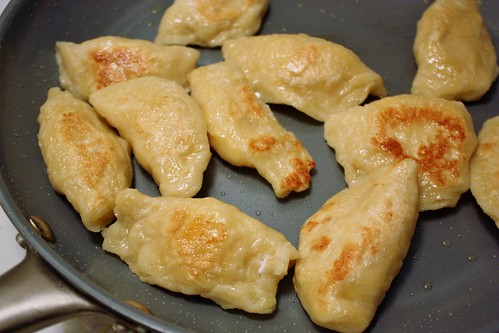
As soon as they started to brown and get crispy, flip them over and fry the other side.
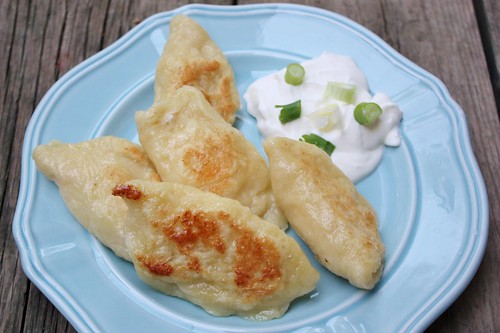
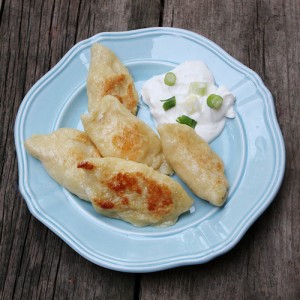
Serve them up with sour cream and sliced green onions. Salsa is great too!
- 2 eggs
- ½ cup water
- 1 tbsp melted butter
- 2 tsp salt
- 1-1/2 - 2 cups flour
- ground beef
- grated cheese
- mashed potatoes
- Mix all the dough ingredients together. Add enough flour to make the dough workable, but not too sticky
- Place the dough onto a floured surface and roll out the dough with a floured rolling pin.
- Flour the edges of a drinking glass. Use the glass to cut the dough into circles. You can re-roll the dough scraps to make more circles.
- For Cheesy-Potato Perogies: Boil 2 medium potatoes until fork tender. Mash with grated cheese.
- For Cheeseburger Perogies: Mix browned ground beef with grated cheese.
- Add a tablespoon of filling to the center of each circle. Fold the dough over the filling. Using your finger, press down the edges to seal the perogy.
- Place the finished perogies on a baking sheet lined with waxed paper and lightly floured.
- Bring a large pot of water to a boil. Add the perogies in batches to the boiling water and wait until they float to the top. Remove with a slotted spoon and set aside on a plate while you do the rest in batches. You can freeze them now if you don't plan to cook them right away.
- If you're ready to serve them, place them in a single layer in a large frying pan on medium heat with some melted butter. As soon as they started to brown and get crispy, flip them over and fry the other side.
- Serve them up with sour cream and sliced green onions. Salsa is great too!

thanks for the tutorial!
These look so delicious Amanda- such a weakness for me, I Love perogies. Pinning!
Thanks Krista! It’s dangerous for my waistline now that I know how to make them from scratch. They are just too good to resist!
My grandma was polish and would always correct me when I would pronounce this perogie.. she would say no it’s, pierogi. She would make mashed potatoe filled pierogi and sauerkraut filled pierogi. also prune filled pierogi (YUCK!) But, she made the best!!
Thank you! I’ve wanted to make pierogies forever, but never knew how! This is fantastic! Thank you so much for sharing!