If you’ve been stopping by this blog for awhile, you might know that I have a bit of a black thumb. While I love plants and flowers, I’m not exactly the best at keeping them alive. I’ve even gone so far as to buy a couple of fake plants so that I don’t have to worry about killing them.

My orchids from 2012 – long gone now.
Despite this, when my parents went to their house in Florida last fall, they gave me their orchids to take care of. It had been a long time since the flowers had fallen off, but the hope was that if they were well cared for, they may bloom again someday.

While I did water them as recommended, I also kept them in the hottest room of our house, and it wasn’t until I really took a look at them recently that I realized that they were seriously dehydrated.
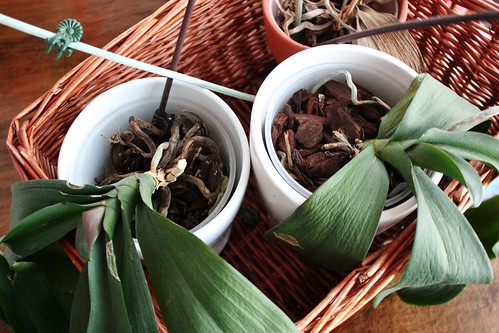
This is bad. The front two were savable, but the back one was toast. Sorry Mom.

Orchids are air plants (never knew that before!), so they like to be in soil that has good drainage and aeration. My mom picked up a bag of this Orchid potting mix with the hopes that the plants would be revived if they had new fresh soil. Orchids typically need to be repotted once a year soon after flowering or new growth appears.
She went with Schultz Orchid Mix which is supposed to be excellent for orchids and bromeliads. Many orchids grow naturally on trees and logs and this mix helps to improve drainage, aeration, moisture, and nutrient retention.
I’ve repotted plants in the past and had success (until I forgot to water them and killed them), so I was up for the challenge of giving this a try. I’ll let you all know how the results turn out!
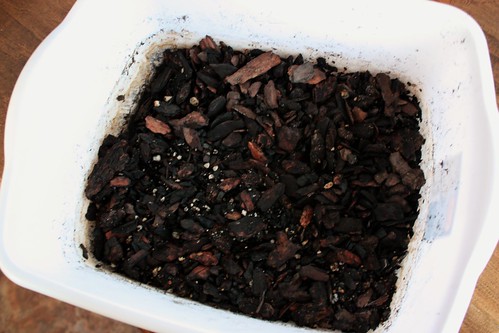
Repotting them was pretty easy. You need to pre-soak the mix for 24-48 hours, and then drain it well when you’re ready to use it. I found that you needed about 3 cups of mix for a 4″ pot.

Shake off any excess potting mix from the roots right into a plastic bag. Using sharp scissors, remove the dead roots and trim the healthy roots to about 6″.
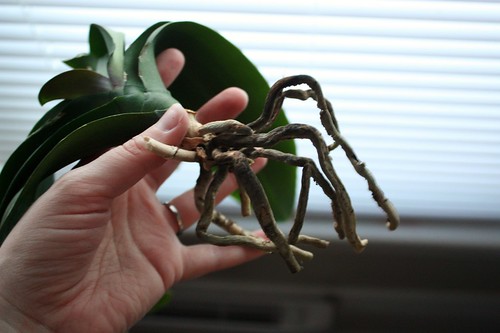
I was left with this little creepy spider like root system.
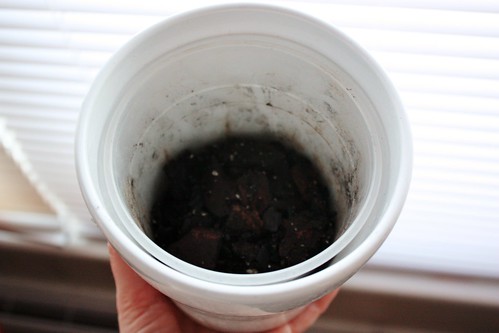
You should use a clean pot that allows 1-2″ for new root growth. Fill it up about halfway with the new soil mix.
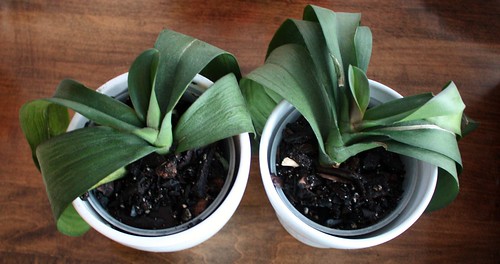
Position the plant in the center of the pot. Stake if necessary to keep stems from sprawling. Add mix around plant to cover the roots and fill pot up to 1/4″ from the rim. Water thoroughly to settle the mixture and add more mix as needed.
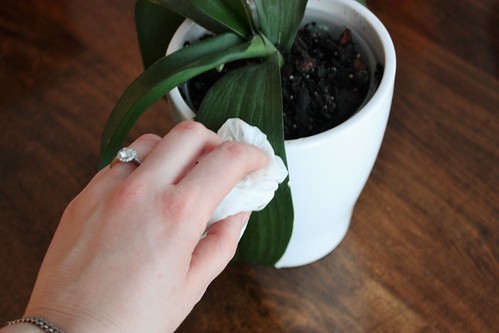
I also dusted the leaves off with a damp cloth. A little spring cleaning!
The orchids are back on the shelf in their new pots, and looking perky already (I think).
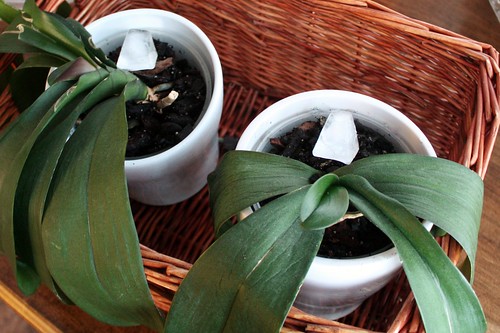
The next challenge is going to be keeping them properly watered – not this willy-nilly technique I was doing where I would water them every other week when I remembered. The soil around Orchids should be damp but not soggy. If you stick your finger into the pot and feel moisture, then it doesn’t need to be watered. For these plants, it seems like they need it about once a week. You should always water them in the morning, allowing them time to dry before nightfall and preventing fungus from developing. You can do this with a watering can, a mister or use the ice cube trick – pop an ice cube in the pot once a week, allowing it to slowly melt and water the orchid.
Anyone else have any luck with orchids?

I have always had a hard time with orchids. Love them, but never get them to rebloom!!
Just wanted to say I’m new to your blog and l love it
As for the orchids- the trick is to fertilize them monthly… And I use the ice cube trick – 3 ice cubes per orchid, once weekly. I think your parents’ orchids are going to make it!