Last week I was so excited to decorate some Easter eggs for our mantel. Aside from the Spring Blossom Wreath for the front door, I hadn’t done anything else to freshen the place up for the new season. Cute painted eggs on our mantel would be the perfect touch and I could hardly wait to get crafty.

It all started with a bowl full of fresh white eggs. I cleaned them, dried them and then attempted to do the technique where you poke holes in either end and blow the insides out with a straw. We always did the hard boiled egg method growing up, but I can remember my cousins doing this years ago and I wanted to try it. It didn’t go so well. All the eggs had at least one hole that was oddly shaped and a few of them cracked. I gave up after 8 and figured that was enough to make a display. The egg yolks and white went onto a better cause – frittata for dinner.
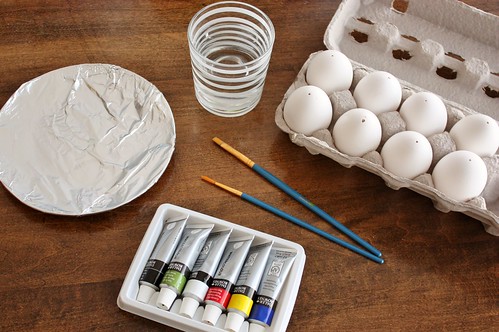
After the egg shells had dried for a few days, I thought I’d try to make a watercolour design on them. I grabbed my favourite watercolour paints, a makeshift palette (tinfoil wrapped around a dessert plate) and a couple of brushes.
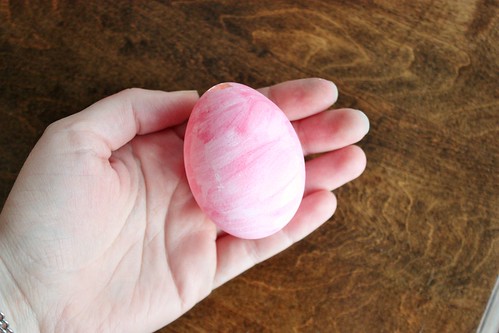
I tried to make the colours bleed and blend, but they just came out in blobs.
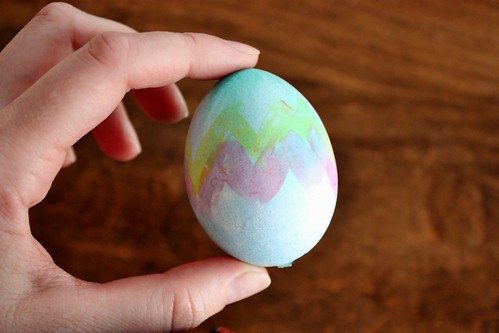
The stripes came out worse. I blame the brushes because there is no way that it was my technique, right? After 2 eggs, I scrapped the idea. I didn’t want to blow out any more eggs, so I thought I’d try something else while I still had enough eggs.
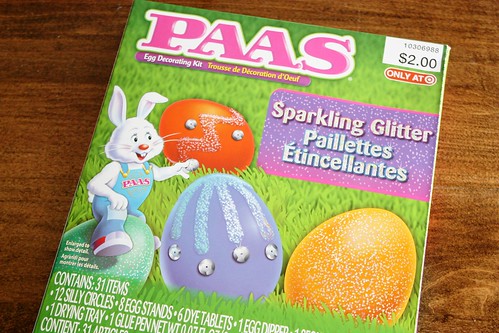
Then I went to Target for some groceries and such, and came back with about 15 things that I didn’t need, including this glittering sparkly egg dyeing kit that was on sale for only $1.50 (meaning I had no choice but to buy it). I did these kits as kids, so how hard could it be.
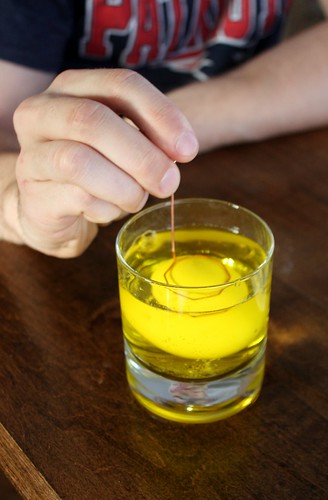
Garrett got home from work and decided to jump in on the egg dyeing action. We started by dyeing the eggs a pale yellow first. I’ve always done hard boiled eggs which sink, but these ones had those darn holes, so we had to hold them down. They’d inevitably fill up with some of the dye and we’d have to drain them out before they went onto the flimsy cardboard tray I’d put together using the kit’s box.
 After the yellow dye had dried, I stuck on some foam letters I’d picked up at the dollar store. I had to press them down hard enough without cracking them. It was touch and go on a few. The idea was pale yellow letters on bright sparkly eggs. It was going to be great!
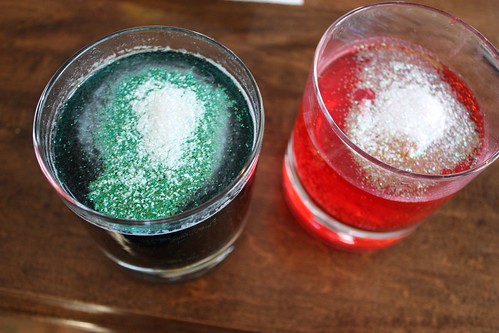
We mixed the sparkles into the dye cups as the directions said and started to dunk the eggs in. They seemed to be going really well.
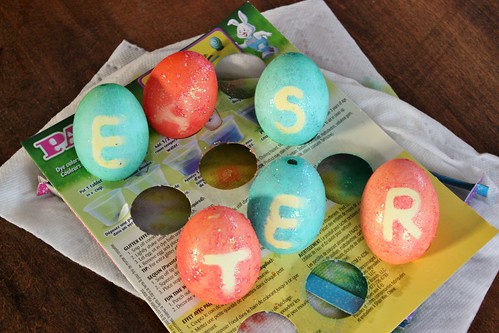
Until we pulled off the stickers and started to see all the places the dye had seeped under the foam sticks, despite my pressing them down. I had expected them to look cute and fun, spelling out EASTER on the mantel, and instead they looked droopy. We both took one look at them and cracked right up. They’re sitting on the mantel now, but it’s more so that they can mock us.
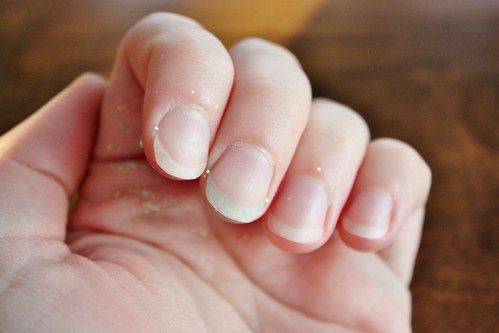
But at least I got an awesome manicure with different dyes under each fingernail and sparkles all over (which I am still finding….everywhere).
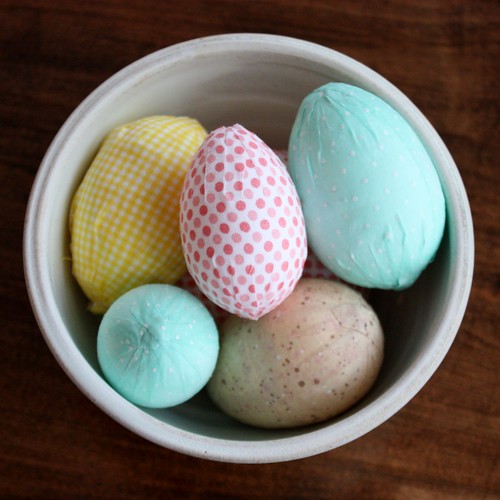
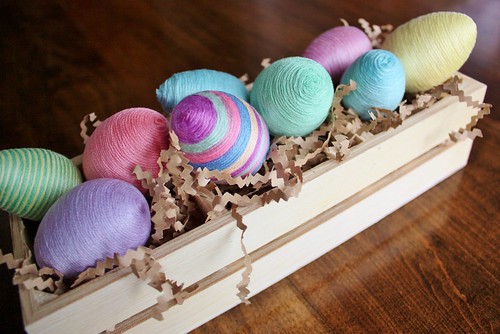
That’s when I decided that it’s best for me to stick to Easter egg techniques that I can manage. If you’re looking for an idea that doesn’t involve dyeing real eggs, try these crafts that I’ve done in the past with styrofoam eggs. You can reuse them in your decor for years to come.
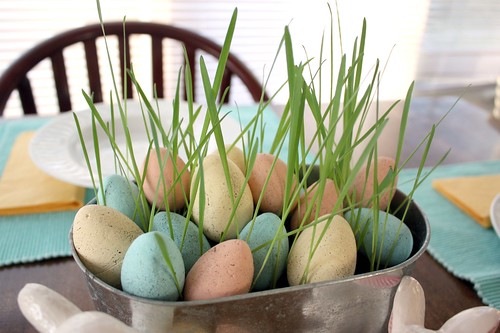
Painted Robin’s Egg Easter Eggs

Well that was quite the saga!