A couple of weekends ago, we had a family party at my parents’ house to celebrate my sister hitting a huge milestone.
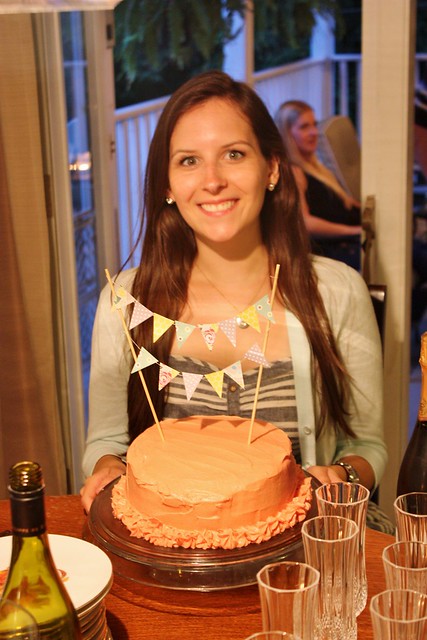
This beautiful, incredibly smart and funny lady is officially a law school grad, passed the bar (!!!) AND started her articling job this week at a law firm in Toronto! I couldn’t be more proud of all that she has accomplished.
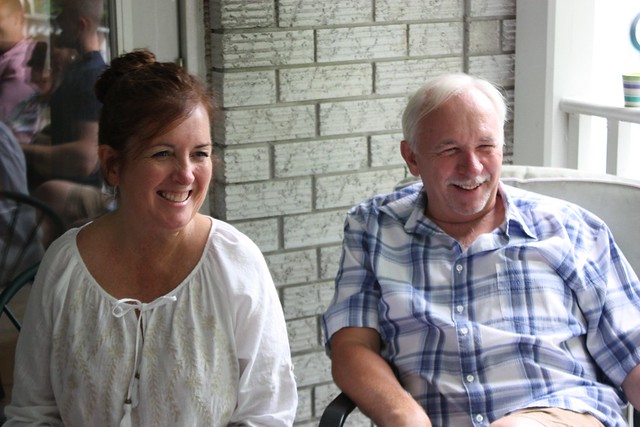
This was a big day for my parents too, who’ve helped get her through something like 21 years of schooling.
After all the work my sister put into making my awesome bridal shower, bachelorette party and all the other wedding duties of a maid of honour, I was excited to do something for her!
We kept the party small and made some fun decorations like banners, bunting and flowers and a few surprises like the popcorn bar and a decadent chocolate and vanilla layer cake.
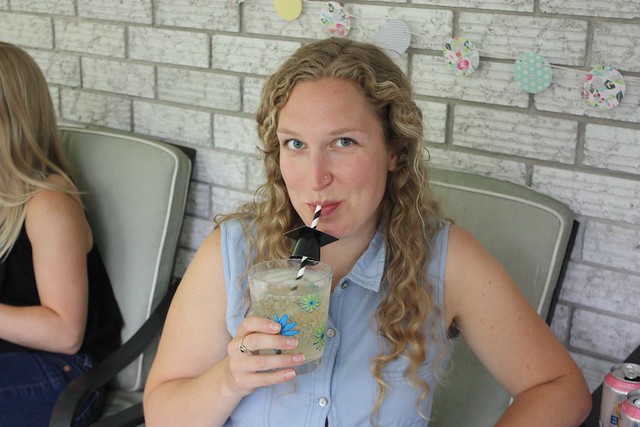
It was also a great chance to have some of our cousins over for a few cocktails and dinner. We all have the same wicked humour and sharp wit (at least we think so), which means it turns into a LOUD party quickly with lots of laughing, telling jokes/stories/tall tales and some good hearted ribbing.
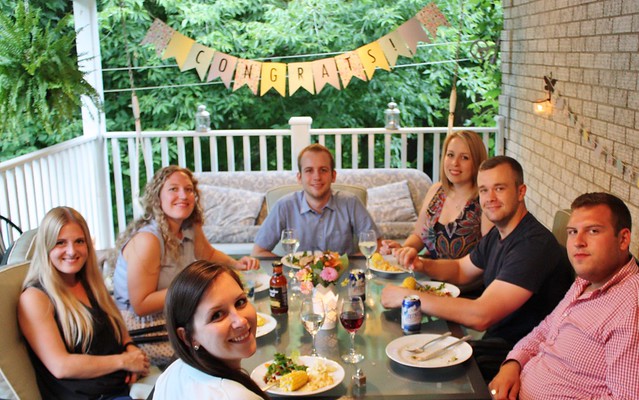
It’s funny to see a picture of the “kids table” now and it’s full of grown ups!
We served up a big dinner that made it feel so much like summer. On the menu was lemon garlic grilled chicken, grilled sausages, potato salad, bean salad, green salad, mom’s mac and cheese, deviled eggs, veggies and corn-on-the-cob – needless to say, we were all stuffed.
Banner & Bunting
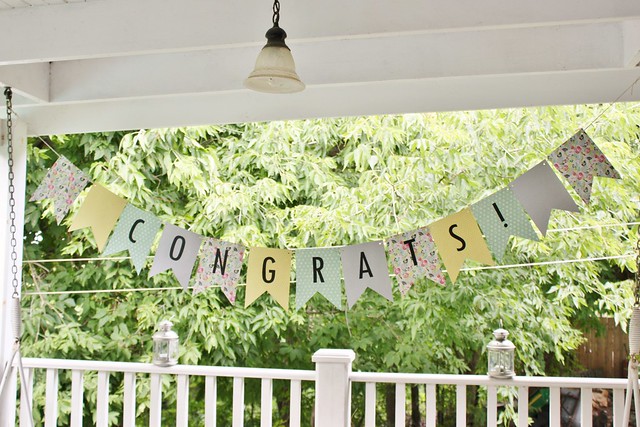
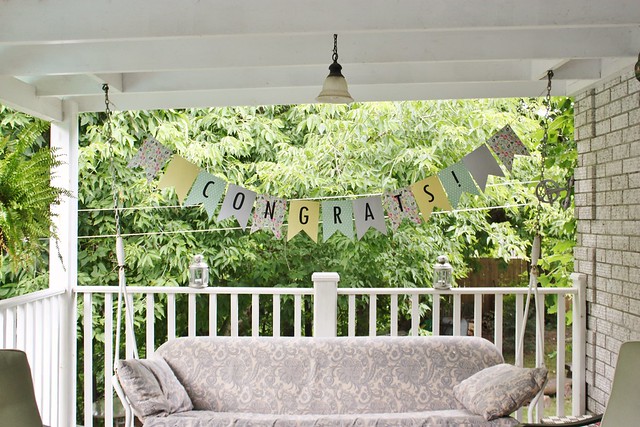
Even though it was just a low key family party, I still wanted to put a few special touches with the decor. This big banner across the one side of the porch turned out so cute and cost less than $2.50 to make (plus it gave me leftovers for bunting and other decorations!)
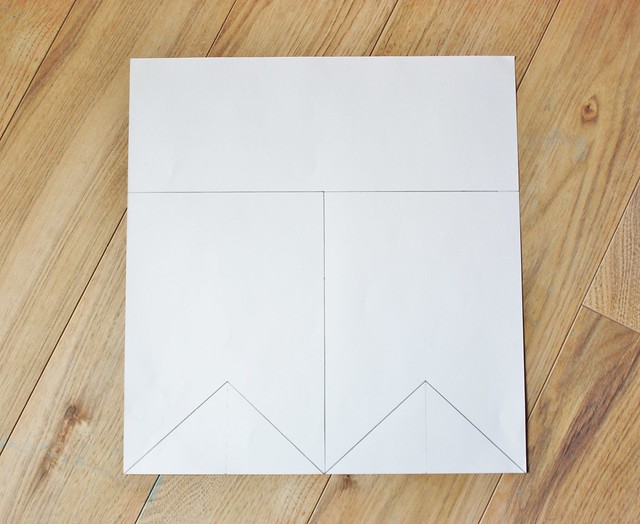
I picked up sheets of colourful scrapbook paper (3 for $1!) to make the banner. I took each sheet of paper and drew the flag design on the back with a ruler and pencil. The scrap pieces at the top and bottom were saved for other decorations.
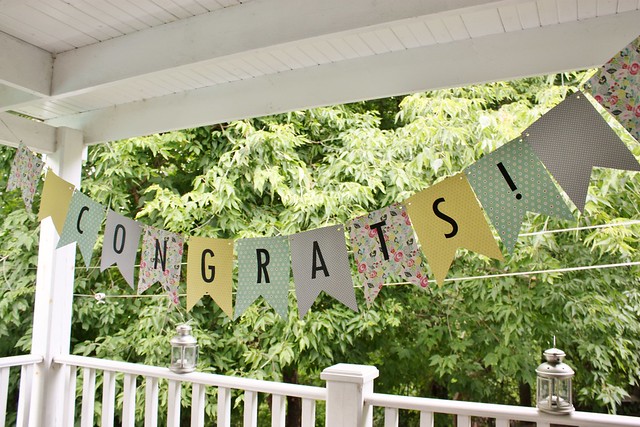
I alternated the four different patterns and then used a hole punch to put holes in the top corners of each flag. To make the letters, I printed out a font that I liked on the computer, cut it out with scissors by hand and attached the letters to the flags with a glue stick. Using kitchen twine, I strung the letters up by the punched holes and tied the ends to either side of the swing on the back porch.

There was lots of paper leftover from the banner, so I used it to make some fun bunting to put up on the brick wall. I used a glass to trace circles on the back of the scrap paper and cut them out by hand. They didn’t need to be perfect because no one was seeing them up close.
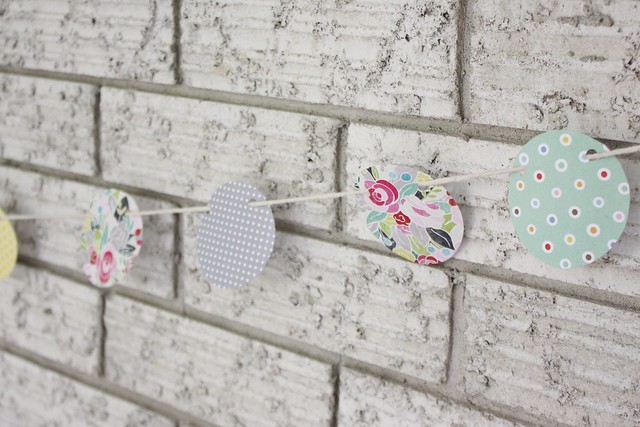
Using the hole punch, I put two holes on the upper pieces of each circle and strung them together with kitchen twine.
Popcorn Bar
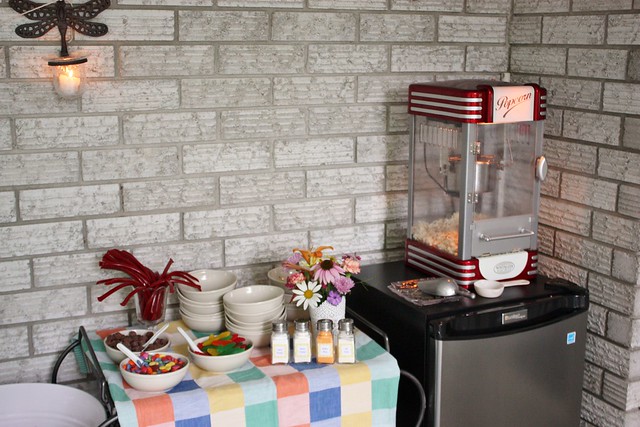
I’ve seen popcorn bars on Pinterest before and it got me thinking about how I could make a cute one for the party. It turned out to be such a fun idea!
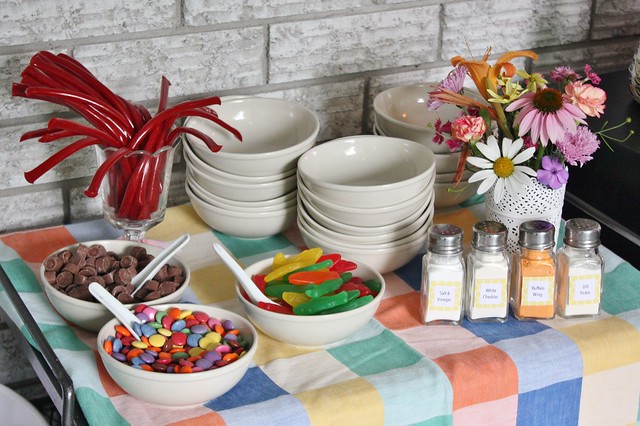
We usually have the popcorn machine going when we have company over, but this time we set it up with individual bowls and toppings for guests to mix and match.
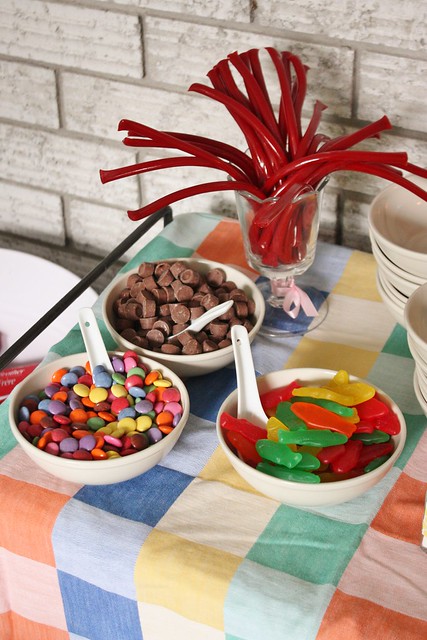
I picked up smarties, swedish fish and rolo caramels for some sweet treats – plus a nice tall glass of licorice.
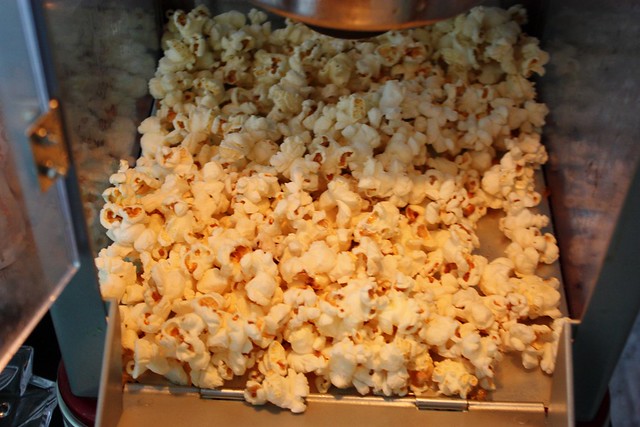
We popped lots of popcorn and then left a scoop in there for guests to help themselves. We just kept an eye on when we needed to pop some more. Alternatively, you could buy those big bags of already popped popcorn, or use microwave popcorn.
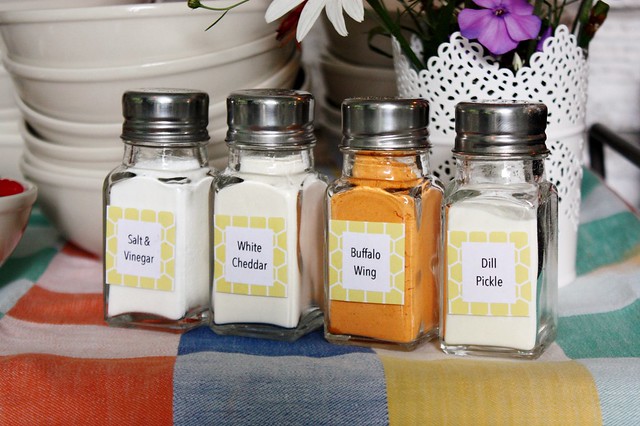
For the seasonings, I grabbed some from the grocery store and then transferred the powder (with a funnel) into these cute retro-style salt and pepper shakers I found at the dollar store. The labels were made with printer paper cut into squares and then glued onto squares of scrap paper from the banner. They were attached to the shakers with double sided tape. They turned out so cute, that my mom is keeping them with the popcorn machine now.
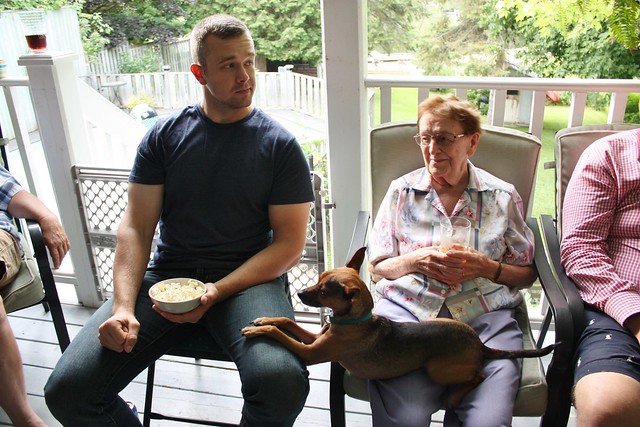
Whiskey was so happy to have all the family there…and get a few samples of popcorn too.
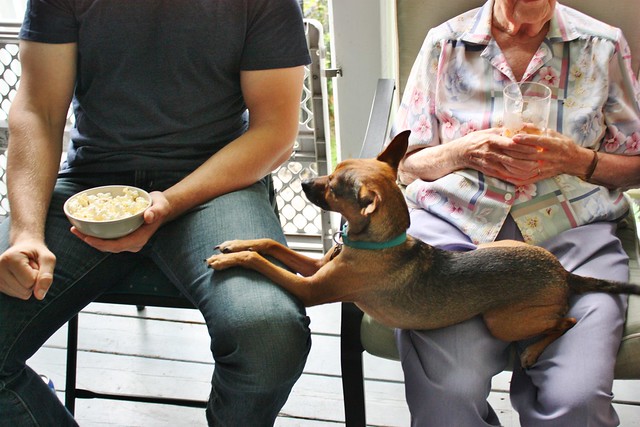
He thought he was being soooo subtle.
Flowers
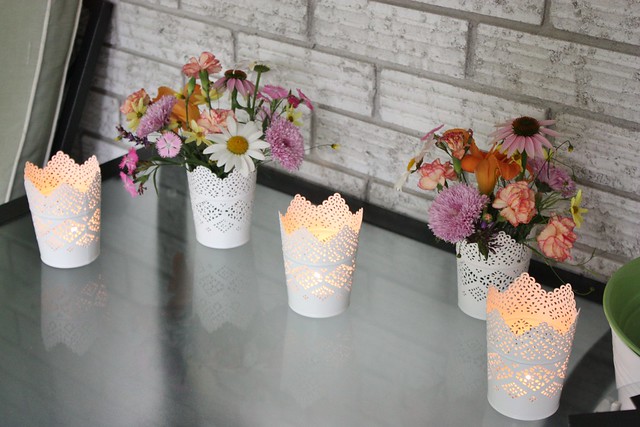
We still had some lacy metal candle holders leftover from the Bridal Shower Favours and used them to hold candles and little flower arrangements all around the back porch.
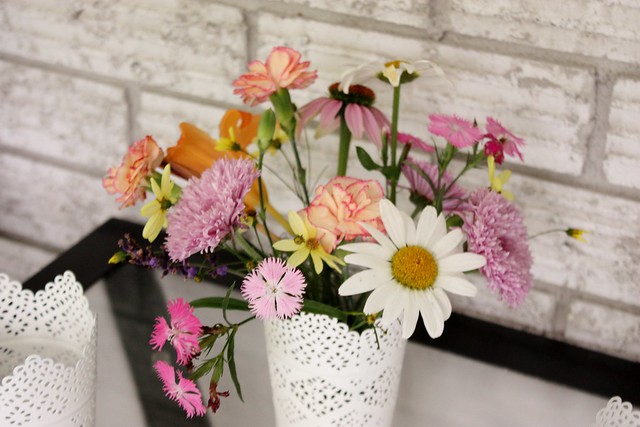
My mom gathered most of these flowers from her backyard and then bulked up the bouquets with some store bought blooms too. The arrangements were set in plastic cups that rested perfectly in the lace candleholders.
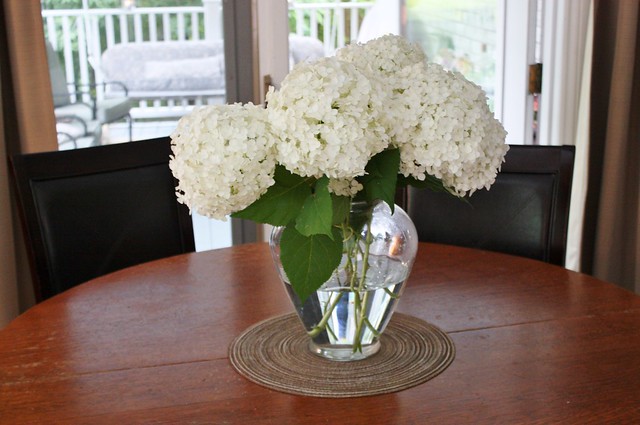
She also put out some of the HUGE hydrangea blooms from her backyard. These things are just massive and make such a statement.
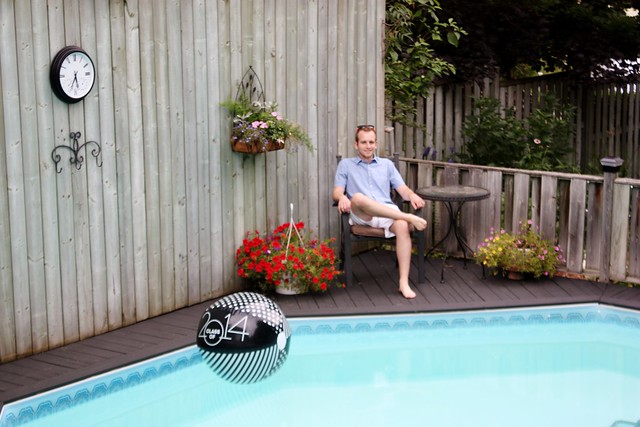
My brother’s contribution to the decor – tidying up the freshly painted pool deck and blowing up a 2014 graduation beach ball.
Chocolate Layer Cake with Vanilla Buttercream
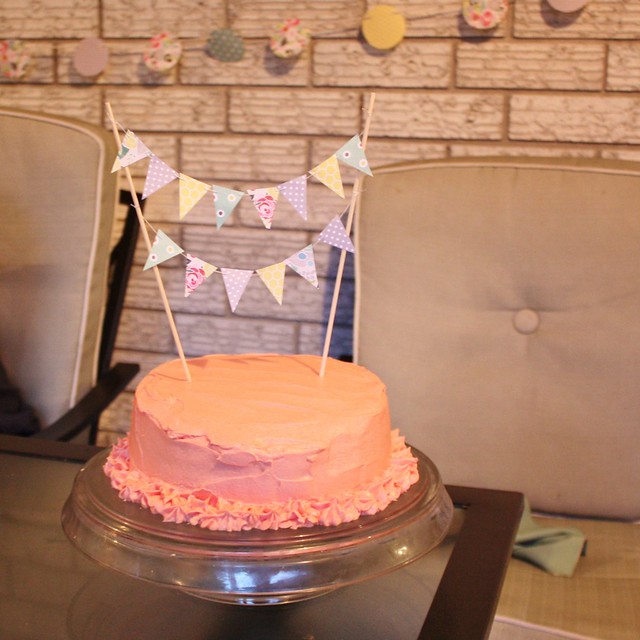
Every celebration calls for a cake. For a family that doesn’t make cakes that often, this is the second one we ate that week. After the epic Summer Strawberry Cake my sister made for my mom’s birthday earlier in the week, it was a tough act to follow. I found this layer cake recipe from Canadian Living and then swapped out the chocolate ice for a peachy coloured vanilla buttercream, served it up with Neapolitan ice cream.
Chocolate Cake · Printable Version
- 1 cup butter, softened
- 1-1/2 cups sugar
- 2 eggs
- 1 tsp vanilla
- 2 cups flour
- 1/2 cup cocoa powder
- 1 tsp baking soda
- 1 tsp baking powder
- 1/4 tsp salt
- 1-1/2 cups buttermilk (I did the milk/lemon juice trick)
- frosting: triple batch of Wilton’s Buttercream Frosting
Grease two 8-inch metal cake pans and line bottoms with parchment. Set aside.
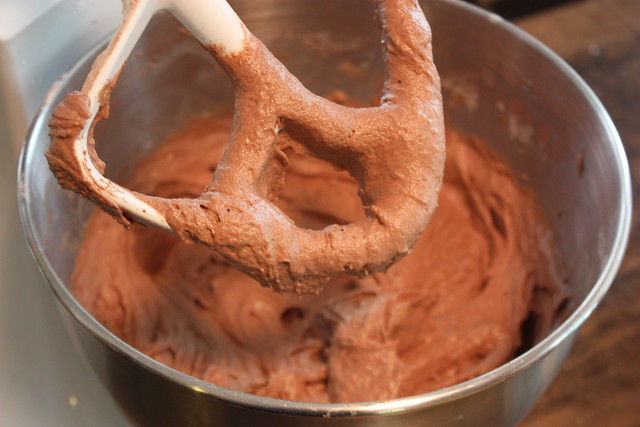
In a large bowl, beat butter with sugar until light and fluffy. Beat in eggs and vanilla. In separate bowl, sift together flour, cocoa, baking soda, baking powder and salt. Stir into butter mixture alternately with buttermilk. Spoon into prepared pans, smoothing tops.
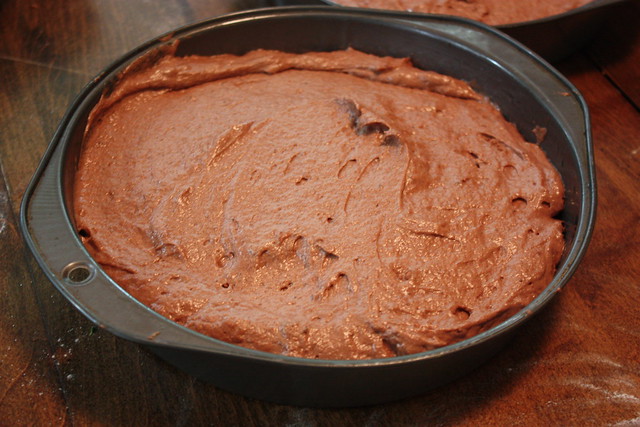
Bake at 350°F oven for 25 to 30 minutes or until cake tester inserted in centre comes out clean.
Let cool on racks for 20 minutes. Remove from pans; let cool completely on racks.
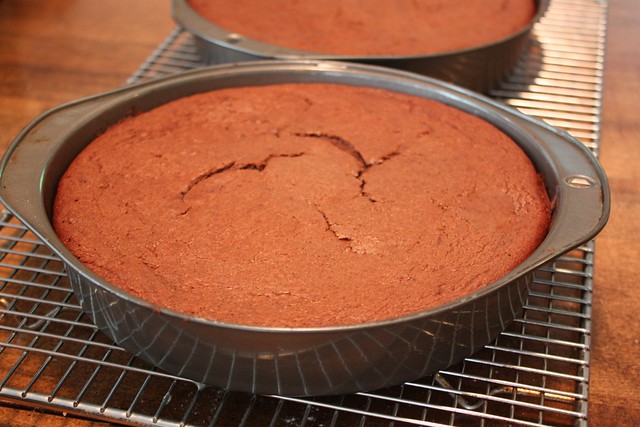
Tip to make level layers: When the cakes are still warm, place a piece of parchment paper over top, then a clean dishtowel on top of that. Use your hands to push down the top and make it smooth. Just make sure not to burn your fingertips or hands with the hot pans or steam escaping.

Make a triple batch of Wilton’s Buttercream Frosting. Cut each cake horizontally into two layers. Place first layer, cut side up, on cake plate. Slide strips of waxed paper between cake and plate. Spread cut side with about 3/4 cup of the icing; cover with the next layer, cut side down. Spread top with another 3/4 cup of the icing. Repeat with remaining layers, spreading remaining icing over side and top to make a crumb coat. Place cake in fridge for 30 minutes to firm up the crumb coat. Wrap the bowl of icing in plastic wrap and refrigerate as well.
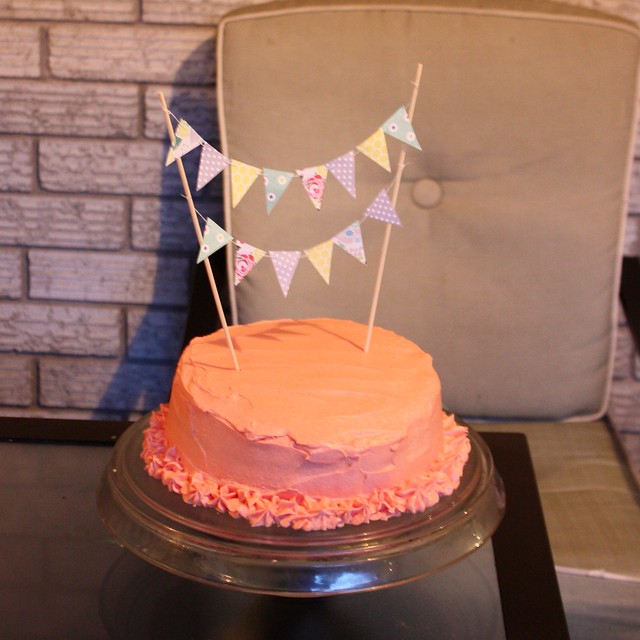
Remove cake and remaining frosting from the fridge. Add desired food colouring to the icing. I used a mix of red and yellow to get a peachy colour. Frost the cake and decorate as you’d like – I went with a smooth layer of icing, removed the paper strips and then used a decorative tip to make some flowers on the bottom.
To make the cake bunting, I took some scraps from the banner and cut them into little triangles. I used a sewing needle and thread to string the triangles together and then tied them to two wooden skewers. Right before we brought the cake out, I stuck them in.
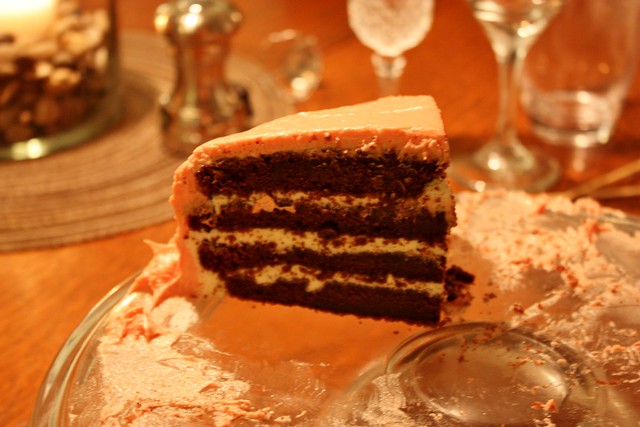
I wish I’d thought to take pictures of the cake in the daylight. It looked so good – and tasted fantastic if I don’t say so.
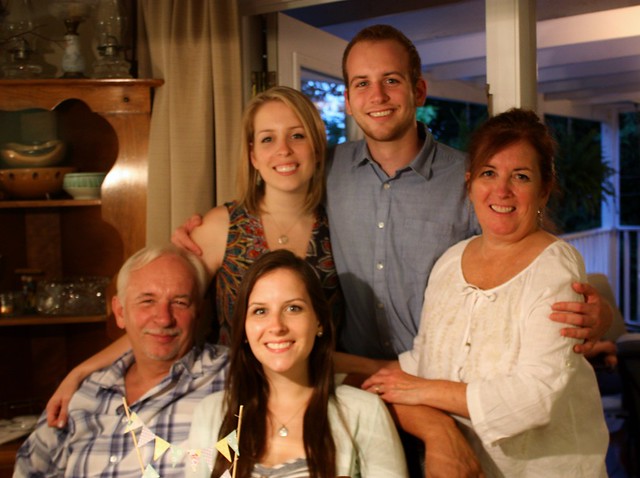
The whole family is so excited for my sister and all that lies ahead for her. Congrats sis!
Linked up to: Craftberry Bush · A Glimpse Inside · Liz Marie · The Idea Room · Serenity Now
