I’m really excited to share today’s Wedding Wednesday post because I think that it’s one of the things that made our wedding look so “polished” as our guests told us afterwards. Just like the DIY Painted Wedding Directions Signs that I made to help guests find their way to the ceremony and reception, I wanted something to help people know what to do and when things were happening. Rather than trying to hand paint something, I decided to make some printed signs that I could put together easily on the computer and have printed on a large scale.
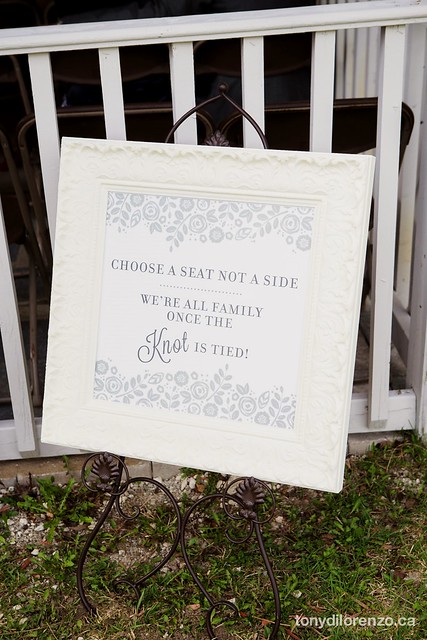
We had one sign right in front of the chapel, letting guests know that they could sit anywhere. I thought the phrase was a cute way of letting them know!
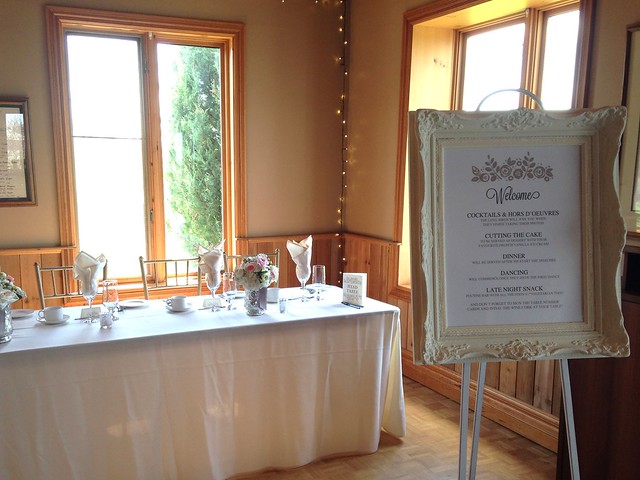
The other sign was right when you came inside from the ceremony, letting guests know about the order of the evening.
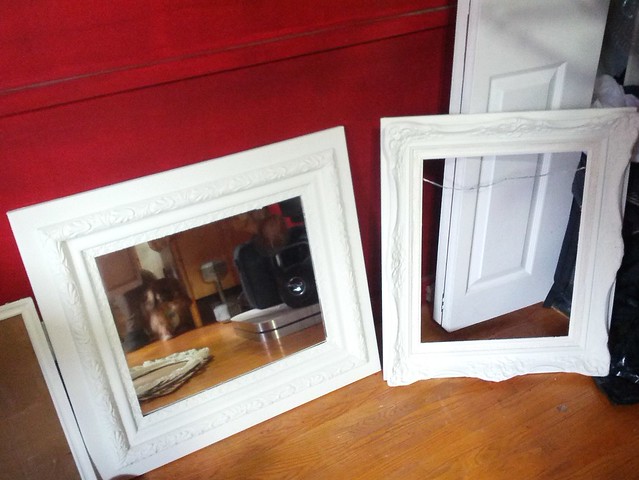
We let family and friends know that we were on the lookout for various vintage style frames for wedding projects and within the first couple of days we had more than enough. My mother-in-law painted the frames (along with the mirror on the left for the Seating Chart) using homemade chalk paint. The great thing is that they not only added some elegance to the day, but they’re a little piece of all the people who helped us bring this wedding together. And they can be painted and reused again!

I measured the hole of each frame and then gave myself a 1/4 inch of clearance all around. Using these dimensions, I created the signs in Photoshop and then had them printed at a local printer onto foam core. Both signs were about $20 each, but it saved me the time from hand painting them and I loved the crisp clean look. The foam core was also plastic on the printed side, meaning that if we’d had a rainy day, they would have been okay outside for the ceremony.
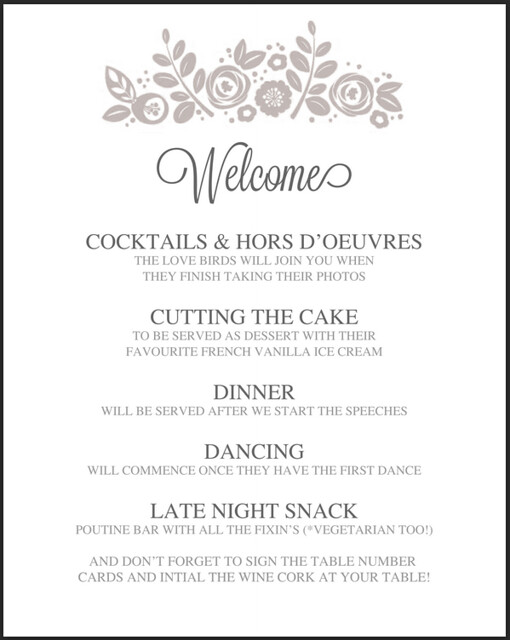
When I first started working on the print materials for the wedding (invitations, programs, table numbers, signs, etc) I picked a design I liked and a couple of different fonts that went well together. Then when I needed to make something, I already knew what I was working with. It helped keep the overall look the same. I used the same design and font for the Signature Drinks sign, Honey Jar and Wildflower Seed Wedding Favours sign, as well as a few others.
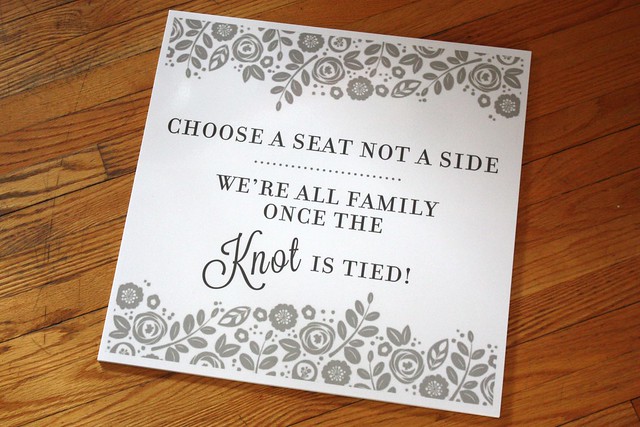
I loved how they turned out! The signs were cut to the dimensions I sent, so I didn’t need to do anything but add them into the frames.
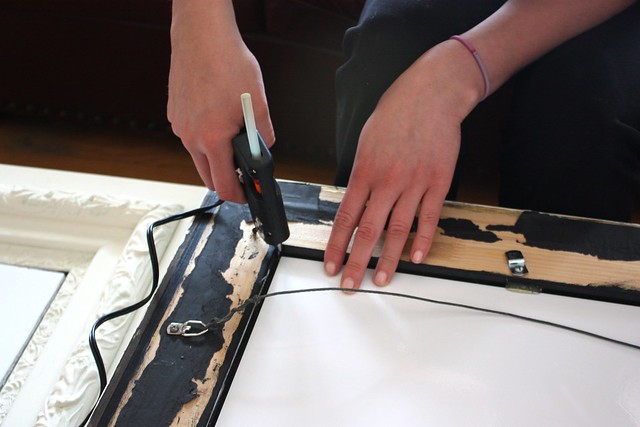
I went over to Garrett’s parents’ place on my lunch break one day and put them together with one of my bridesmaids (my new sister-in-law!). I held the signs in place while she put big globs of hot glue in the corners and in spots along the edge. We held them down for a few minutes and then moved onto the next frame. The foam boards stayed in place and it made it much easier to remove them to reuse the frames after the wedding.
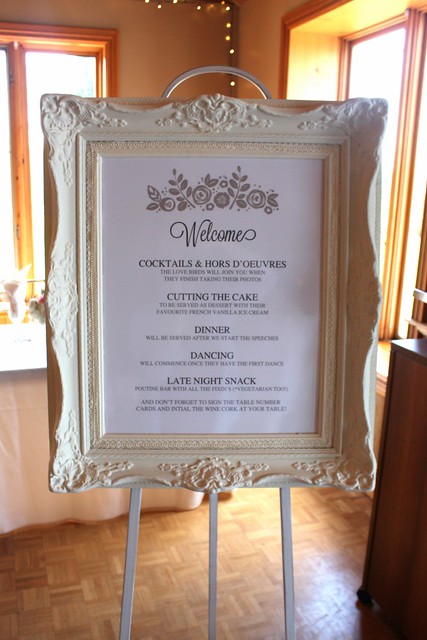
When we were setting up, all we had to do was hang the frames from the top of the easels with the picture frame wires already on the back.
My mom found the easels in Florida for $12 and $15, which was amazing because I couldn’t find anything here, let alone at that price. We decided to keep them for future events and we’ve already used them twice! The whole project cost us $67 (not including the frames, paint or hot glue, because we already had both on hand).
For future events, I wouldn’t hesitate using this same method to make crisp, clean printed signs. I even saved the foam core pieces so that we can reuse them for other projects.

So so cute!
These are perfect! I love how clean and professional they look!