Disclosure: I am a member of the Behr DIY Expert program and was provided Behr product for this project. All opinions and ideas are 100% my own.
Ever since we bought the farmhouse last spring, I’ve been daydreaming about how we would decorate it for Christmas. We’re still in the middle of renovations here (and will be for quite awhile), but it’s been nice to take some time to dress up this big old house for the holidays.

With the porch nearly done (you’ll get a sneak peek in these pics!), we decided to build some big holidays planters to flank our new wide porch steps.
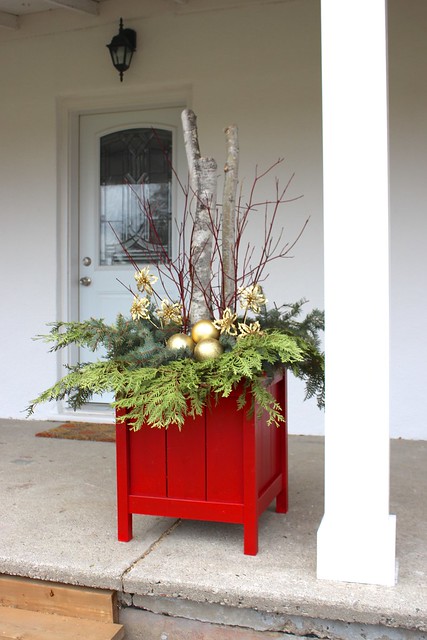
Between my design and Garrett’s woodworking skills, we were able to whip these up in a weekend! I’m so happy with how they turned out and they add such a fun pop of colour for the holidays season.
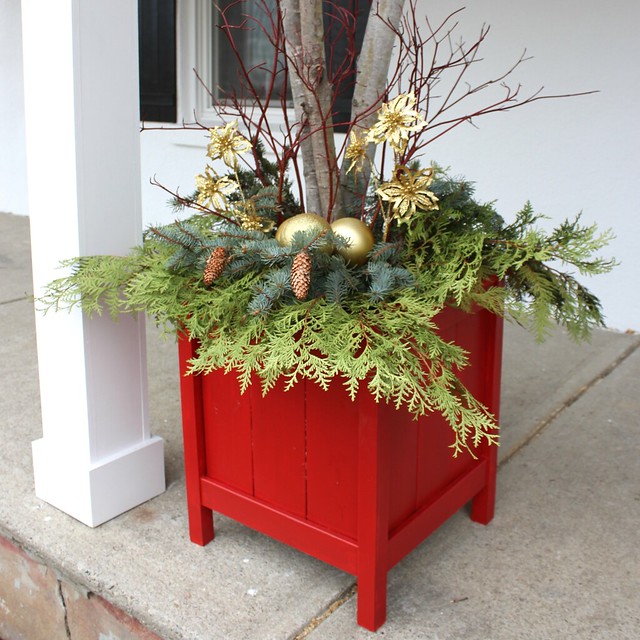
The wood we already had, the greens, sticks and logs came from our friends’ property, so we only needed to buy the florist oasis and gold decorations from the dollar store. Not bad considering that planters of this size can be over $200 at some florists.

I’m sharing this festive holiday project today as part of the Behr Holiday Home Challenge, with my fellow Behr DIY Experts. All their projects are linked at the end of the post, so be sure to check them out….and there is a giveaway too! Three lucky readers will get four gallons of Behr paint for their next project.
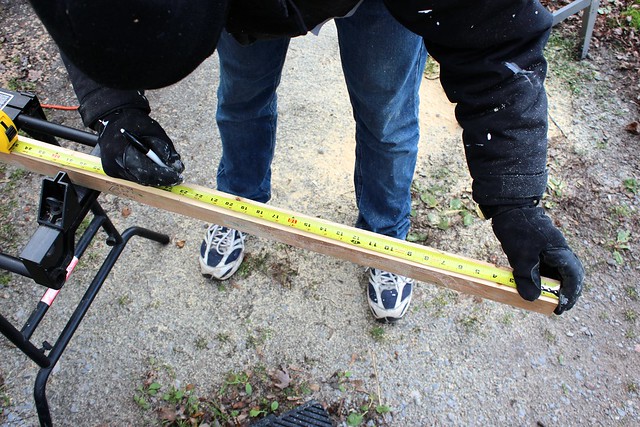
For each planter, you’ll need the following cuts of wood:
- 15 – 19″ long pieces of fence board (for sides and bottom)
- 8 – 16-1/4″ x 2-1/2″ x 3/4″ (for the side cross supports)
- 4 – 23″ x 2″ x 2″ (for the legs)
- 2 – 16″ x 3/4″ x 3/4″ (for the inside brace)
- 2 – 21″ x 2-1/2″ x 3/4″ (for the top)
- 2 – 16-3/4″ x 2-1/2″ x 3/4″ (for the top)
- 42 – 1-1/2″ flat head screws
- 16 – 3″ flat head screws
- wood filler
- Behr PREMIUM PLUS® Exterior Multi-Surface Primer & Sealer
- Behr Marquee Exterior Paint in “Red My Mind“
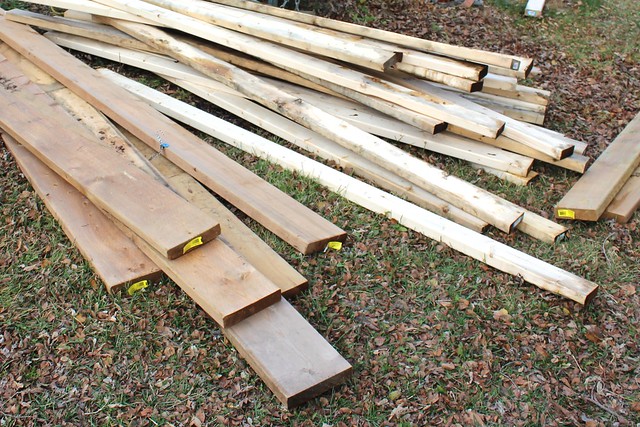
We were able to use pressure-treated fence boards and we had leftover from making our DIY Custom Board and Batten Shutters this summer.
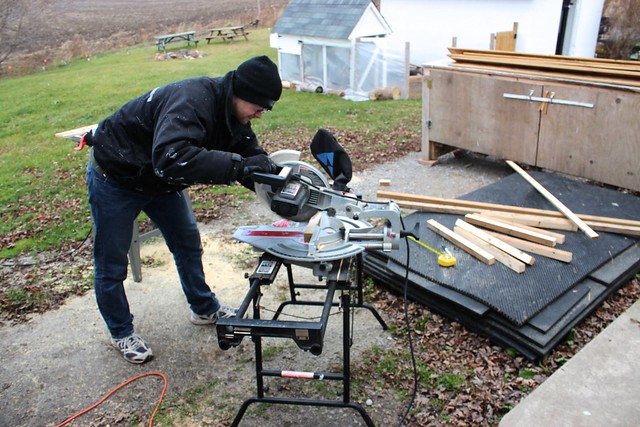
Aside from the side and bottom pieces, the rest were ripped down first with a table saw. Then it was a matter of cutting everything down to size with a miter saw.
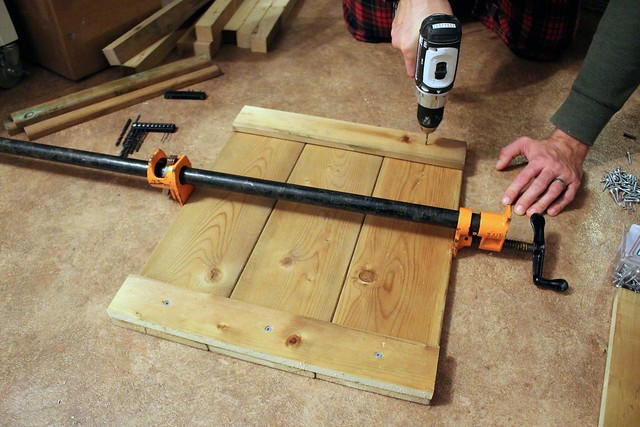
After a light sanding of each board, we built the sides. Take three of the 19″ long fence boards, line them up and then clamp them together. Place a 16-3/4″ brace piece at the top and another at the bottom. Using a power drill, drill three pilot holes on each of those boards for the flat head screws. Continue until you have all four sides complete.
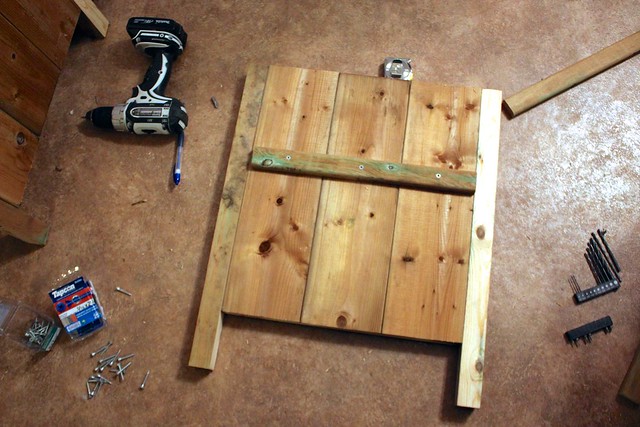
Taking two 23″ legs, line them up with the back of one of the completed sides, drill pilot holes and then screw in place. Add the strip of 16″ long wood down 6″ from the top and screw into place. Repeat with other side. Take the remaining two sides and attach them to the legs as well, to create your box, being sure to stagger the screws as not to hit the ones you’ve already added.
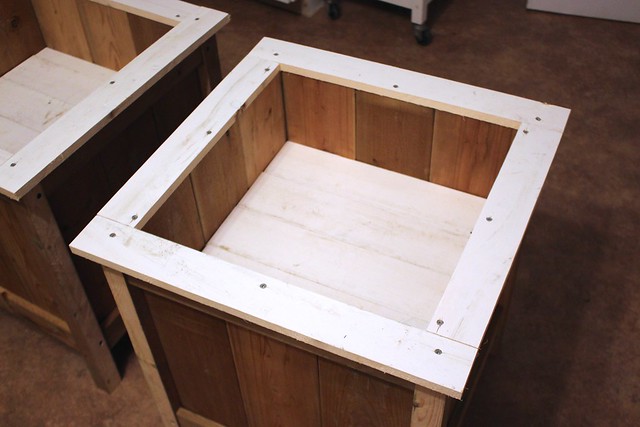
For the bottom, place the last three 19″ boards onto the ledges you made inside. For the top, pilot drill and then screw the 21″ and 16-3/4″ pieces on top of the square.
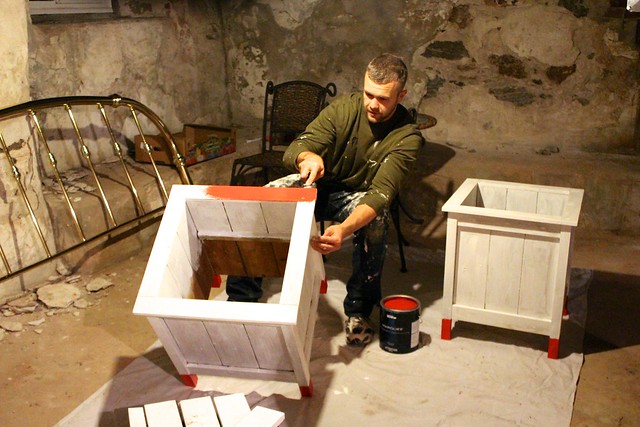
We primed each of the planters with Behr PREMIUM PLUS® Exterior Multi-Surface Primer & Sealer to give them extra protection against the elements and ensure a good surface for our paint to adhere to. (Sneek peek of our farmhouse basement. I’m sure you’ve been dying to see it, ha!)
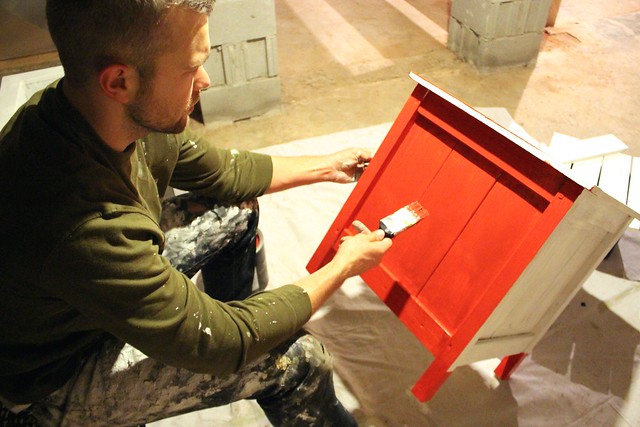
Then it was time to paint! Always my favourite part, especially when you get to work with such a fun bold colour.
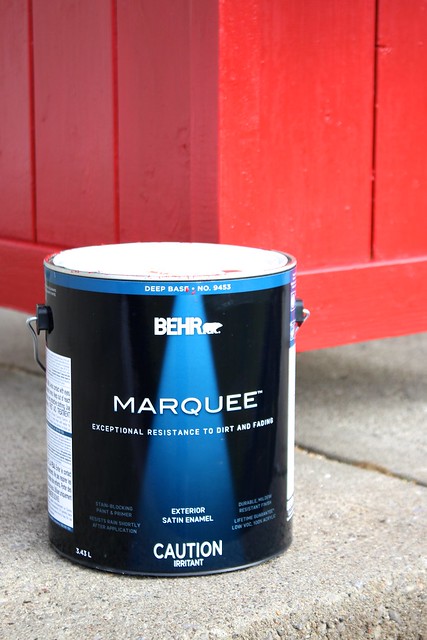
I went with Behr Marquee Exterior Paint in “Red My Mind“. Perfect for Christmas!
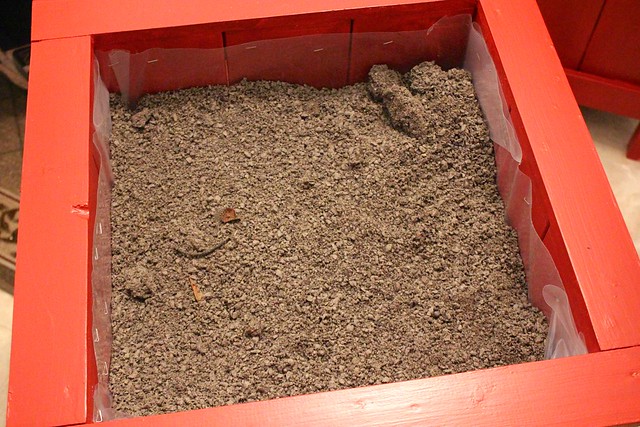
Once the paint had dried, we brought the planters back upstairs to prepare them for the decorations. First we lined the inside with heavy duty plastic (we used leftover vapour seal) and stapled it in place. To give the planters some weight from the wind, and provide more support for the big logs, we filled them up halfway with leftover limestone screening we had. You could also use dirt or sand. Anything that will give you more depth.
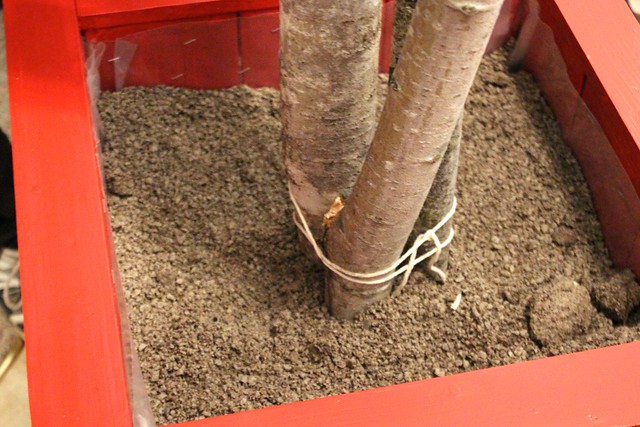
After tying the logs together in place with twine and cable ties, we buried them in the screening.
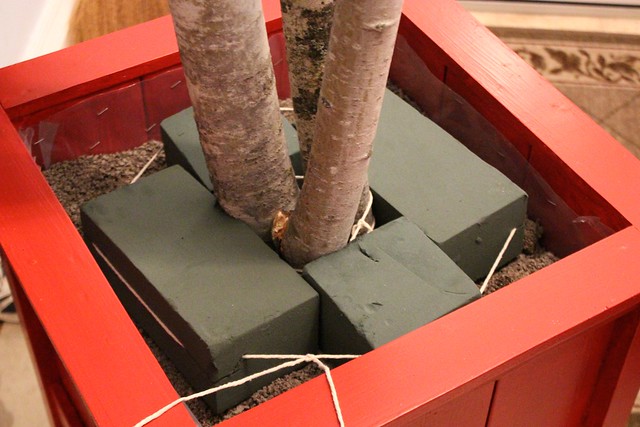
I cut one block of oasis in half and using two more whole pieces, created a brace around the logs. The oasis will give you a great surface to add your greens and decorations. While Garrett held the logs up, I wrapped twine in place to keep them secure. Then we filled the remaining space with limestone screening (or sand/dirt), being sure to pack it in the empty spaces. This really helped keep it secure and hold the logs up.
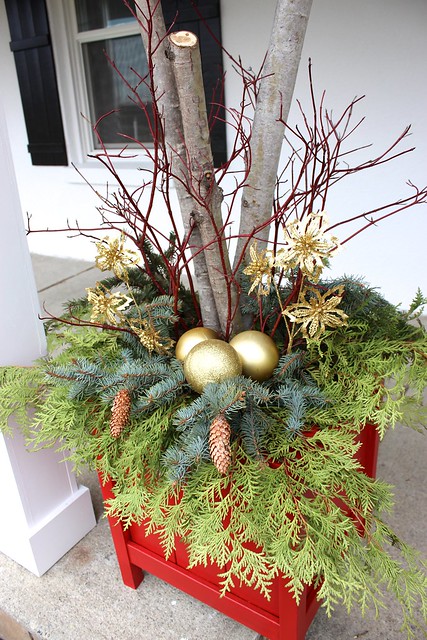
Then it was just a matter of adding the greens! I went around the edge first with cedar, then followed that with pine (that still had pinecones on them. yay!). Next came the red dogwood branches and finally the gold decorations.
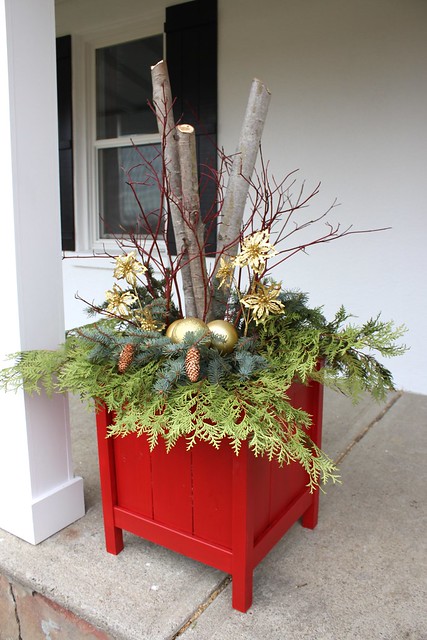
To keep the gold balls in place, I put a piece of wire through the decoration’s top loop and then wrapped the wire around a branch. This made it easier to secure it into the oasis.
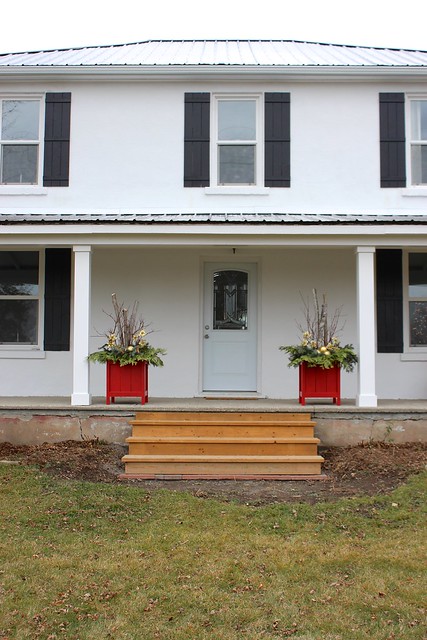
At night, they look so lovely with the bright red colour under our porch light and our little LED candles in the windows. I’m so excited for our first Christmas at Cloverhill!
/ / /
Now here is your chance to try some Behr products! The folks at Behr Paint are giving THREE lucky readers 4 gallons of Behr paint!
Be sure to check out all the great projects by my lovely fellow Behr DIY Experts:

- Ornament Frame Decor by Made to be a Momma
- Rustic Front Porch Christmas Sign by Mountain Modern Life
- A Monogrammed Christmas Wreath by Just a Girl and Her Blog
- DIY Black & White Ornaments by My Little Secrets
- O Holy Night Sign by Marty’s Musings
- Santa Front Porch Display by NewlyWoodwards
- Outdoor Christmas Display by Frugal Mom, Eh!
- DIY Outdoor Plywood Holiday Trees by Décor Adventures
- Rustic Hanging Christmas Baskets by Clean and Scentsible
- A Pop of Pretty
- Be Crafty Workshop
- DIY Christmas Trees by Poofy Cheeks
- Paint Dipped Pine Cones by Someday I’ll Learn
- DIY Painted Wood Snowman by The Frugal Homemaker
- Fence Picket Door Hanger by Maison de Pax
- DIY Outdoor Lanterns by All Things Heart and Home
- Joy Porch Sign by Sugar Bee Crafts
- Merry Christmas Sign with Hanging Ornaments by The DIY Dreamer
- Holiday Planter by Life at Cloverhill


Love the planters. The paint colour really pops! Wish I was crafty like you!
GAHHHHHHH I want these planters so badly. I really wanted to make planters for this project, but Ryan vetoed them. (Blah blah blah building a house). But I’m totally pinning this because these ARE HAPPENING next year and they would be perfect next to our garage.