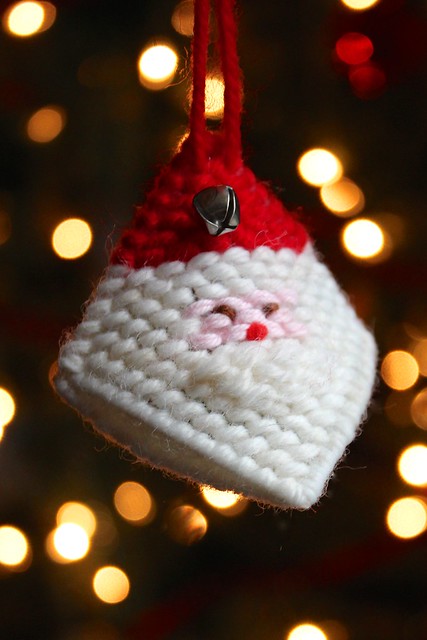
Growing up, there were a few ornaments that I really loved to play with and one in particular was constantly being pulled off the tree by all of us kids. It was a little knitted Santa that when you squeezed his cheeks, revealed a Hershey Kiss tucked inside.
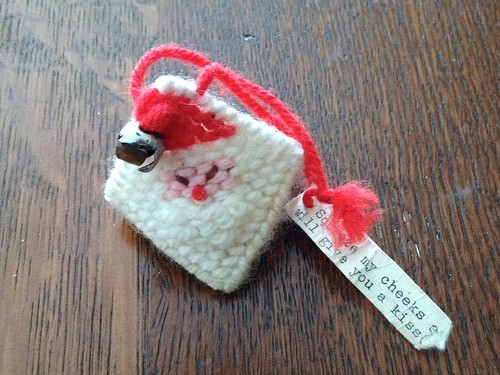
After many years of use, the original “Squeeze Santa’s Cheeks” Ornament was starting to look a little worn, so I decided to remake him, to share with family and friends. My mom sent me this one photo of him and I used that to make the pattern.
He looks like the kind of ornament you would have found homemade at a church bazaar, mostly likely a gift from one of the grandmothers or great grandmothers. His little tag reads “Squeeze my cheeks and I’ll give you a kiss”. I can remember begging my mom for “just one more chocolate kiss”, to put in the ornament and do it again.
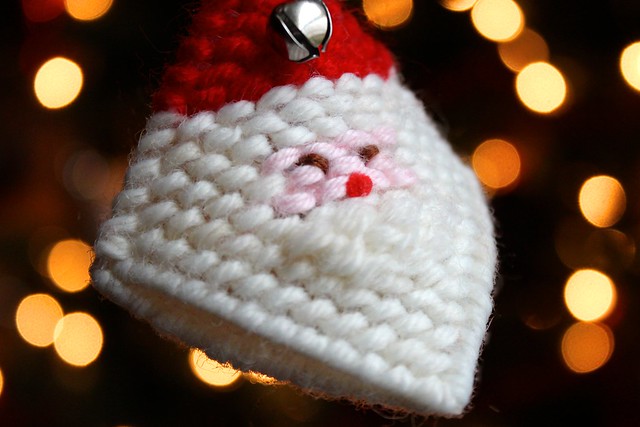
I updated the pattern a little bit, but kept the same bushy beard, pom pom nose and crinkling eyes. Aside from getting the plastic canvas, I was able to use yarn scraps and leftover pom poms and jingle bells for the smaller details.
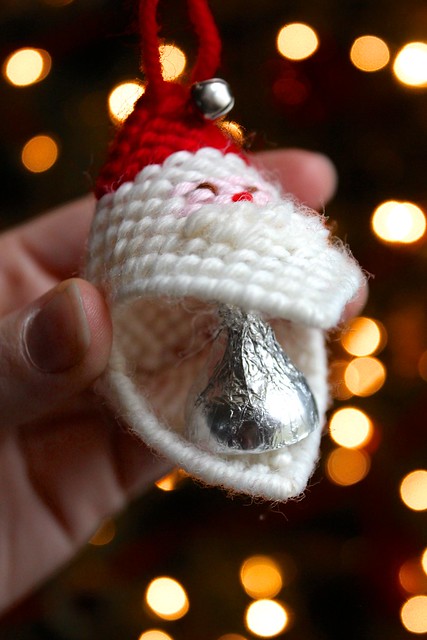
…And the best part is still when you “squeeze his cheeks” for a Hershey Kiss. I’m making extras to give away as gifts to the kids on our list. I really hope they get as much enjoyment out of him as we did growing up.
What you’ll need to make a Squeeze Santa’s Cheeks Ornament
- red, white, and pink yarn
- sheet of plastic canvas
- needlework needle
- brown embroidery thread
- small pom pom
- small jingle bell
- red sewing thread
- regular sewing needle
- cardstock (for tag)
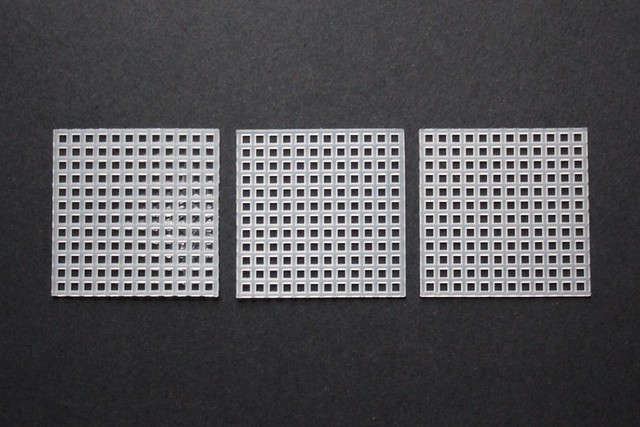
For each ornament, you’ll need to cut three pieces of plastic canvas that are 12 x 12 squares. Plastic canvas usually comes in large sheets that can be easily cut down to size with scissors.
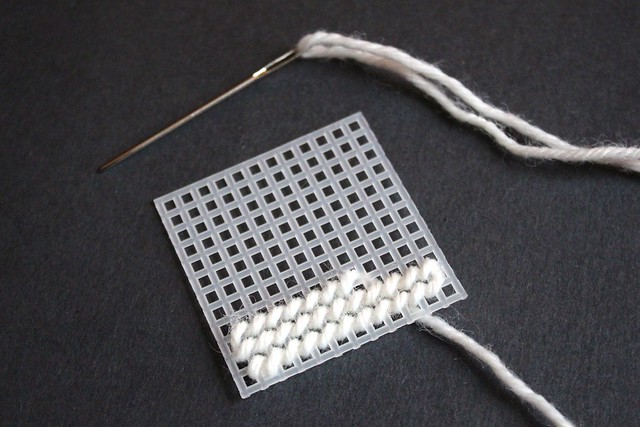
You fill in the squares doing a diagonal stitch using the needlework needle, following the pattern below (two pictures down).
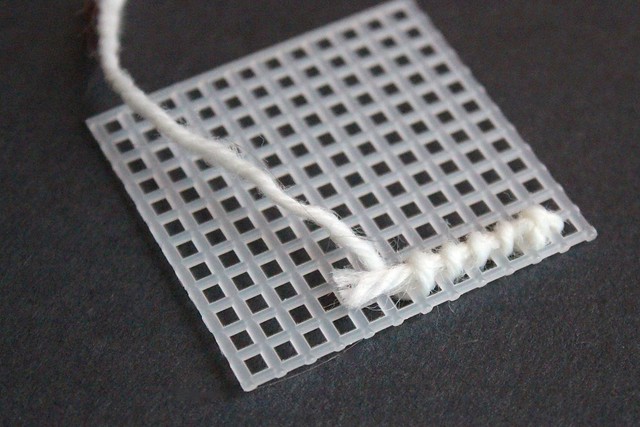
To make the back neat, whenever I started a new colour, I tied a knot at the first stitch and then tucked the tail under the first row of stitches.
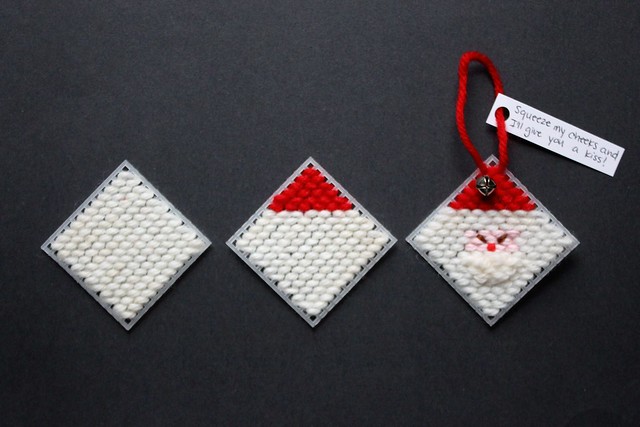
For each ornament you’ll need one that is solid white, another that is white with the red cap and a third that is white with the red cap and pink face (I’ll get into the details of the face in the next photo).
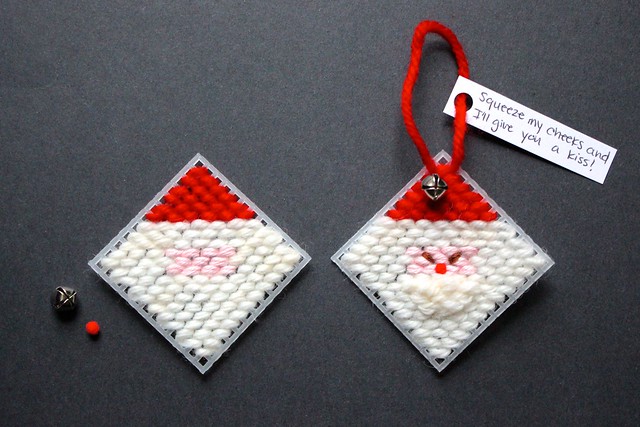
To make the face piece you start with the blank face stitched in red, white and pink. Then you add each feature:
Eyes – Two diagonal stitches in the middle row of pink stitches. Tie off at the back and thread the tails through the stitches in the back.
Nose – Using a regular sewing needle, thread the red thread through the pom pom. Sew to the center of the bottom row of pink yarn and tie tightly at the back.
Beard – Take a strand of white yarn and roll it between your fingers to loosen it up. Restitch over the area for the beard, leaving the stitches loose to create a curly beard effect.
Jingle Bell – Using a regular needle and red thread, stitch the jingle bell to the top of the red hat section. Secure in place with knots at the back.
Hanging Loop – On a piece of cardstock, write or print the phrase “Squeeze my cheeks and I’ll give you a kiss”. Use a small hole punch to punch a hole in the corner of the tag. Using a needlework needle and a strand of red yarn, go through the right side of the top stitch of the red hat section through the underside, string the tag through and then go back through the left side of the top stitch. Once you have determined how long you want the loop to be, tie it off at the back.
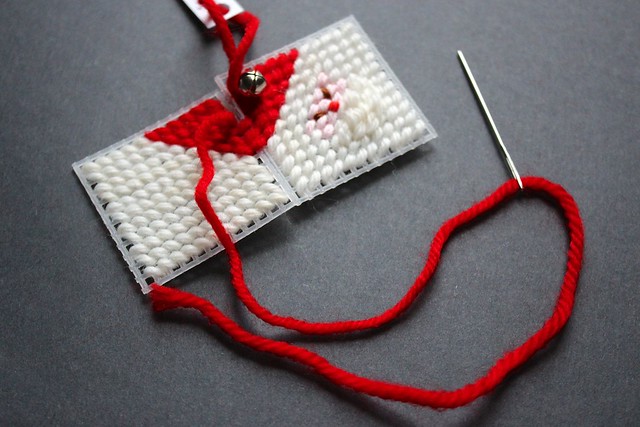
Now you’re ready to attach the pieces together! Using red yarn, sew the two hat pieces together.
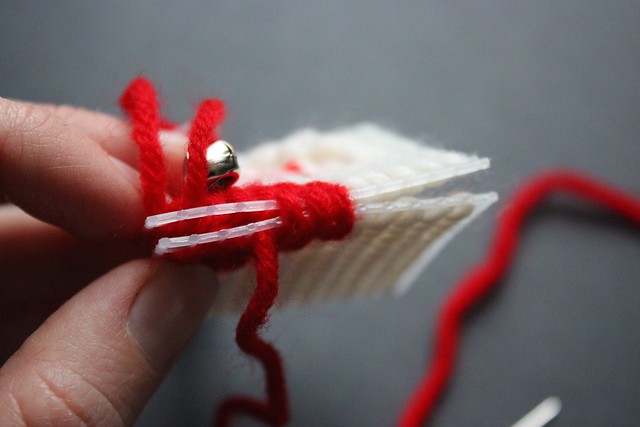
Start from one side of the hat and go all the way around to the other side.
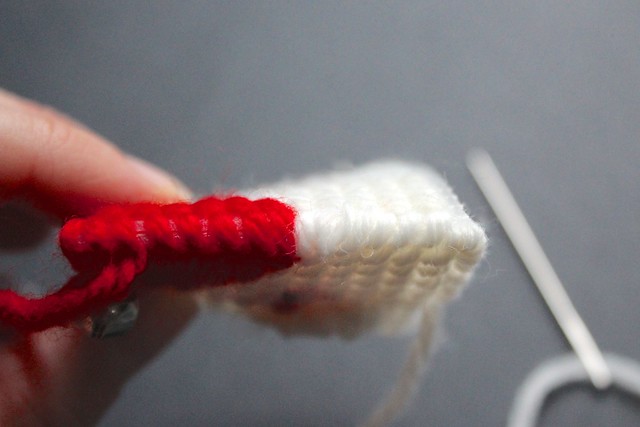
Once that is complete, take the white yarn and sew to the bottom of that section, attaching the two pieces.
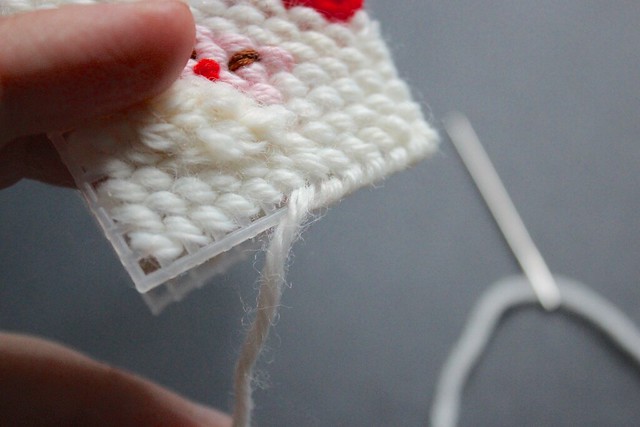
Once you get to the corner, you continue going around, but only with one piece of the plastic canvas. This will cover the raw edge. Continue around to the other side of the face piece and then stitch the two pieces together again when you get to the other side with red yarn on it.
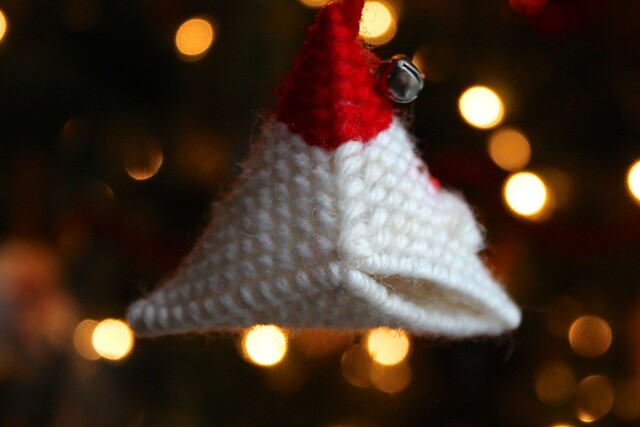
The bottom piece is attached to the bottom of the back piece doing the same technique. Stitch the two pieces together on two edges and then cover the raw edge for the other two edges.
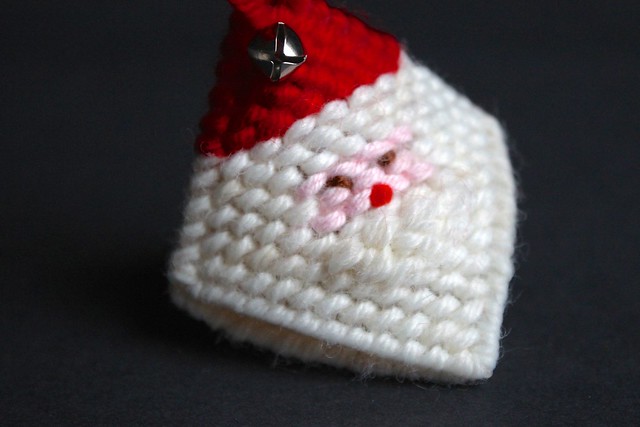
Now it’s just a matter of completing the best part…
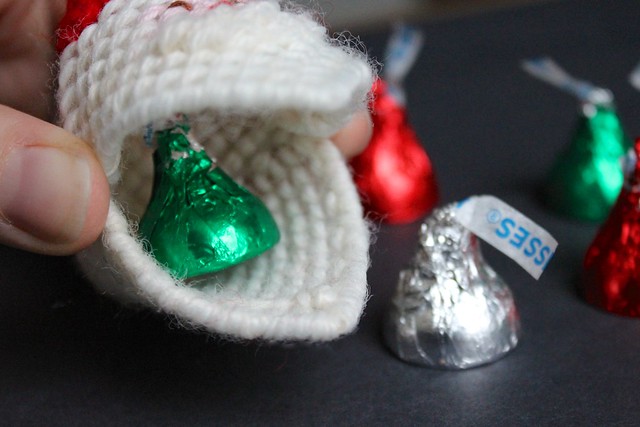
…add the chocolate kiss and hang it up! Ho Ho Ho!

MORE HANDMADE CHRISTMAS ORNAMENTS
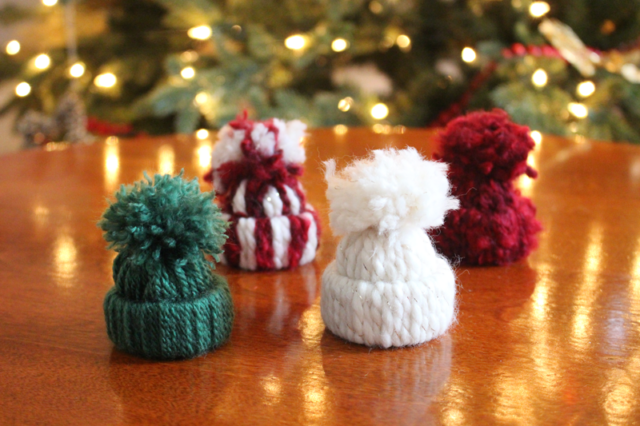
Mini Yarn Hat Christmas Ornaments 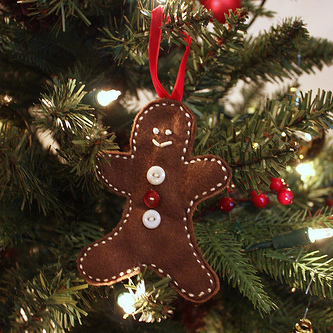
Gingerbread Man Ornaments 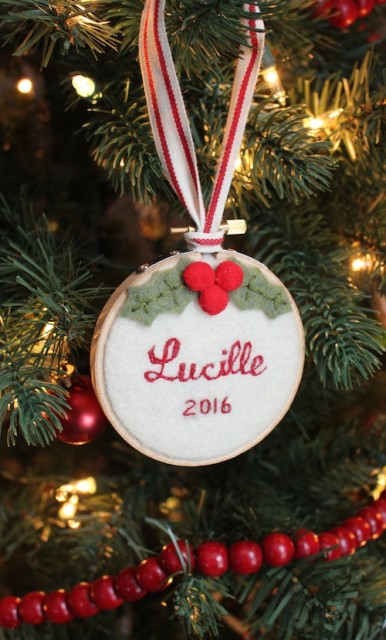
Hand Stitched Baby’s First Christmas Ornament 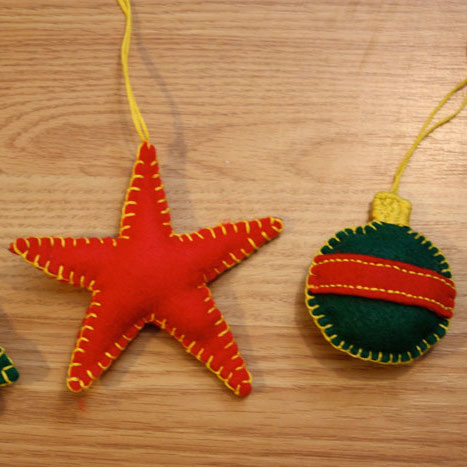
Simple Felt Ornaments 
Sparkly Clothespin Snowflakes 
Dried Orange Slice Ornaments 
Christmas Ornament Gender Reveal

Can i just give you a HUGE virtual hug?? Thank you so much for this tutorial. My Grandmother used to make these when I was a little girl and I have been SEARCHING for how to do this to show my girls!! THANK YOU!
I’m so glad this was able to bring back some childhood memories that you can share with your own girls. Have fun!!
Thank you so much for creating this tutorial!!! I have several of these little guys and I wanted to make some as gifts for Christmas. I took one off my tree to see if I could reverse engineer it. I decided to make one last ditch effort to find a pattern or tutorial and found yours.