I’m still away on vacation in Florida with my family, but I thought I’d pop in and share the big news we got over Christmas. We finally got to learn the gender of our first baby, expected in May 2016…
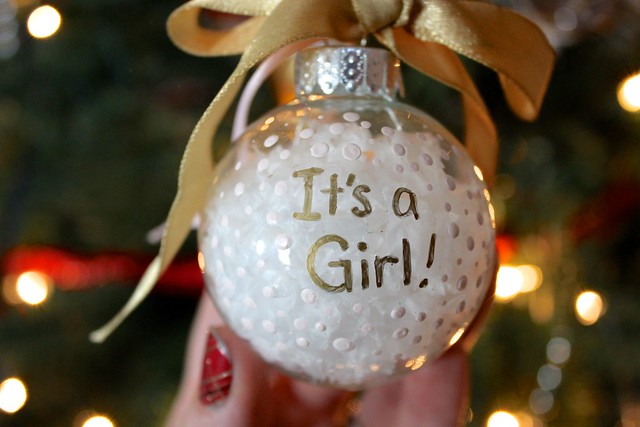
A sweet little baby girl!
We’re both incredibly excited to think that we’re going to have a daughter. It was confirmed in two ultrasounds (more on that on Friday’s pregnancy update), which made us pretty confident to spread the word.
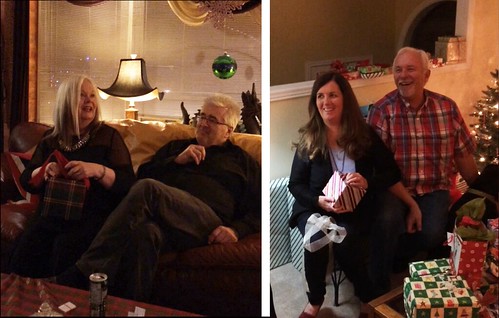 We found out on December 23rd, which made it perfect timing to share the news with our families while everyone was home for the holidays. I decided to make a Christmas ornament and have the future grandparents open it at our respective Christmas dinners. It was so great having our families together to celebrate it, although I never anticipated how many bets would be wagered in both households! Our little girl is going to be welcomed with much love when she gets here by both sides.
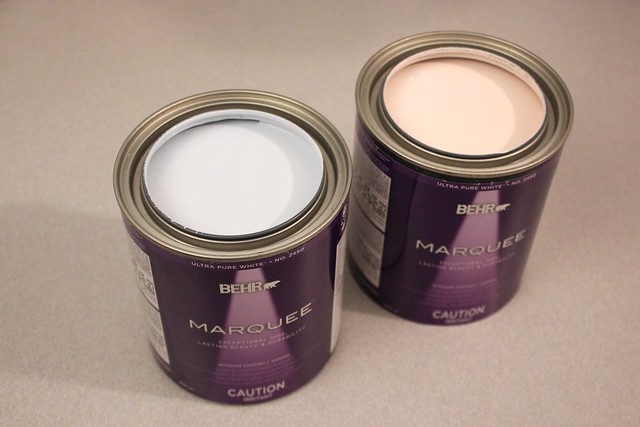
Before we knew what we were having, I started brainstorming ways to share the gender, settling on a painted Christmas ornament we could add to our growing tree. I picked two Behr Paint Marquee colours depending on what we found out at the ultrasound, knowing I can also use them for a future project in the nursery. If it was a boy, I’d have been using Sky Light View for a pale blue and a girl was Stolen Kiss, a delicate blush. Both colours are subtle and soft, which is exactly what I’m going for with our nursery plans.
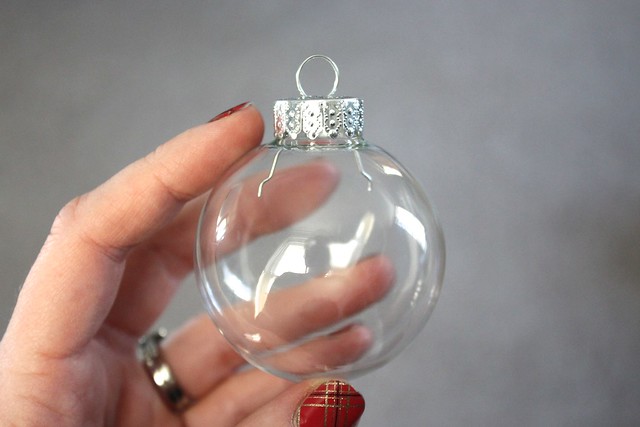
To make the ornament, I started with a clear glass ornament from a local craft shop.
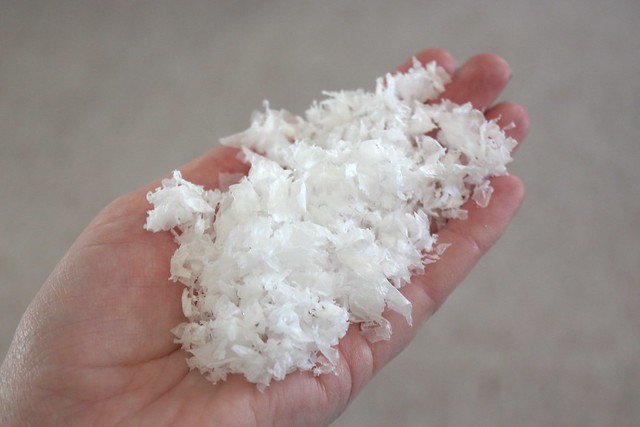
I debated using different things to fill it – from ribbons to baby socks, but settled on this fake snow I’ve used for our Handmade Christmas Village in the past. It gave a good background for the lettering.
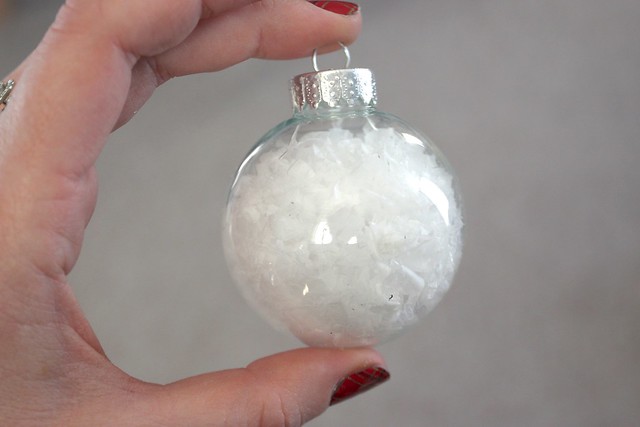
I removed the metal cap from the ornament and carefully stuffed the “snow” inside, using the end of a pencil to gentle push it in.
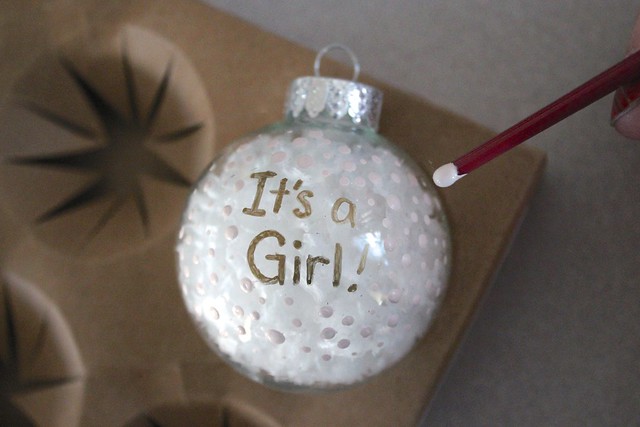
Then came the fun part – painting! I used a gold craft pen to write the lettering, letting it dry for 5 minutes between coats to make it stand out. For the painted dots, I took the end of a small paintbrush, dipped it in the paint and carefully placed dots all around the lettering. The ornament packaging made a good stand for painting and to allow the paint to dry with the ornament rolling around.
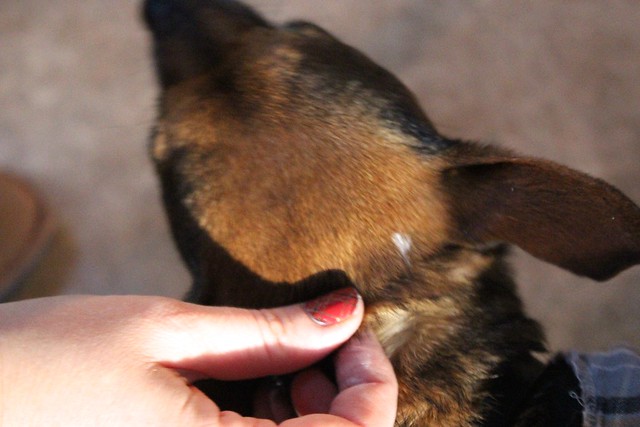
While I was trying to take photos, Whiskey jumped up on my lap and knocked the ornament on his head. Garrett and I couldn’t stop laughing as we tried to wipe the paint off his fur. I was thoroughly convinced that someone would figure out the gender just by looking at his head! Ha!
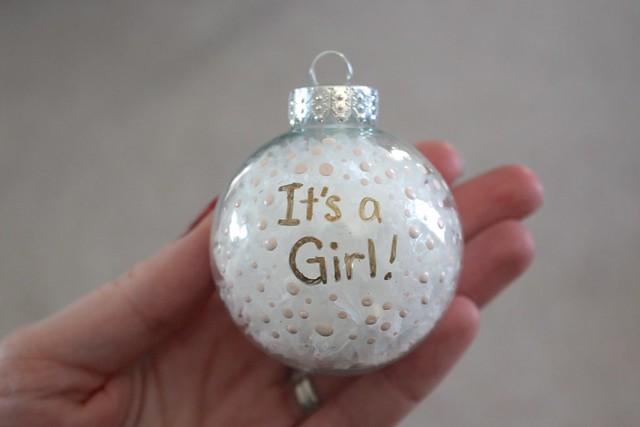
It was easy enough to wipe away the smudged wet dots with a damp paper towel, let it dry and then repaint them.
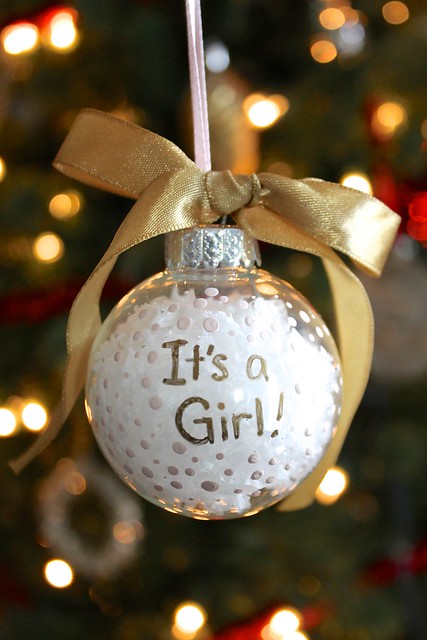
A pink ribbon to hang it from the tree and a gold ribbon to finish off the top. Every year we’ve added new ornaments to our tree, but I think this might just be my favourite one yet because it means this little girl will be with us to celebrate the holidays for all the years to come.
MORE HANDMADE CHRISTMAS ORNAMENTS
Mini Yarn Hat Christmas Ornaments 
Sparkly Clothespin Snowflakes 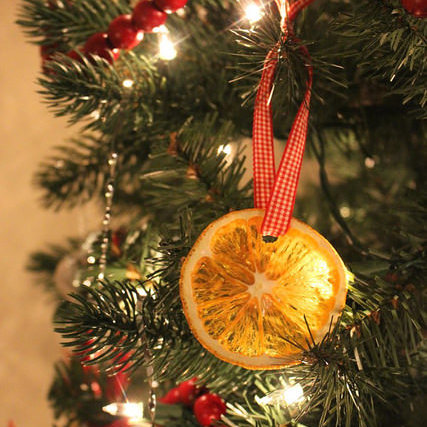
Dried Orange Slice Ornaments 
Gingerbread Man Ornaments 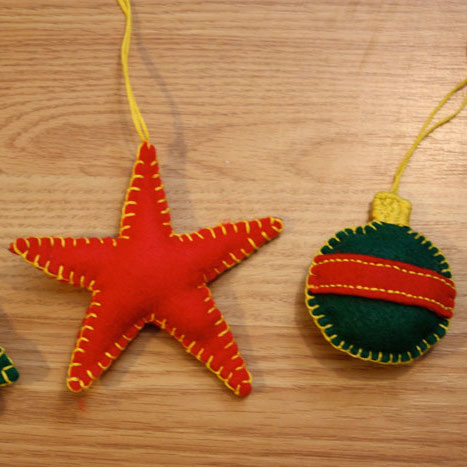
Simple Felt Ornaments 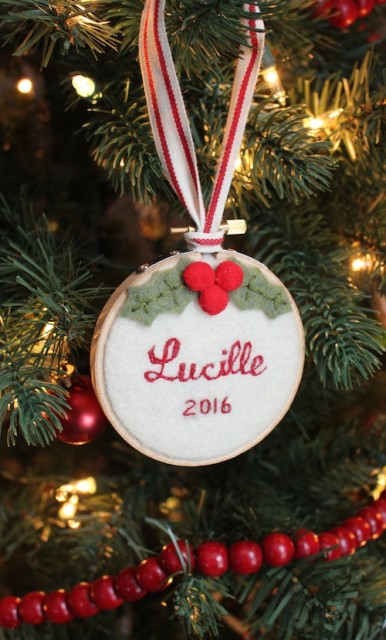
Hand Stitched Baby’s First Christmas Ornament 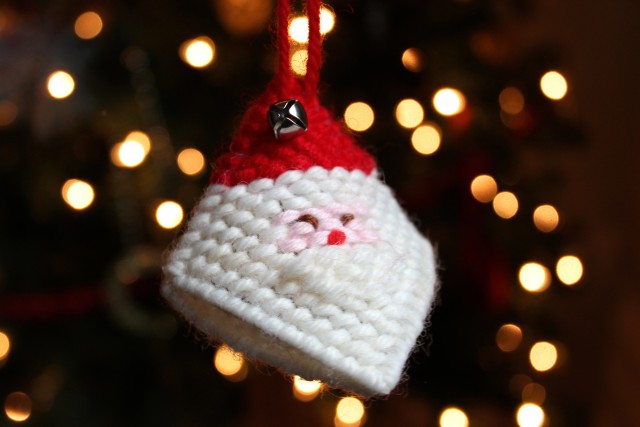
Squeeze Santa’s Cheeks Ornament

Congratulations!! 😀 Just in time for Christmas. What a neat idea by surprising the future grandparents like that.
Congratulations to you both! Exciting news, love the process and the ornament you used to share the wonderful news with your parents. A beautiful Christmas gift to all! Wishing you much love & happiness in the new year.
We are all so very happy for you, hoping for all the best.
aww thats wonderful congrats!
Congratulations!