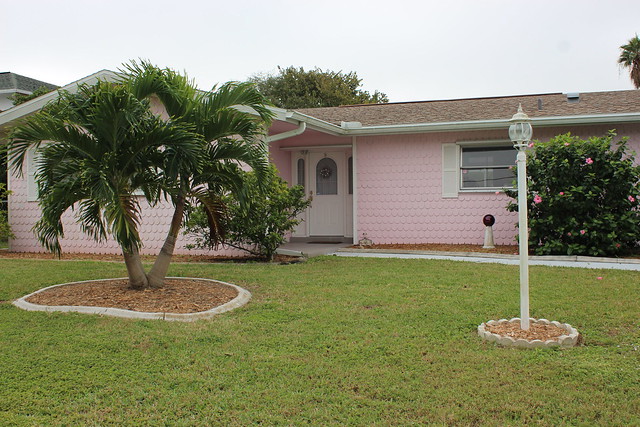
When my parents’ first bought their Florida home back in 2012, we all loved to tease my dad about his “little pink house”. Coming from a country where you rarely see people straying from the usual neutral exterior colour palette, it seemed like such a whimsical colour choice.
Since then family and friends have all offered to help out to paint it – maybe another nice Florida house colour like green or blue? But he never budged. He said he liked having a pink house.
Finally he confessed one day why he didn’t want to repaint it. He’d always liked John Cougar Mellencamp’s “Pink Houses” and now he and my mom had their own.
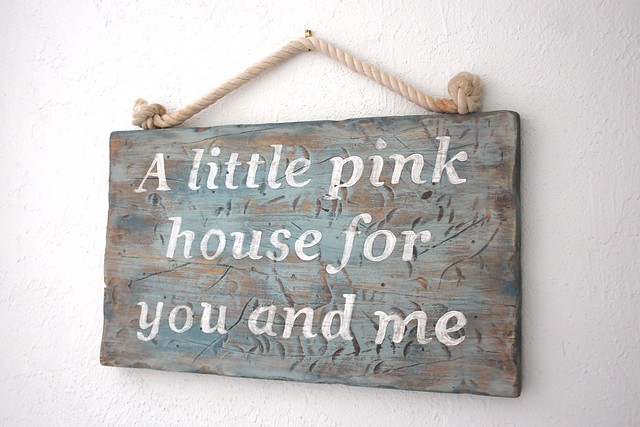
This year for his birthday gift, I thought I’d surprise him with a beachy wooden sign with a variation of the lyrics for them to hang up in their own “little pink house”.
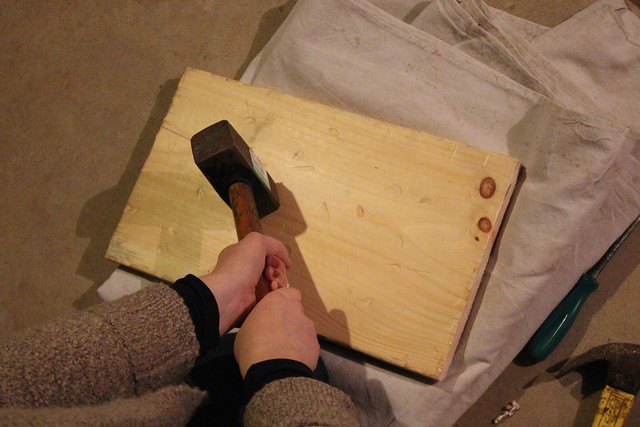
I started off with a piece of leftover pine board from one of our projects this summer. The distressing part is always fun – hitting it with hammers, mallets, screwdrivers, chains – whatever we could find in our basement.
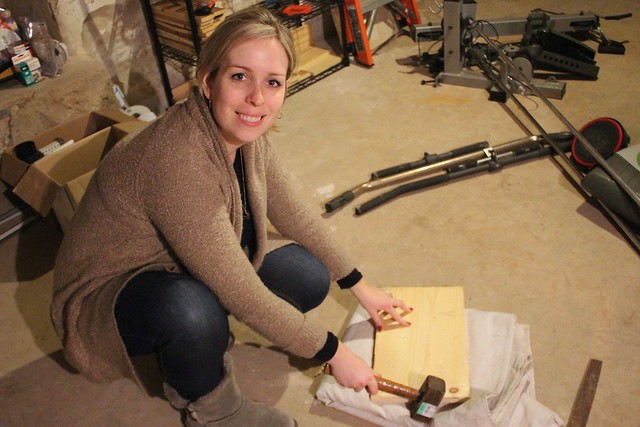
This half of the basement has become a makeshift workshop for the winter months…and storage for random things we need to fix like that gym equipment on the right. We’re slowly working on getting it into a more functional all year shop with a worktable and tool storage. For now, I just beat the board up on top of a folded up drop cloth to keep the floor safe from overzealous hammering on my part.
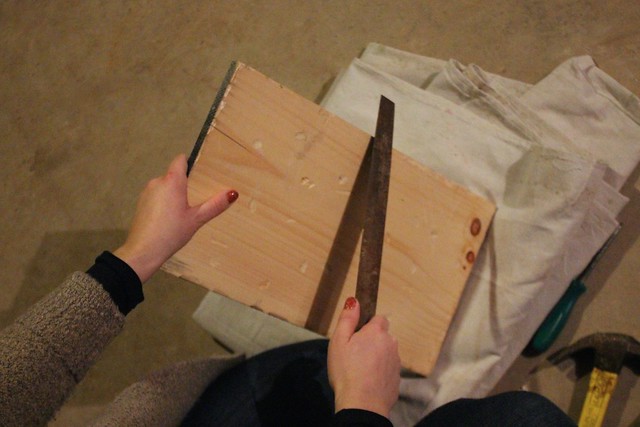
After it was pretty beat up, we took a rasp to the edges to weather them, followed by a quick sanding to get rid of any sharp edges or splinters.
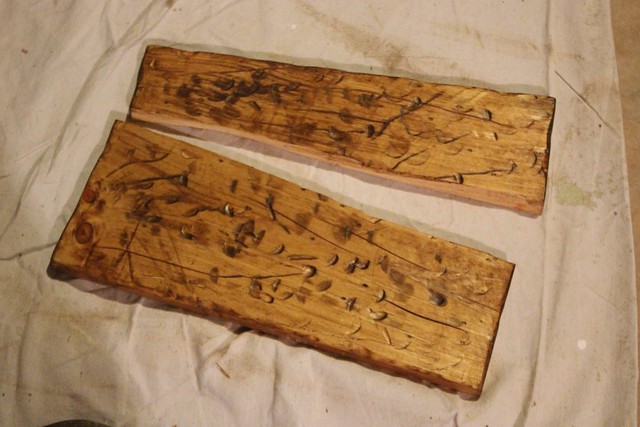
While we were beating it up, the board cracked! Thankfully this wasn’t a big deal, as we could easily glue it back together and it only added to the rustic look. Garrett gave the whole board a light coat of stain using a mixture of whatever odds and ends we had in the basement.
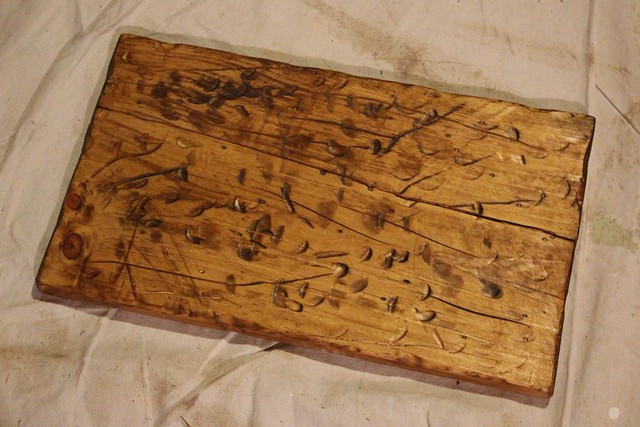
After it had dried for about 30 minutes and was less tacky, he glued the board back together with heavy duty carpenters glue and clamped it in place overnight. This board wasn’t going anywhere!
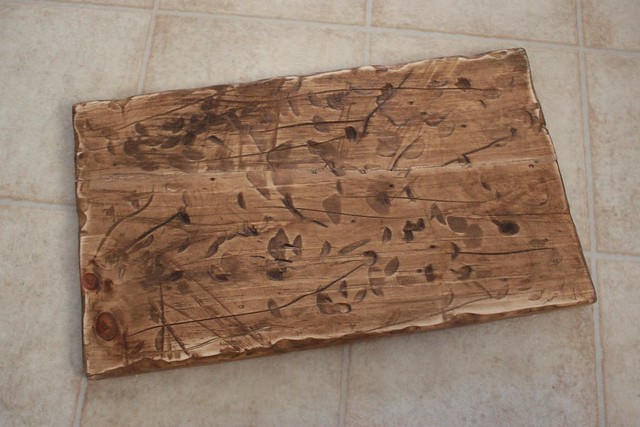
After the stain and glue had a chance to dry overnight, I gave everything a light sanding to add to the rustic finish.
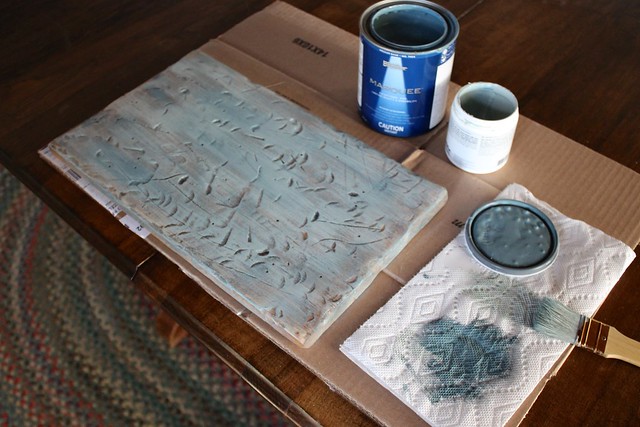
To give a layered beachy look, I used two similar colours to make it appear weathered – Behr Marquee Celadon (one of the 2016 colour trends!) and Behr Marquee Recycled Glass (leftover from our Kitchen Stool Makeover last year).
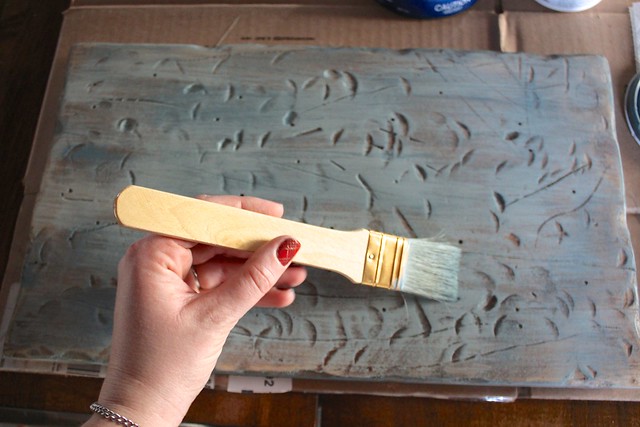
Using a large craft brush, I did a dry brush technique, wiping away most of the paint onto a piece of paper towel first and then running the brush in long strokes across the board. I alternated between the two colours to create a layered effect. After the board had dried, I gave it another light sanding.
- DIY Vintage Wood Sign
- DIY Painted Wedding Direction Signs
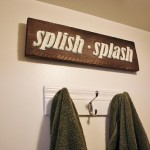
For the lettering, I used the same method I used for the DIY Vintage Wood Sign from our apartment’s bathroom and the DIY Painted Wedding Directions Signs we used at the wedding venue.
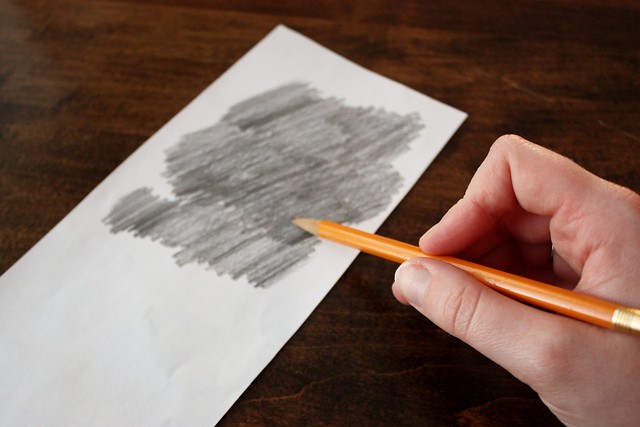
I used the rubbed pencil technique to transfer the letters from paper to the board. I printed the lettering on regular white copy paper and used a pencil to shade the entire surface of each letter on the back of the paper. After I flipped the paper over and traced the edges of the letters until they transfered over from the paper to the board.
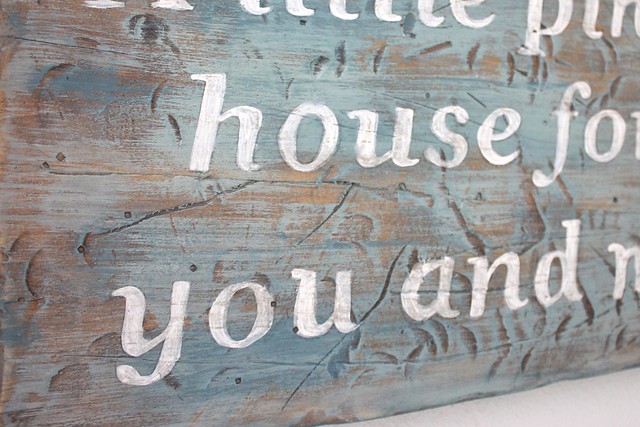
Then it is just a matter of filling in each letter with paint. I used a small craft brush and antique white craft paint, working in slow movements. I did it over several very light layers until I got the colour I wanted.
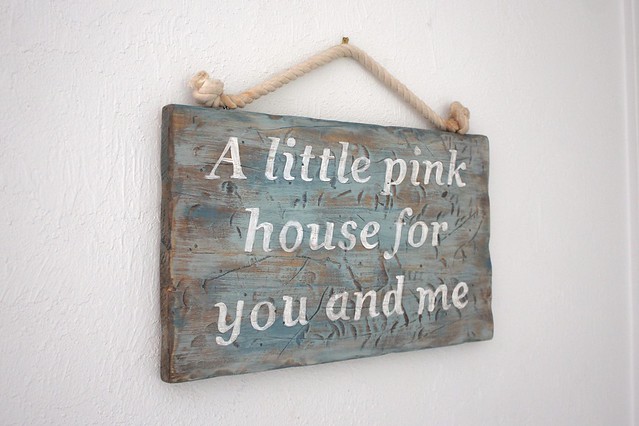
To hang up the sign, we took two knotted ends of rope and screwed them directly into the top of the board. Then it was ready to hang up at the little pink house in Florida!
